It is an unfortunate fact that 3D printers spend most of their time sitting idle, waiting for a human to remove finished prints or waiting for the next print to start. Hackers see such inefficiency as an open invitation to devise a better way, and we’ve seen several innovative ideas come across these pages. Some have since been abandoned, but others have kept going. At Maker Faire Bay Area 2019 we had the chance to revisit one presented as Autodrop3D.
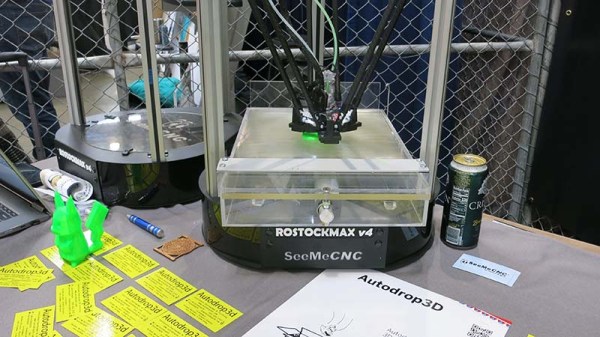
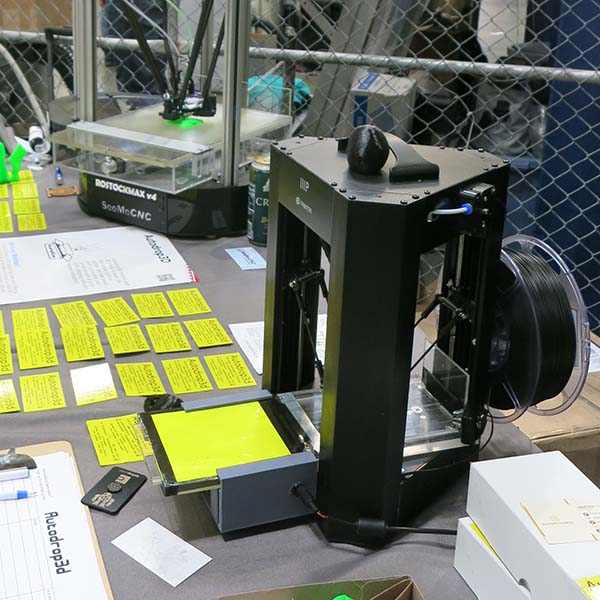 We saw a much earlier iteration entered in our Hackaday Prize in 2017 and it was fascinating to see how the basic ideas have developed over the past few years. The most visible component of the system is their print ejection system, which has greatly improved in robustness. Because the mechanism modifies the print bed and adds significant mass, it is best suited to delta printers as their print bed remains static. The concept might be adaptable to printers where the print bed only has to move along Z axis, but for now the team stays focused on deltas. There were two implementations on display at Maker Faire: a large one built on a SeeMeCNC RostockMAX v4, and a small one built on a Monoprice Mini Delta.
The ejection system is novel enough by itself, but the hardware is only one part of the end-to-end Autodrop3D vision. Their full software pipeline starts with web-based CAD, to integrated slicing, to print queue management, before G-code is fed to a printer equipped with their ejection system.
We admire inventors who keep working away at turning their vision to reality, and we look forward to seeing what’s new the next time we meet this team. In the meantime, if you like the idea of an automated print ejection mechanism but want more cartoon style, look at this invention from MatterHackers.
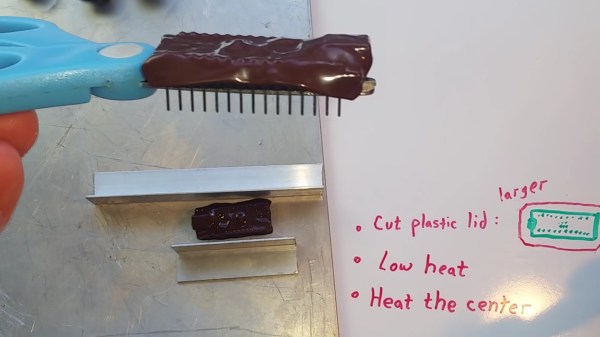
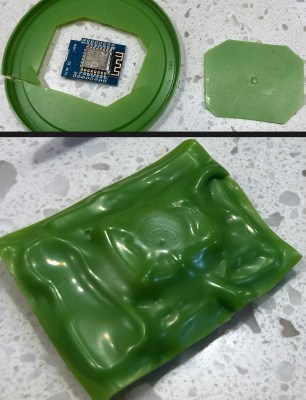 your magic smoke. Even if you are lucky, stray parts are the root of boundless malfunctions from disruptive to deadly. [TheRainHarvester] shares his trick for