Your thermostat is some of the oldest and simplest automation in your home. For years these were one-temperature setting and nothing more. Programmable thermostats brought more control; they’re alarm clocks attached to your furnace. Then Nest came along and added beautiful design and “learning features” that felt like magic compared to the old systems. But we can have a lot more fun. I’m taking my favorite single-board computer, the Raspberry Pi, and naming it keeper of heat (and cool) by building my own touchscreen thermostat.
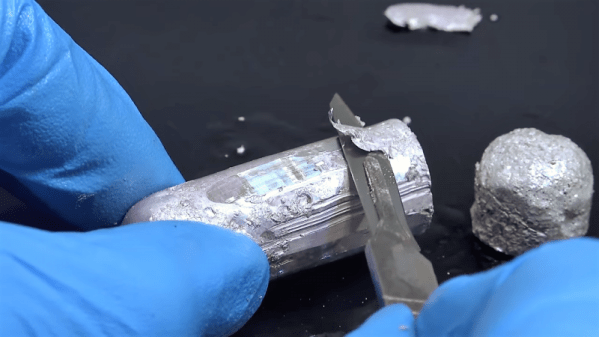
Mercury thermostats started it all, and were ingenious in their simplicity — a glass capsule containing mercury, attached to a wound bi-metal strip. As the temperature changes, the contraption tilts and the mercury bead moves, making or breaking contact with the wiring. More sophisticated thermostats have replaced the mercury bead with electronics, but the signaling method remains the same, just a simple contact switch.
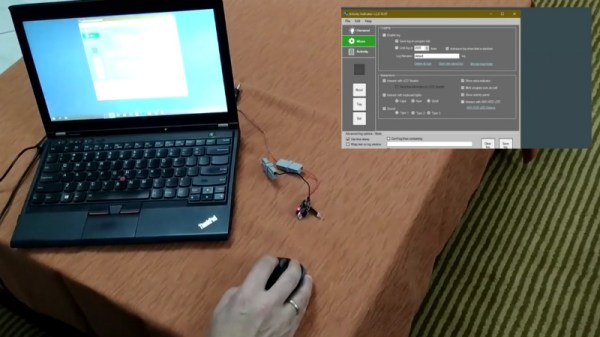
This makes the thermostat the prime target for an aspiring home automation hacker. I’ve had this particular project in mind for quite some time, and was excited to dive into it with simple raw materials: my Raspberry Pi, a touchscreen, and a mechanical relay board.
Continue reading “Hack My House: Raspberry Pi As A Touchscreen Thermostat”