Many radio control aircraft modelers will be familiar with the process of cutting wings out of foam with the hot wire method. The tools are simple enough to build at home, and it’s an easy way of producing a lightweight set of wings without too much hassle. [IkyAlvin] walks a different path, however (YouTube link, embedded below).
Expanding foam is the key here – that wonderful sticky material in a can that never quite goes where you want it to. MDF and foam is used to create a mold to produce the wing forms. It’s then a simple matter of loading floor underlay into the mold to act as the outer skin, and then filling the mold with expanding foam and waiting for it to cure.
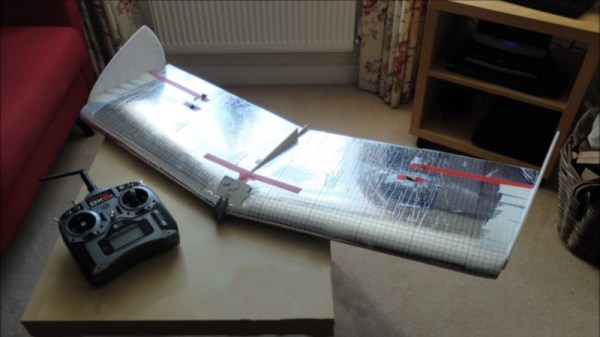
The final parts are assembled into a flying wing, and the first test flight is remarkably successful. Using foam overlay as a skin also has the added benefit of providing a sleek silver finish to the aircraft. It goes to show that there’s always room to explore alternative techniques outside of the mainstream. If you’d like to get more familiar with the classic hot wire technique, though, we can help there too. Video after the break.