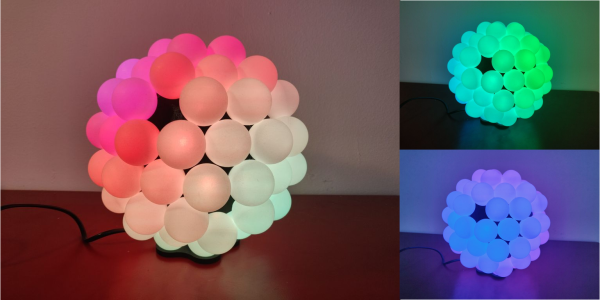
Although RGB LEDs diffused by ping pong balls will probably never stop being cool, [thomasj152] feels that flat panels of balls have become a bit of a tired concept. After a lot of effort and two complete builds, he has spun up an 80-ball spherical lamp. The results are positively glowing!
 All the balls are connected together with some clever 3D printed pieces that were inspired by the classic soccer ball layout of hexagons and pentagons. [thomasj152] chose this shape because it’s fairly easy to code animation sequences for it.
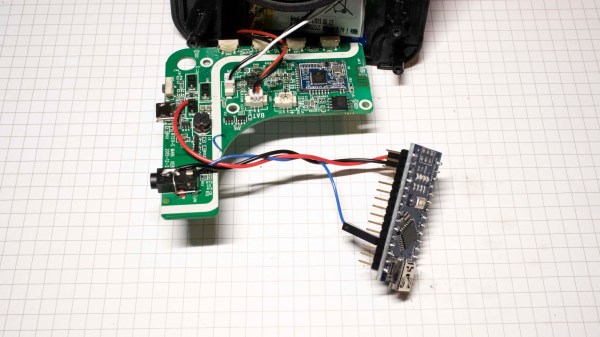
The design also breaks down nicely into two halves, which makes it easier to wire. All 80 of the balls are controlled with a single NodeMCU ESP8266 development board.
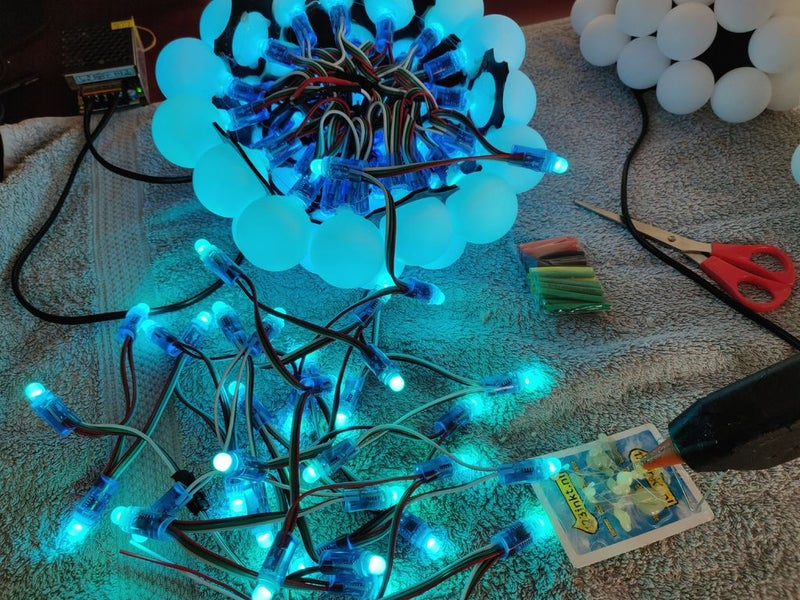
This stranded version is the second lamp [thomasj152] built. The first one used the same soccer ball style, but had RGB LED strips instead, and the balls were wrangled with laser-cut support pieces. Strips lay much flatter than strands do, leaving the inside tidy and spacious. Unfortunately, the LED strips got fried accidentally, which is extra sad because the strips version looks like way more work.
The bright spot here is that [thomasj152] can now provide instructions for both versions. He even has code that cycles through each pentagon and hexagon section, lighting them up one at a time for testing and sanity checks. Roll past the break for a walk-through video that shows both versions and explains the differences.
Got a bunch of wall space begging for blinkenlights? Apparently it’s possible to throw together a working 300-ball video wall in less than 24 hours. Who knew?