Falling into the marvelous space between, ‘I really want to do that’ and ‘but that’s a lot of work and I’m lazy’ comes this reproduction of the motherboard from the original IBM 5150. This is a complete reproduction of the first PC, being sold as a kit. Yes, chips are included, although I highly doubt they’ve gone through the trouble of finding chips with contemporaneous date codes. We’re dying for a writeup on this one.
Someone has found the source code for the first Furby. [Mark Boldyrev] was talking with a few fellows on the MAME forum to see if anyone had the source for the Furby. He was looking into contacting the USPTO for the original source but the red tape involed was a bit too intense. Luckily, that research turned up some info from [Sean Riddle] who somehow already found the original source listing. After [Mark] got in contact, [Sean] posted it as a PDF. Yes, it’s 6502 source, although the microcontroller is technically a SPC81A, with the rest of the hardware consisting of TI50C04 speech chip. (you would not believe how many toys are still shipping with a 6502-ish core somewhere inside). The files are up in the archive, and we’re probably going to have a Furby MAME sometime soon.
The Bitfi hardware wallet is a cryptocurrency storage device being bandied about by [John McAffee], and there’s a quarter million dollar bug bounty on it. It’s ‘unhackable’, and ‘it has no memory’. I’m serious, those are direct quotes from [McAffee]. Both of those claims are nonsense and now it can play Doom.
Oh noes, a new hardware backdoor in x86 CPUs! [xoreaxeaxeax] has published a demo that allows userland code to read and write kernel data (that’s very bad). The exploit comes in the form of the ‘rosenbridge backdoor’, a small embedded processor tightly coupled to the CPU that is similar to, but entirely different from, Intel’s ME. This processor has access to all the CPU’s memory, registers, and pipeline. The good news, and why this isn’t big news, is that this exploit only affects Via C3 CPUs. Yes, the other company besides Intel and AMD that makes x86 CPUs. These are commonly found in industrial equipment and ATMs.
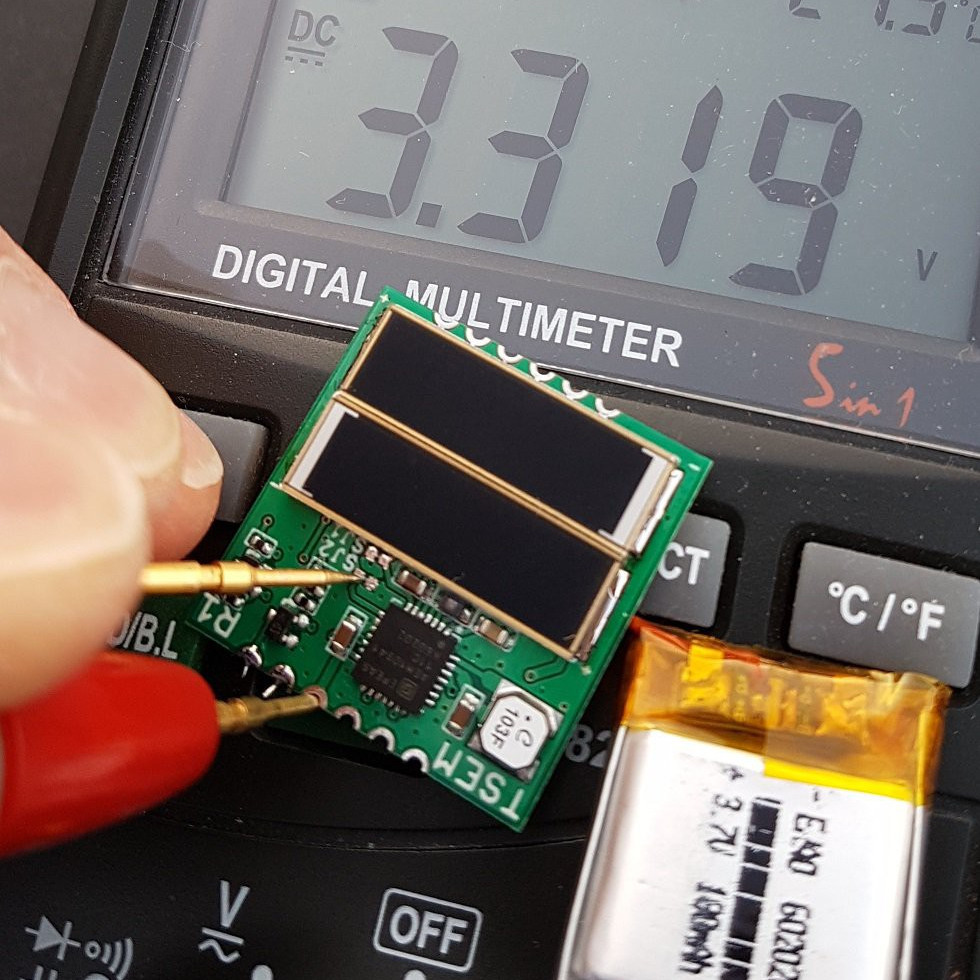


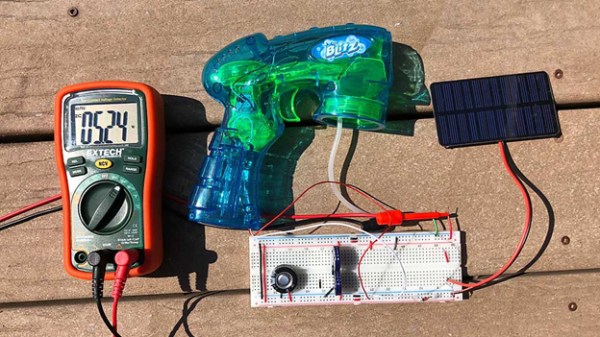
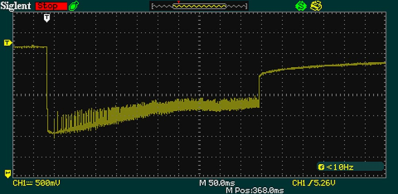 His write-up is a pretty fun read, walking through his process, including an oscilloscope measurement showing how the capacitors’ voltage drops from 5.26 V to 3.5 V when the trigger is pressed, and interestingly, slowly recovers until it’s released a second later, when it then rises back to 4.5 V. He’s even included how he worked out of the panel’s maximum power point (MPP), which is what he was doing when the kids were first lured away to blow soap bubbles. But we’re sure Hackaday readers aren’t as easily distracted.