If you have a car that is getting on in years, it may be missing some of the latest frills and features that the latest models sport. [Muris] has a slightly dated Audi A3 8P which did not have an AUTO setting for the headlights. In the newer models, this feature turns on the headlights when the ambient light falls below a threshold level (overcast conditions or when going through a tunnel), or when the windshield wipers are turned on. The light sensor is integrated behind the rear view mirror in a special mount, requiring an expensive windshield upgrade if he were to opt for the factory retrofit. Instead, he decided to build his own Automatic Headlights Sensor upgrade for his Audi A3.
His local regulations require the car headlights to be on all the time when the vehicle is in motion. So adding this feature may seem moot at first sight. But [Muris] programmed the headlights to be powered at 70% during daytime conditions and switch to 100% when his sensor detects low ambient light conditions. In the power save mode, all of the other non-essential lights (number plate, tail light) are also turned off to hopefully extend their life. He achieved this by using the VCDS (VAG-COM Diagnostic System) – a widely used aftermarket diagnostics tool for VW-Audi Group vehicles. His tiny circuit switches the lights between the two power settings.
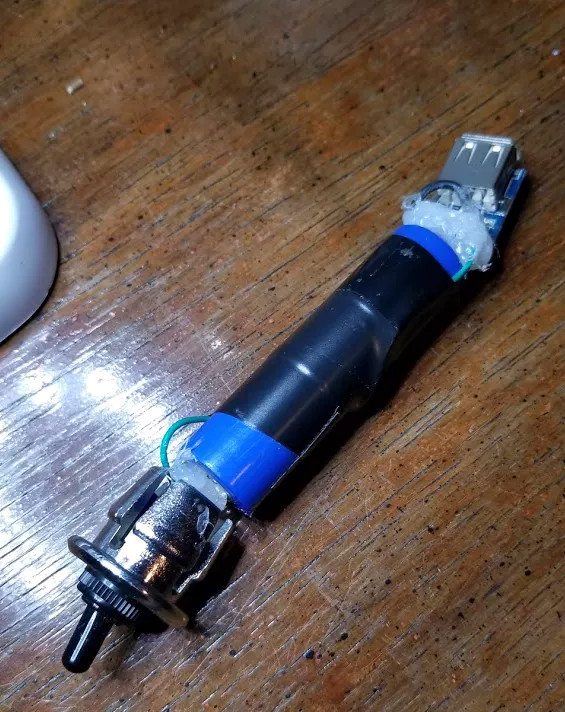
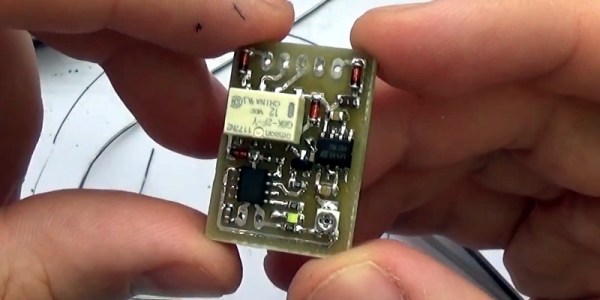
His plan was to install the device without disturbing the original wiring or light switch assembly in any way. The low-powered device consists of a PIC micro-controller, an LDR (light dependent resistor) for light sensing and a low current relay which switches between the two modes. Setting the threshold at which the circuit switches the output is adjusted by a variable trimpot acting as a voltage divider with the LDR. [Muris] wired up a short custom harness which let him install this circuit between the default light switch and the car electronics. After switching on power, he has 15 seconds to enable or disable his unit by toggling the light switch five times, and that status gets stored in memory. The tiny board is assembled using SMD parts and is protected with a heatshrink sleeve. The circuit would work equally well with a lot of other cars, so If you’ve got one which could do with this feature upgrade, then [Muris] has the Eagle CAD files and code available for download on his blog.
Check out the video below where he runs a demo, describes his circuit in detail and then proceeds to assemble the PCB without using a vise or a third hand to hold the PCB. That’s a fancy watch he’s sporting at 00:50 s down the video.