It was not too long ago that all PCB design packages were proprietary. Getting PCBs made was expensive, and if you tried to do this over the Internet, the best way was to download a board house’s proprietary software, design your board in their software suite, and send your boards off to be made. A 5 cm square board would cost two hundred dollars. I know this to be true because I’ve said it before, and no one has corrected me.
 For this week’s Hack Chat, we’re talking Everything PCB with OSH Park. OSH Park is the leading creators of perfect purple PCBs. They have POGs, and for the last two weeks, they’ve been one of the few places you can send some Gerbers to and have it manufactured in a timely manner if you live in the US. Because China was closed.
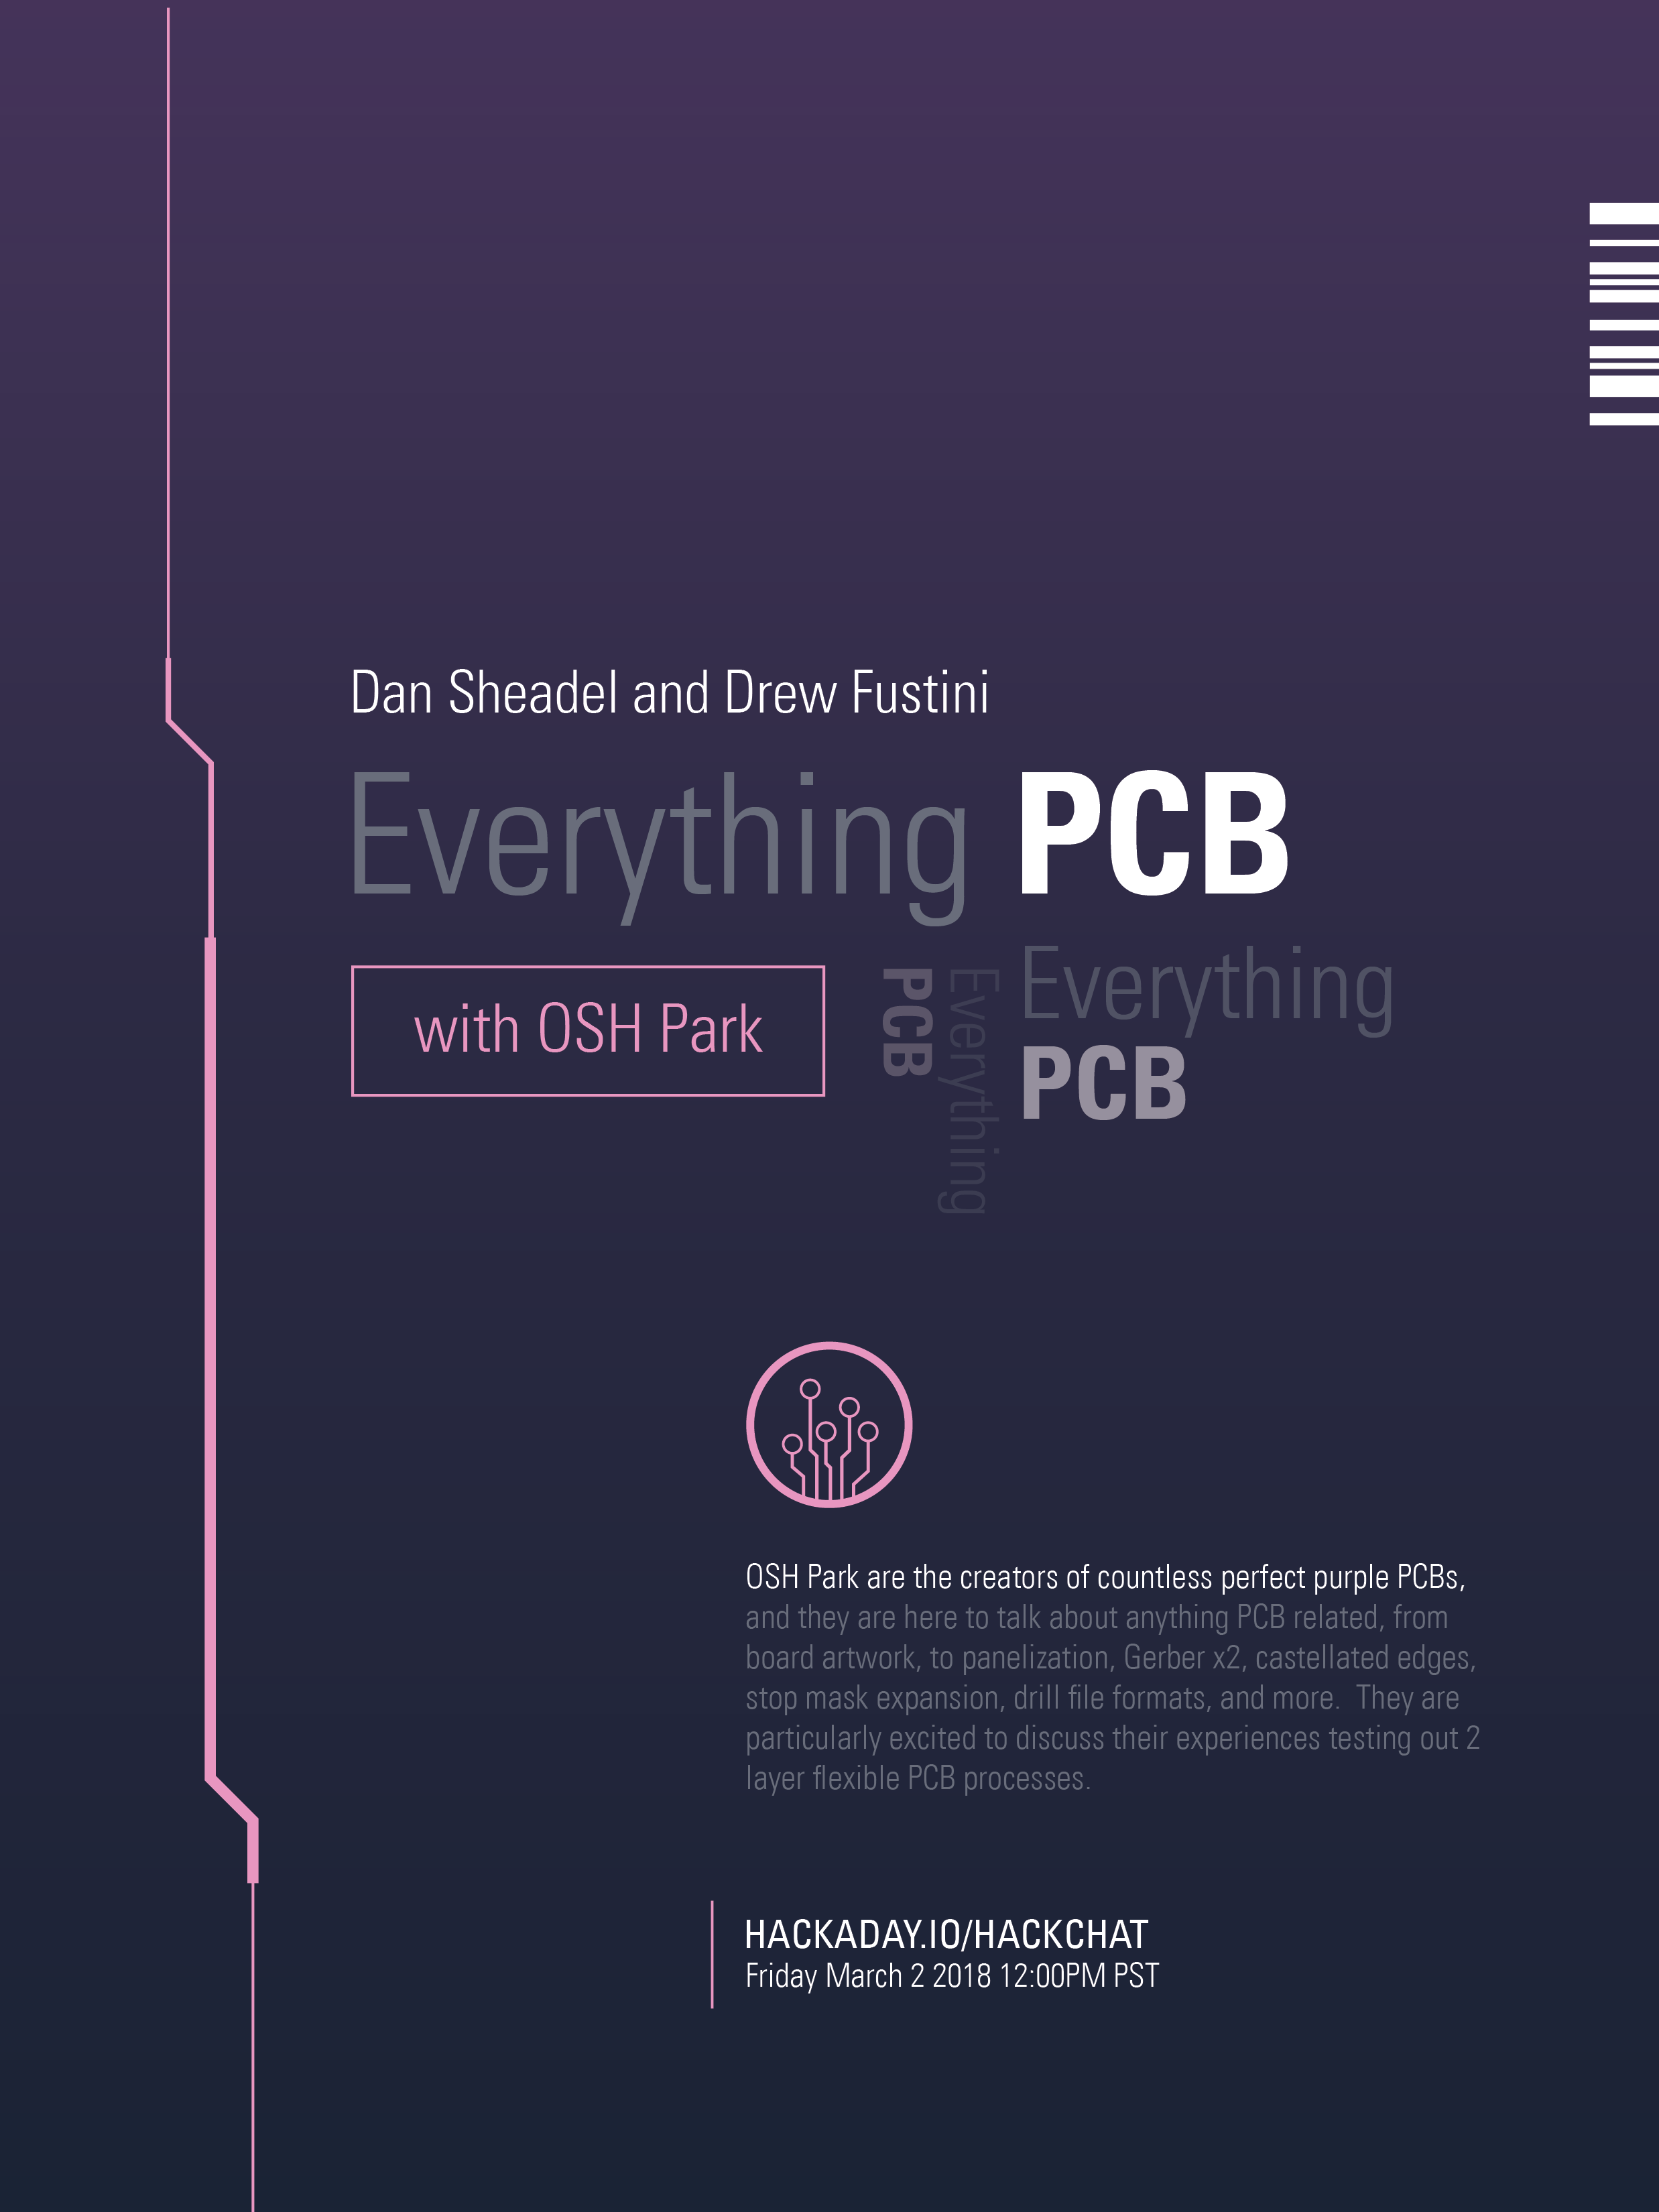
For this week’s Hack Chat, we’re going to be talking about everything PCB. How do you do castellated holes? How do you mill slots and square or otherwise non-round holes? Internal cutouts? Stop mask expansion? Artwork? Panelization? Why purple? More POGs!
Our guests for this chat will be [Dan Sheadel] and [Drew Fustini] of OSH Park, and they’re going to be there answering all your questions. [Dan] has been around OSH Park from the beginning and enjoys designing tiny useless robots and mentoring students building better ones. [Drew] is an Open Source hardware developer, firmware designer, a BeagleBoard board member, and is usually found at hardware meetups wearing purple.

Our Hack Chats are live community events on the Hackaday.io Hack Chat group messaging. This Hack Chat is going down Friday, March 2nd at noon, Pacific time. Want to know what time this is happening in your neck of the woods? Have a countdown timer!
Click that speech bubble to the right, and you’ll be taken directly to the Hack Chat group on Hackaday.io.
You don’t have to wait until Friday; join whenever you want and you can see what the community is talking about.