Solar Freaking Roadways. What is it? It’s technology that replaces all roadways with a smooth sheet of glass and solar panels. You know how asphalt is soooo easy to repair and soooooo cheap? Yes, this is the exact opposite of that. They’re coming to freaking Missouri. A parking lot for the Route 66 Welcome Center in Conway, MO will be paved with the solar freaking roadways that netted $2 Million in an Indiegogo campaign two years ago.
There is a National Potato Expo. As far as I can tell, this is a trade show for potatoes and potato-related paraphernalia. As with all trade shows you need a great demo, in this case one involving potatoes. How about a phone charging station powered by potatoes? It’s a bunch of potatoes, copper pipe, galvanized nails (neat design, btw), and a USB socket. Yes, it works, but not well.
The travelling hacker box is a USPS flat rate box filled to the brim with random bits and bobs of electronics, shipped back and forth between dozens of electron enthusiasts. It’s making one last trip around the US, and now the travelling hacker box needs destinations from Idaho to Michigan. Idaho, of course, is a fictional state created in 2004 for Napoleon Dynamite, but that still leaves Montana, the Dakotas, Wisconsin, Minnesota, and the UP. If you live in one of these states, there’s a travelling hacker box with your name on it. Request to join the project and PM me on hackaday.io.
It’s election year in the US, and that means half of the population hates one candidate, half of the population hates another candidate, and half of the population will vote. Don’t think about that for too long. Here’s an Arduino doing something topical with Twitter.
Hotends for 3D printers are getting more and more robust, but thermistors are fiddly little things. E3D just came up with the solution. It’s a standard, modular temperature ‘cartridge’ that fits in E3D’s heater blocks. You can already change out the heater cartridge on a 3D printer for a higher wattage model, and now you can change out a thermistor for a thermocouple just as easily. E3D sells their stuff in GBP, so considering recent events it might be a good time to pick up a new hotend for that Monoprice 3D printer you picked up
The 8-Bit Generation recently released their documentary The Commodore Wars, chronicling the stupendous rise and meteoric fall of Commodore. Now they’re working on the Atari version and they’re funding it with a Kickstarter. Rumor has it Hackaday’s own [Bil Herd] has been asked to narrate.
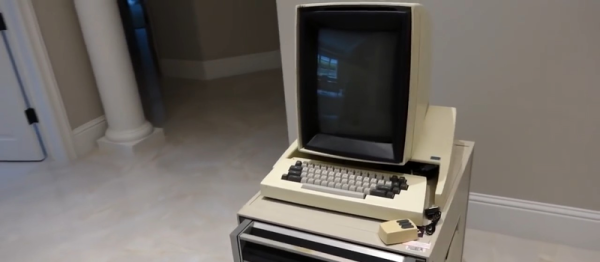
Here’s another Hackaday Retro Edition success story @KetturiFox pulled up the Hackaday Retro Edition on a Texas Instruments TravelMate 5000 laptop. That’s a relatively modern laptop with a 75MHz Pentium, PCMCIA slots, and a nub mouse.
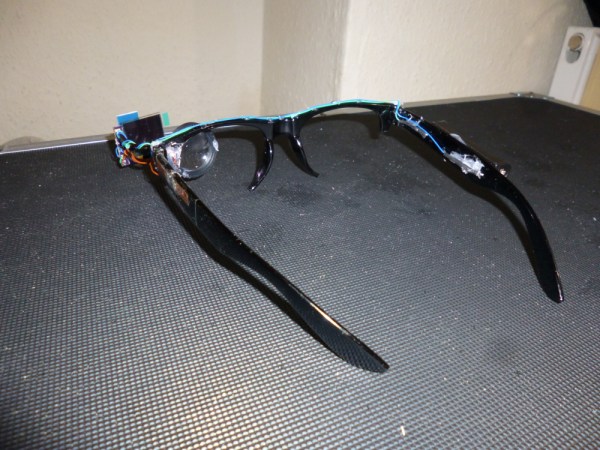
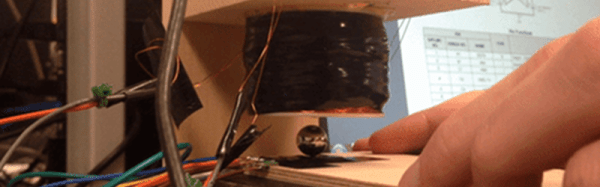
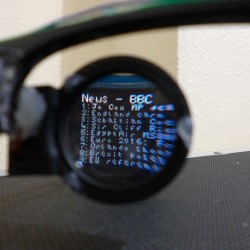 For his project, [Harris Shallcross] used a small 0.95″ diagonal 96×64 color OLED as the display. The lens is from a knockoff Google Cardboard headset, and is held in a 3D printed piece that slides along a wire rail to adjust focus. The display uses a custom font and is driven by an STM32 microcontroller on a small custom PCB, with an HM11 BLE module to receive data wirelessly. Power is provided by a rechargeable lithium-ion battery with a boost converter. An Android app handles sending small packets of data over Bluetooth for display. The prototype software handles display of time and date, calendar, BBC news feed, or weather information.