We have our eyes on the horizon for an epic GPS spoof to catch some legendaries in Pokemon Go, but until that hack shows up, we really like [Brian McEvoy’s] hack for the perfect Poke Ball throw.
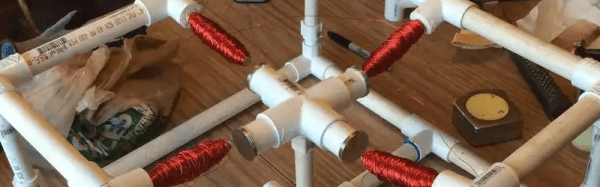
[Brian] started out thinking that a mechanical build would be the best way (we know he’s got the servo motors and controllers to drive them from this tea steeping robot he built last year). But the mechanics of that are just too complicated for what you get in return (less wasted Poke Balls).
He came to the realization that your finger is the best machine, it just needs some augmentation. Most of his Poke Ball throws missed to one side or another, so he turned to papercraft to guide his way. He made a tray from some paperboard packaging, then used two small stacks of Post-it notes to create a channel where your finger slides. Simply hold the phone and the paper with one hand, and use your other to follow the paper channel to a successful capture. The paperboard doesn’t affect the screen’s ability to sense your finger.
This is one we’re definitely going to try out. But visions of hardware hacks for the game that has rocked the world still dance through our heads. Are you working on anything? If so, we’d love to hear about (so send in a tip!). Those still in the idea phase can ring in below. We are weighing the feasibility of doing a man-in-the-middle between a phone and its GPS chip to spoof location. That feels like a pretty tall mountain to climb.
Continue reading “Going Lo-Tech For The Perfect Pokemon Go Throw”


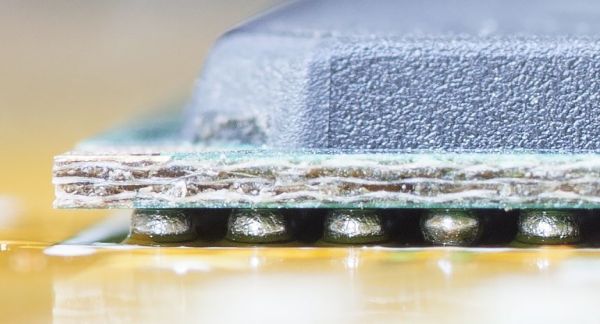
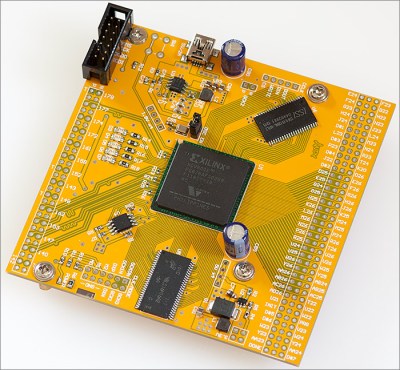 The project [Andy] had in mind for these chips was a generic dev board, which meant breaking out the IO pins and connecting some SRAM, SDRAM, and Flash memory. The first issue with this project is escape routing all the balls. Xilinx published a handy application note that recommends specific design parameters for the traces of copper under the chip. Unfortunately, this was a six-layer board, and the design rules in the application note were for 5/5mil traces. [Andy]’s board house can’t do six-layer boards, and their design rules are for 6/6mil traces. To solve this problem, [Andy] just didn’t route the inner balls, and hoped the 5mil traces would work out.