The history of science is full of examples when a 3D physical model led to a big discovery. But modelling something that’s actually invisible can be tough. Take magnetic fields – iron filings on a card will give you a 2D model, but a 3D visualization of the field would be much more revealing. For that job, this magnetic field following 3D carving machine is just the thing.
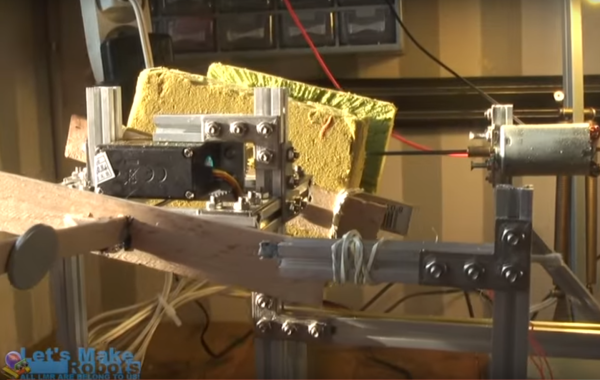
What started out as a rapid prototyping session with servos and hot glue ended up as quick and dirty 3D carving rig for [Frits Lyneborg]. The video shows his thought progression and details how he went from hot glue and sticks to LEGO Technics parts and eventually onto Makerbeam extrusions for the frame of his carver. A probe with a Hall effect sensor is coupled to a motor spinning a bit that cuts into a block of floral foam. A microcontroller keeps the Hall sensor a more or less fixed distance from a rare-earth magnet, resulting in a 3D model of the magnetic field in the foam, as well as a mess of foam nubbles. Despite a few artifacts due to in-flight adjustments of the rig, the field presents clearly in the block as two large lobes.
Carving foam isn’t the only way to visualize a magnetic field in three dimensions, of course. If you’d rather have a light show based on the local magnetic field, try this 3D compass build we covered a while back.