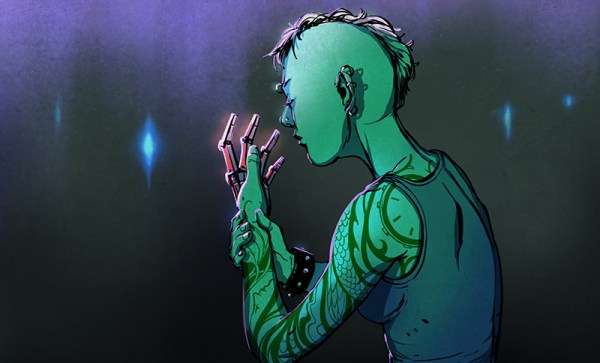
“We accept pain as a price of doing business, even if it is just for aesthetic purposes. You want to put a magnet in your finger, a doctor will ask you why; a mod artist will ask when you can start.” As with many other people who are part of the growing grinder movement, [Adam] has taken a step that many would consider extreme – he’s begun to augment his body.
Grinders – men and women who hack their own bodies – are pushing the boundaries of what is currently possible when it comes to human augmentation. They’re hackers at heart, pursuing on an amateur level what they can’t get from the consumer market. Human augmentation is a concept that is featured heavily in science fiction and futurism, but the assumption most people have is that those kinds of advancements will come from medical or technology companies.
Instead, we’re seeing augmentation begin in the basements of hackers and in the back rooms of piercing studios. The domain of grinders is the space where body modification and hacking meet. It mixes the same willingness to modify one’s body that is common among the tattooed and pierced, and adds an interest in hacking technology that you find in hackerspaces around the world. When those two qualities intersect, you have a potential grinder.
Continue reading “CyberPunk Yourself – Body Modification, Augmentation, And Grinders”

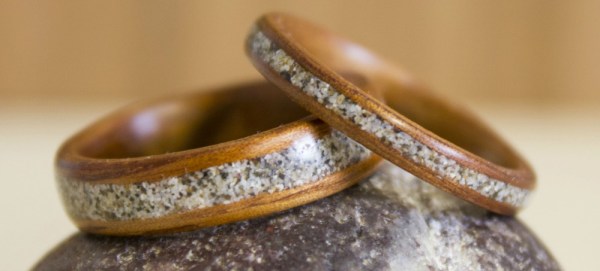
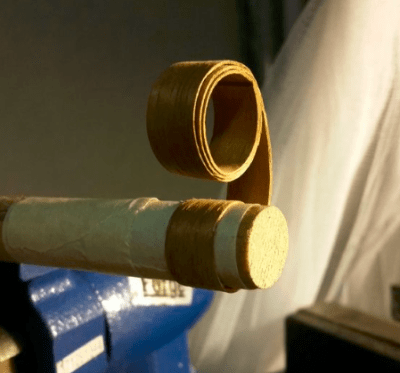 heats the water in the towel, steaming it into the wood. This softens the wood fibers, making the entire strip flexible. The softened wood is then wrapped around a wooden preform dowel and allowed to dry for a day or two.