Does it make sense to make your own breadboards rather than purchasing off the shelf ones? As [Chuck Hellebuyck] notes in a recent video on DIY, 3D-printed breadboards, there’s a certain charm to making a breadboard exactly the size you need, which is hard to argue with. The inspiration came after seeing the metal breadboard spring clips on sale by [Kevin Santo Cappuccio], who also has a 3D printable breadboard shell project that they fit into. This means that you can take the CAD model (STEP file) and modify it to fit your specifications before printing it, which is what [Chuck] attempts in the video.
The models were exported from TinkerCAD to Bambu Lab Studio for printing on a Bambu Lab A1 Mini FDM printer. After a failed first print (which the A1 Mini, to its credit, did detect), a model was printed on a Creality K1 Max instead. Ultimately [Chuck] traced this back to the Bambu Lab Studio slicer failing to add the inner grid to the first layer, which the Creality slicer did add, caused by the ‘wall generator’ setting in the Bambu Lab slicer being set to ‘Classic’ rather than ‘Arachne,’ which can vary line width.
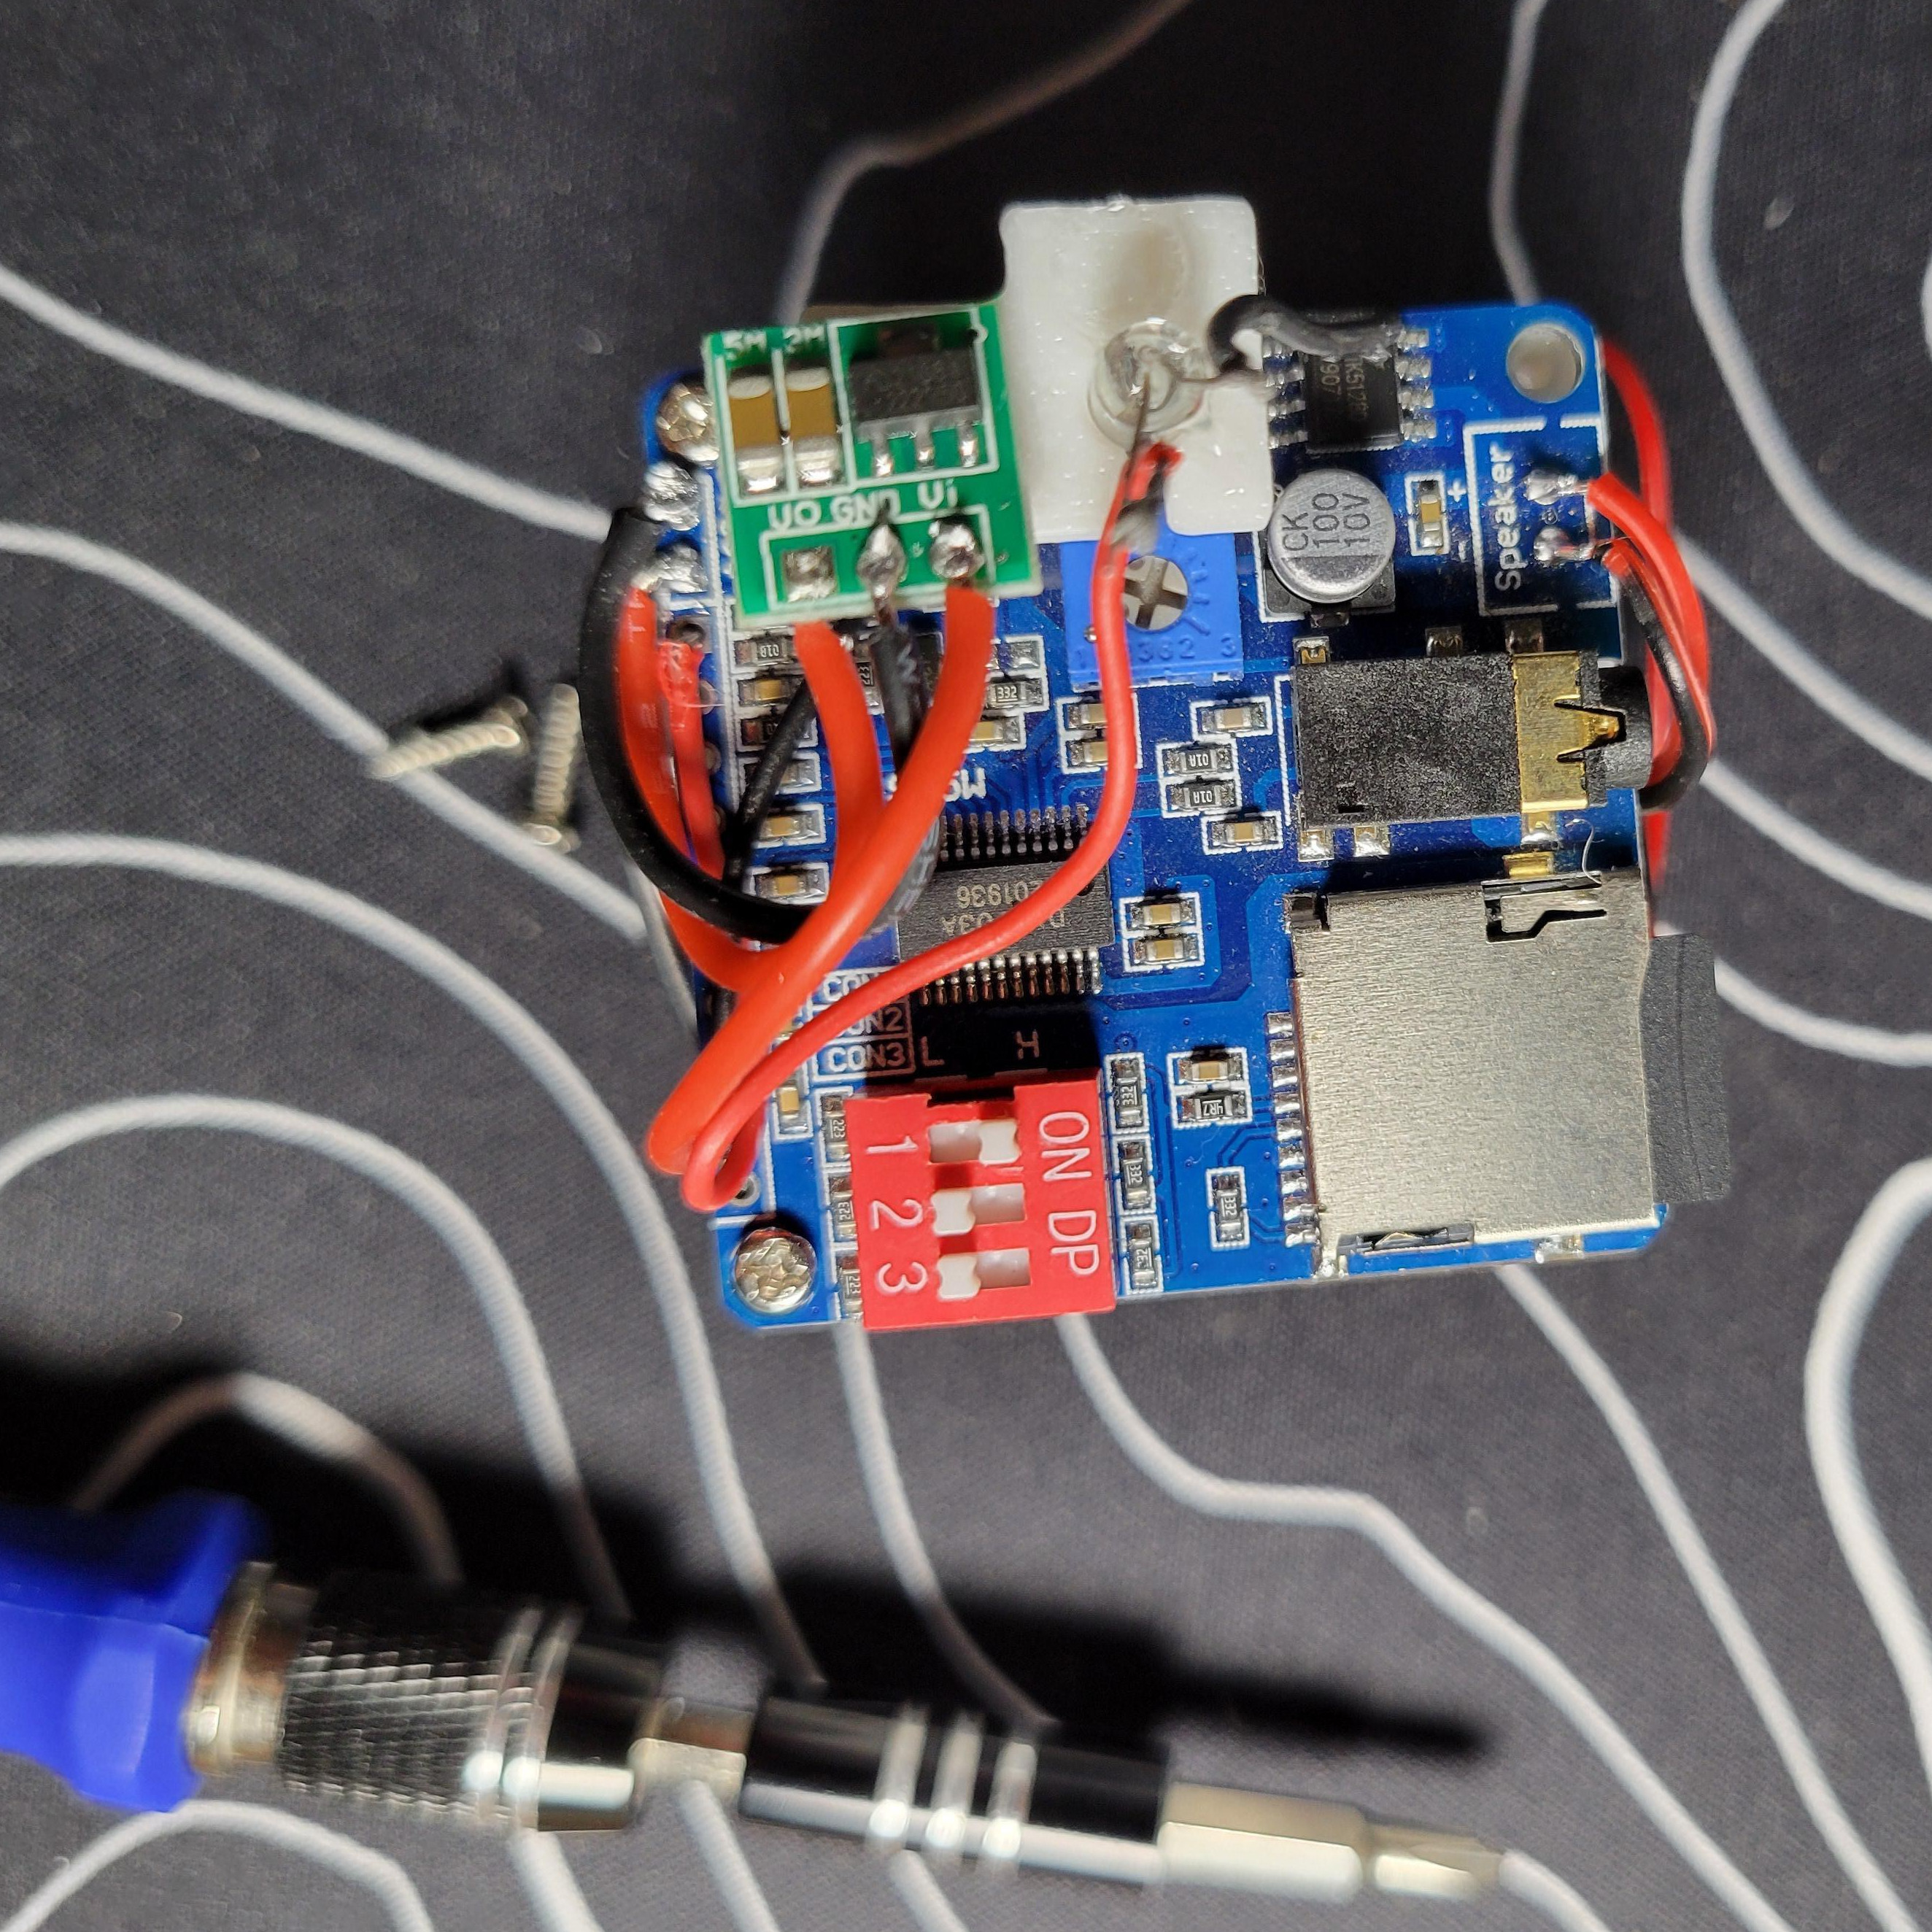
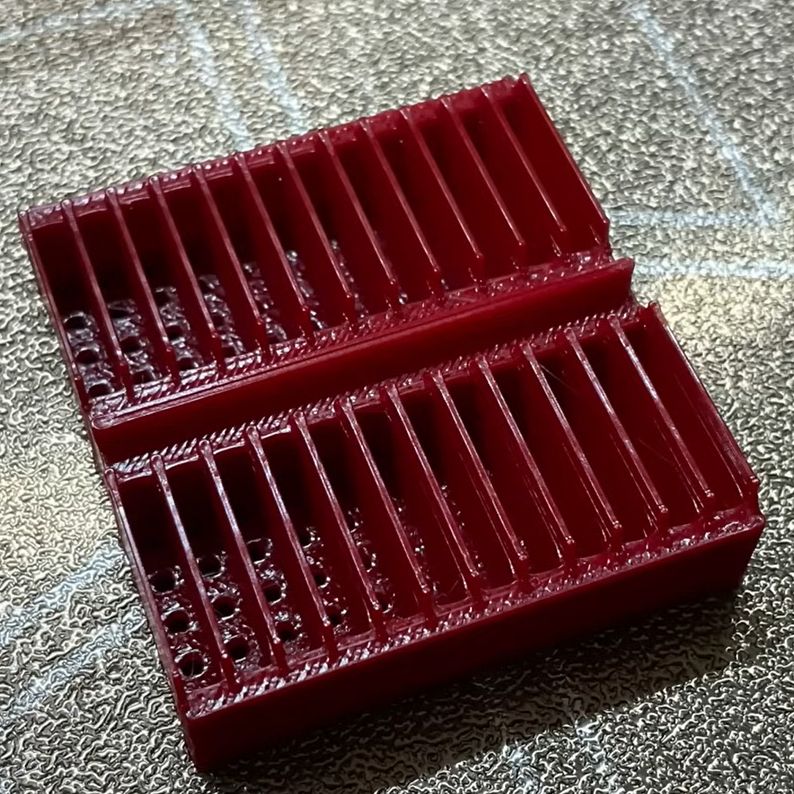
After this, the models printed fine and easily fit onto the spring clips that [Chuck] had soldered down on some prototyping board. A nice feature of these spring clips is that they have a bit of space underneath them where an SMD LED can fit, enabling functional (or just fancy) lighting effects when using a custom PCB underneath the contraption. As for whether it’s worth it depends on your needs. As [Chuck] demonstrates, it can be pretty convenient for a small breadboard on an add-on card (with or without custom lighting) like this, but it’s unlikely to replace generic breadboards for quick prototyping. We can, however, imagine a custom breadboard with mounting points for things like binding posts, switches, or potentiometers.
If we had that kind of custom breadboard, we wouldn’t need these. People were making custom breadboards back in 1974, but they didn’t look like these.

 compare to each other. Rotations around the vertical axis are also determined in this manner.