Beer Shooting Dorm Fridge

blunt force traumomatic

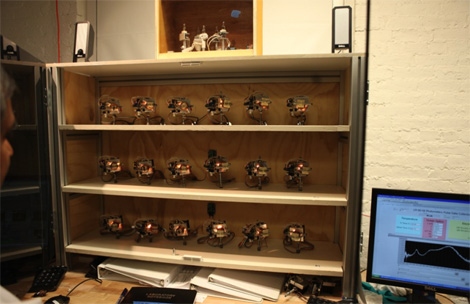
When we first heard the parts list for this project, we weren’t too impressed. It has an iPhone connecting to an IObridge etc… But then we heard the next, and most important part, an air cannon and an assortment of beer. We were sold.  As you can see in the video after the break, a fancy iPhone interface lets you select your beer, then dispense it into the cannon for delivery. The next step is to aim using a web cam mounted at the cannon and let ‘er rip! The beer is fired across the room and into your hands. We suspect that the amount of cranial injury, holes in the drywall, and shattered glass will greatly increase in frequency as the night goes on. Awesome.
Continue reading “Beer Shooting Dorm Fridge”

Calc Is High-tech For 1970’s Homebrew

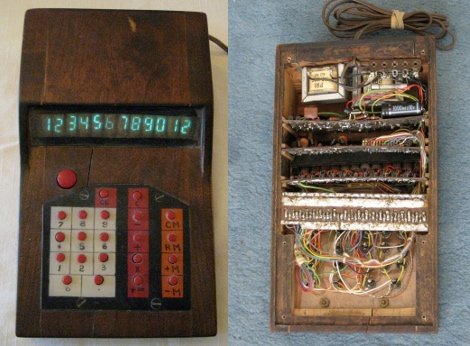
Just one look at that banner image and you’ve got to be thinking “that’s old”! This 1970’s era home made calculator used a 4-function calculator IC that was quite advanced for its time. The only problem is that the chip couldn’t do anything other than calcuations, which left it up to the maker of this dinosaur to get the display and keypad working. Circuit boards were made by drawing on copper clad with resist marker. These controlled the VFD digits for the IC’s output and also fed it the user inputs.

[Thanks Brian]

Cell Phone Endurance Tests


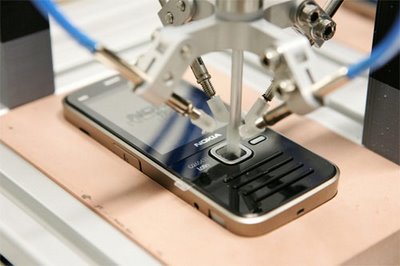
Gone are the days when a phone would last you a lifetime and enter the days of glass covered mobile phones built to be sexy and sophisticated. With these new phones come new testing methods. Companies like Nokia are still dedicated to making the best phones possible and making them durable through vigorous testing. The example shown in the article, is simulating a phone dropping from a shirt pocket onto the floor. Nokia claims to use 200 endurance tests encompassing temperature, extreme usage (use this button pusher for you own test), physical drops, and exposure to humidity on each new model in their product line. Makes one wonder what other companies are using for their endurance tests. There’s video of the Nokia N8 Drop Test is after the break, and don’t forget to leave a comment if you know about other interesting test methods.

Continue reading “Cell Phone Endurance Tests”

Christmas Light Controller

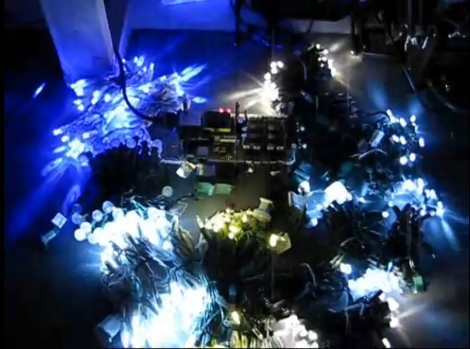
We get a lot of tips about Christmas light controllers but rarely do they contain the kind of juicy detail that [Vince Cappellano] included with his setup. His video explaining the controller he built is embedded after the break and it’s not to be missed.

We think there’s a lot of good design invovled in this porject. First off, he’s got eight physical channels, each with optisolation and a triac for 256 levels of power control. But he was able to double the control to sixteen virtual channels if you’re using LED lighting. That’s because on those strings half of the LEDs are reverse biased compared to the rest. By adding sensing circuitry to the incoming AC, he can switch the triacs to only send positive or negative voltage through the LED strands, which produces the additional virtual channels. And did we mention that he did all this using wire wrapping and point-to-point soldering?

Continue reading “Christmas Light Controller”

Building A Security Access Panel

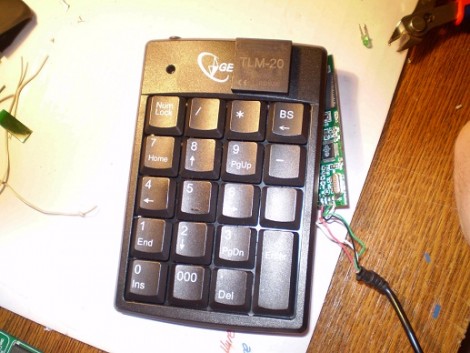
It turns out that hacking together a security keypad is remarkably simple if you know what you’re doing. [Don] needed to add a keypad with an RFID reader on it. He had previously built a USB RFID reader and thought he could integrate those concepts into the new unit.

He once again started with a serial to USB converter and removed the voltage converter IC for later use since he doesn’t need TTL levels for this project. The keypad is a USB product and it turns out there’s a hub inside. With plenty of space inside for the serial converter PCB and a blank spot at the top where he mounted the RFID reader, he adding a few passive components to wire it up and connect it to the hub. The only connection is the original USB cord but the PC will detect both the keypad and the converter.

Shutter Remote For RICOH Cameras

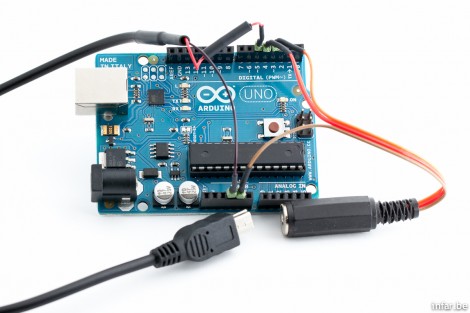
[Toby] wanted to have a remote shutter trigger for his RICOH GR III camera. This brand doesn’t have a dedicated port for remote operation but a bit of research allowed him to build his own trigger. The camera’s USB port is used for triggering but not using the USB protocol. Instead, a pulse pattern on the 5V line identifies the half-press, full-press, and release states of the shutter button. From there it was just a matter of wiring up a circuit centering around an Arduino that leaves room for a lot of expansion into realms like photo automation.