Morse code, often referred to as continuous wave (CW) in radio circles, has been gradually falling out of use for a long time now. At least in the United States, ham radio licensees don’t have to learn it anymore, and the US Coast Guard stopped using it even for emergencies in 1999. It does have few niche use cases, though, as it requires an extremely narrow bandwidth and a low amount of power to get a signal out and a human operator can usually distinguish it even if the signal is very close to the noise floor. So if you want to try and learn it, you might want to try something like this Morse trainer from [mircemk].
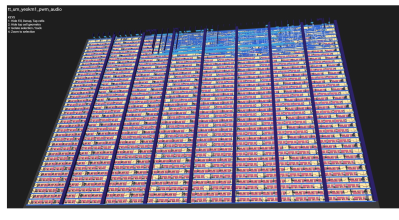
While learning CW can be quite tedious, as [mircemk] puts it, it’s actually fairly easy for a computer to understand and translate so not a lot of specialized equipment is needed. This build is based around the Arduino Nano which is more than up for the job. It can accept input from any audio source, allowing it to translate radio transmissions in real time, and can also be connected to a paddle or key to be used as a trainer for learning the code. It’s also able to count the words-per-minute rate of whatever it hears and display it on a small LCD at the front of the unit which also handles displaying the translations of the Morse code.
If you need a trainer that’s more compact for on-the-go CW, though, take a look at this wearable Morse code device based on the M5StickC Plus instead.


 their lifespan. While the concept of food-based robots may seem unusual, the potential applications in medicine and reducing waste during food delivery are significant driving factors behind this idea.
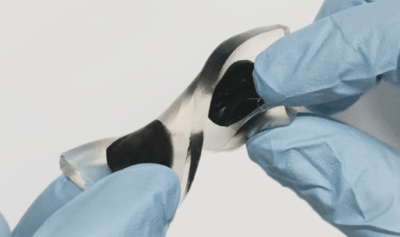
 activated charcoal (AC) electrodes on a gelatin substrate. Water is split into its constituent oxygen and hydrogen by applying a voltage to the structure. These gasses adsorb into the AC surface and later recombine back into the water, providing a usable one-volt output for ten minutes with a similar charge time. This simple structure is reusable and, once expired, dissolves harmlessly in (simulated) gastric fluid in twenty minutes. Such a device could potentially power a GI-tract exploratory robot or other sensor devices.