 It seems fair to say that pinball machines are among the most universally loved gaming systems known today, yet the full-sized ones are both very expensive and very large, while even the good quality table-sized ones tend to be on the expensive side. That raises the question of whether a fully 3D printed pinball machine could at all be fun and not just feel like a cheapo toy? A recent video by [Steven] from [3D Printer Academy] on YouTube makes here a compelling argument that it might actually be worth something to consider.
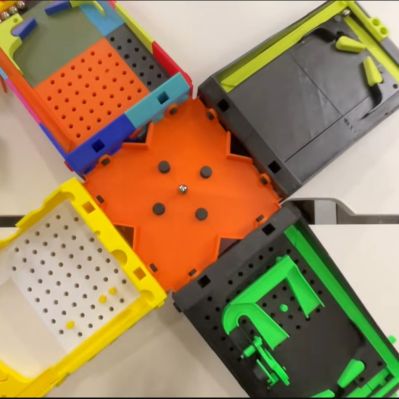
In addition to being fully modular and customizable the most compelling element is probably that the design supports two- and four-player multiplayer. This sees the metal balls leaving at the rear and from there entering the playing field of another player’s machine, which can probably get pretty chaotic.
Unfortunately this is part of a Kickstarter campaign, so you’ll have to either shell out some cash to get access to the print files or DIY your own version. We’d also be remiss to not address the durability concerns of a 100% plastic pinball machine like this, plus the lack of serious heft to compensate for more enthusiastic playing styles.
If you are more into traditional DIY pinball machines, we have covered these as well, along with small screen-based machines, and their miniature brethren for when space is really at a premium.
Continue reading “Can You 3D Print A Pinball Machine That’s Fun To Play?”


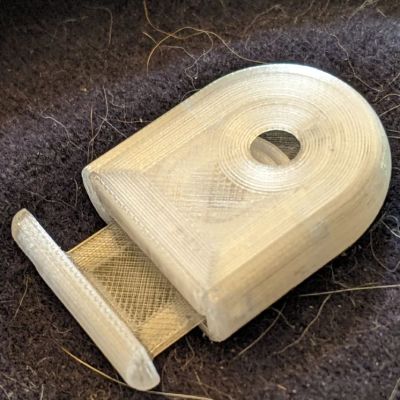 Springs are great, but making them out of plastic tends to come with some downsides, for fairly obvious reasons. Creating a compliant mechanism that can be 3D printed and yet which doesn’t permanently deform or wear out after a few uses is therefore a bit of a struggle. The compliant toggle mechanism that [neotoy] designed