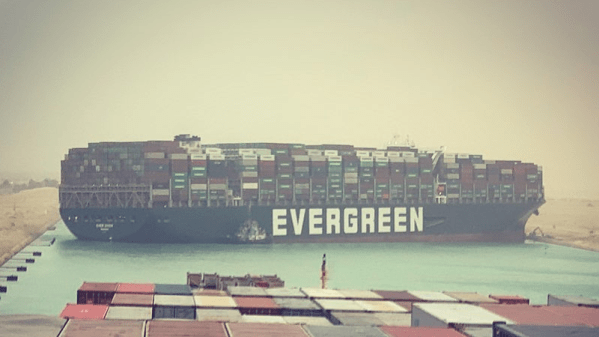
As fascinating and frustrating as it was to watch the recent Suez canal debacle, we did so knowing that the fallout from it and the analysis of its impact would be far more interesting. Which is why this piece on the potential of additive manufacturing to mitigate supply chain risks caught our eye.
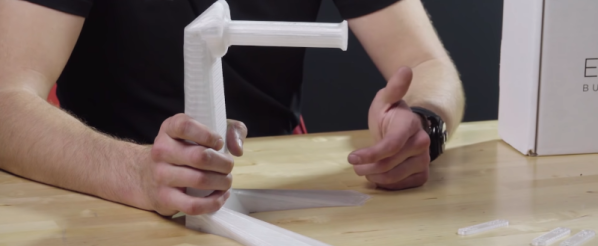
We have to admit that a first glance at the article, by [Davide Sher], tripped our nonsense detector pretty hard. After all, the piece appeared in 3D Printing Media Network, a trade publication that has a vested interest in boosting the additive manufacturing (AM) industry. We were also pretty convinced going in that, while 3D-printing is innovative and powerful, even using industrial printers it wouldn’t be able to scale up enough for print parts in the volumes needed for modern consumer products. How long would it take for even a factory full of 3D-printers to fill a container with parts that can be injection molded in their millions in China?
But as we read on, a lot of what [Davide] says makes sense. A container full of parts that doesn’t arrive exactly when they’re needed may as well never have been made, while parts that are either made on the factory floor using AM methods, or produced locally using a contract AM provider, could be worth their weight in gold. And he aptly points out the differences between this vision of on-demand manufacturing and today’s default of just-in-time manufacturing, which is extremely dependent on supply lines that we now know can be extremely fragile.
So, color us convinced, or at least persuaded. It will certainly be a while before all the economic fallout of the Suez blockage settles, and it’ll probably longer before we actually see changes meant to address the problems it revealed. But we would be surprised if this isn’t seen as an opportunity to retool some processes that have become so optimized that a gust of wind could take them down.