Most foods when pureed become pretty unappetizing to look at. For that reason, patients who have trouble swallowing are often given pureed food that’s been molded into fun shapes to make it more appealing. The problem with molding food is that it’s labor-intensive, time-consuming, and the resulting edible toys require a lot of storage space.
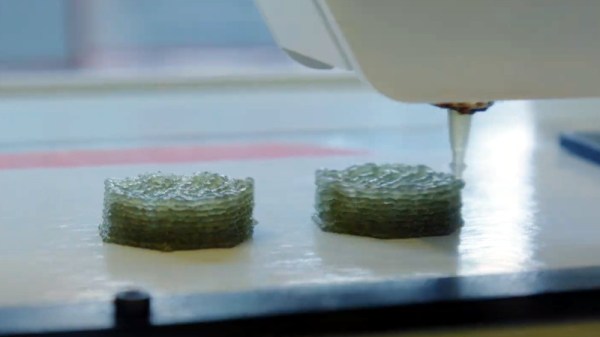
 When 3D printing came along, it was poised to solve the problem, but in the quest to make foods printable, they became even worse. Printable food paste typically starts with dehydrated and/or freeze-dried vegetables, and then hydrocolloids like xanthan gum and locust bean gum are added so the paste holds together after extrusion. Unfortunately, these additives are a big step backward; they change the texture for the worse, and make the food smell and taste bad, too.
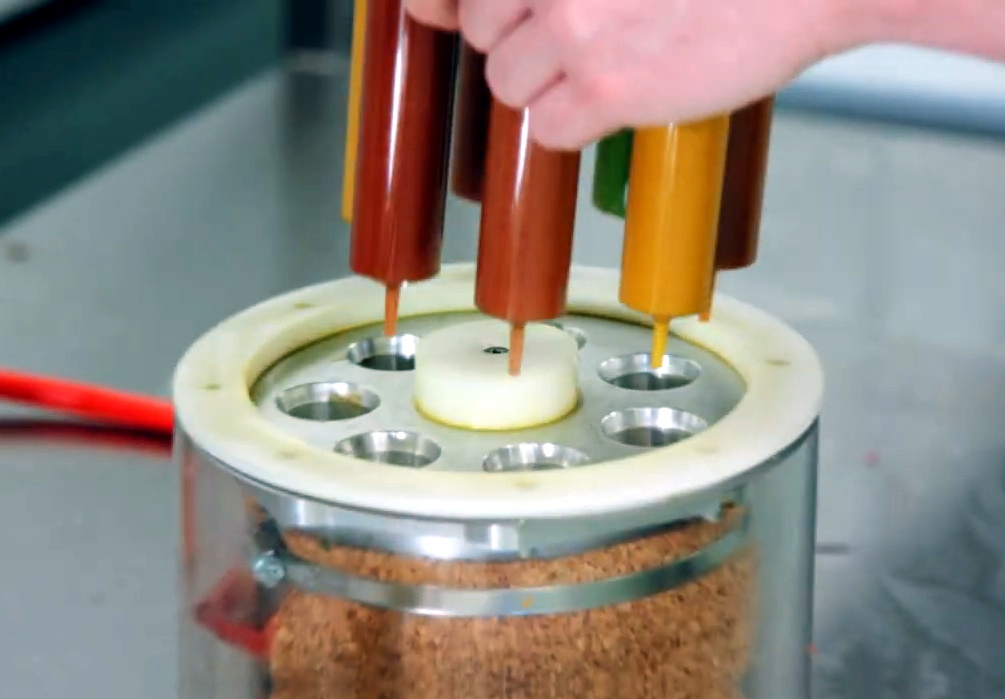
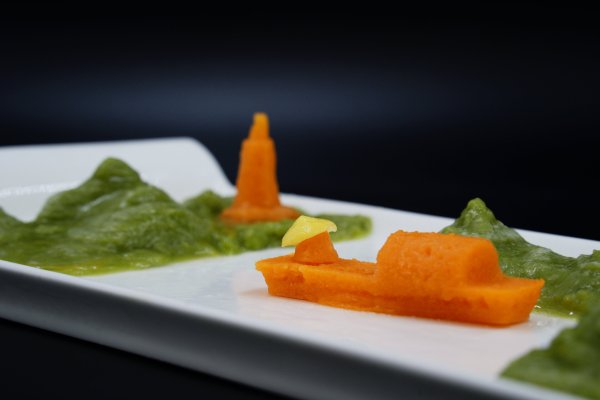
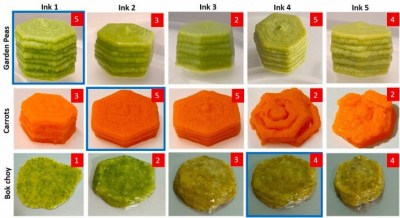
The solution is one of those things that sounds obvious in hindsight: some researchers in Singapore tried using fresh and frozen foods instead of freeze-dried, and figured out the minimum amount of hydrocolloids they could get away with for a given food. In their research they categorized all the feasible foods this way. Some vegetables like garden peas which have higher starch and lower water percentages don’t need any hydrocolloids to be printable. As the starch level falls and water rises, more hydrocolloids are needed. So carrots can get away with using just one type of hydrocolloid, while things like bok choy need two types to print effectively. Even so, results of the study show that fresh vegetable printing calls for far less than their powdered counterparts to the extent that it no longer affects the taste of the end product.
The researchers envision a future where every hospital and elder care facility has a food printer to churn out carrot boats and spinach skylines on demand. We think this tasty development is totally awesome — it’s just too bad the carrot boats don’t look more like Benchy.
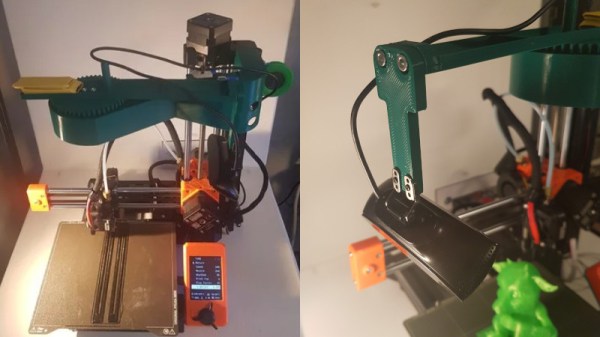
In the mood for printed food? Our own [Tom Nardi] sampled the menu of additive edibles a while back.
Thanks for the tantalizing tip, [Qes]!