We’d wager that most people reading these words have never used a loom before. Nor have most of you churned butter, or ridden in a horse-drawn wagon. Despite these things being state of the art technology at one point, today the average person is only dimly aware of their existence. In the developed world, life has moved on. We don’t make our own clothes or grow our own crops. We consume, but the where and how of production has become nebulous to us.
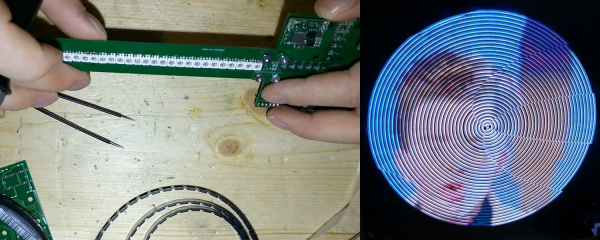
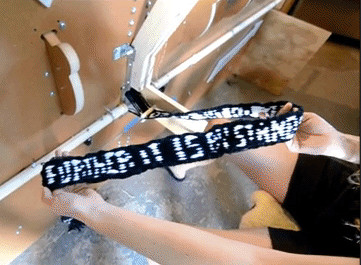 [David Heisserer] and his wife [Danielle Everine], believe this modern separation between consumption and production is a mistake. How can we appreciate where our clothing comes from, much less the people who make it, without understanding the domestic labor that was once required to produce even a simple garment? In an effort to educate the public on textile production in a fun and meaningful way, they’ve created a poetry printing loom called Meme Weaver.
The Meme Weaver will be cranking out words of woolen wisdom at the Northern Spark Festival taking place June 15th and 16th in downtown Minneapolis. If any Hackaday readers in the area get a chance to check out the machine, we’d love to hear about it in the comments. Take photos! Just don’t blame us if you have a sudden urge to make all of your clothing afterwards.
Continue reading “Poetry Is The Fruit Of This Loom”


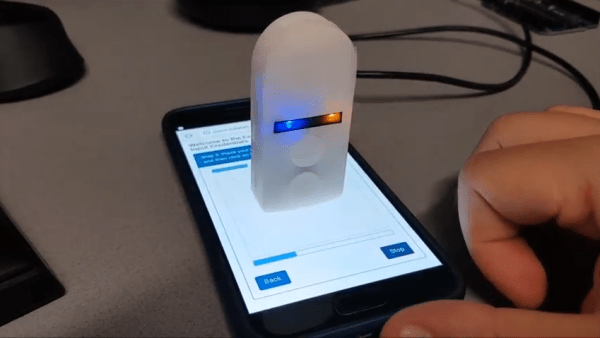
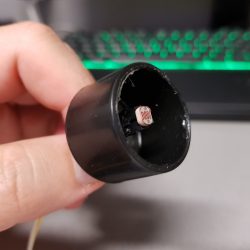 A flashing LCD screen and a photo-resistor barely make the cut for a one-way LiFi system, but [Eduardo Zola] makes it work. The approach is to build a resitor divider and watch an input pin on the ESP for changes.