We all know that sound. That sound of a noisy yapping dog, or the sound of a disruptive garbage truck loudly picking up the trash while making a ruckus along the way. It can be extremely distracting and frustrating to deal with. And more often than not, we have little control over the noise pollution in the area. Unless of course, you build a monitoring solution to raise awareness of the situation, like this one that [Edmund] made.
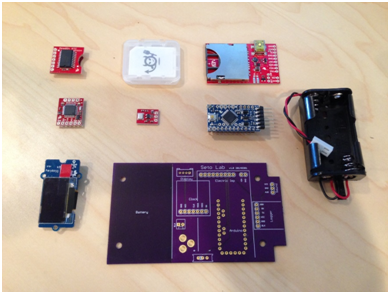
It was designed in conjunction with the Earth Journalism Network (EJN) in order to, as their website states, “facilitate story-telling of the sources and health impacts of noise from around the world“. An Arduino Pro Mini was the backbone of the project. Being open-source in nature meant that it could be customized easily with a wide array of sensors. [Edmund] chose to use an Electric Imp adding WiFi capability to the device. His step-by-step tutorial showed the design process, leading into the prototyping of the parts, and contains schematics for the circuit. As of the time that this article was published, the coding section of project hasn’t been released yet, but the first three parts give enough information to get the ball rolling.
This type of monitoring solution has the potential to record the noise levels of neighborhoods all across the world. With a large enough pool of data, API’s can be developed for uses like house hunting web searches that show which areas in town are the quietest, or which ones are the loudest. This will surely provide a wealth of knowledge about noise pollution, and it will be interesting to see how people utilize this (and projects similar) in the future.


 The project featured in this post is


