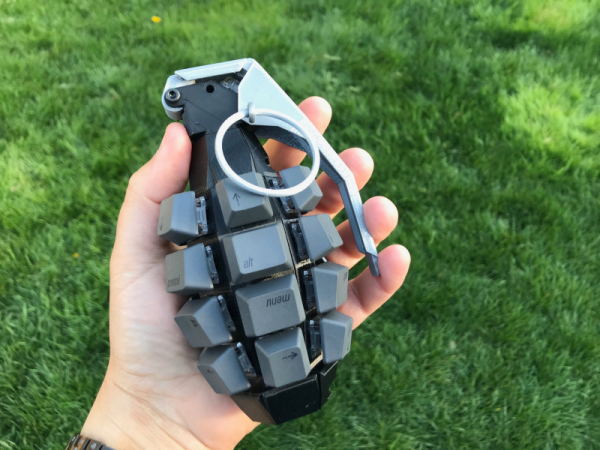
Now why didn’t we think of this? While building a dactyl manuform — a semi-ergonomic split keyboard — [dapperrogue] had the life-changing epiphany that keyboards can be any shape or size, as long as there is room for wiring and a microcontroller inside. [dapperrogue]’s first foray into the world of fictional ordnance came in the form of an F-bomb — a round macro keeb made in the classic round explosive shape and covered with function keys. Building on the explosive feedback from that, [dapperrogue] built this bomb of a pineapple keeb, 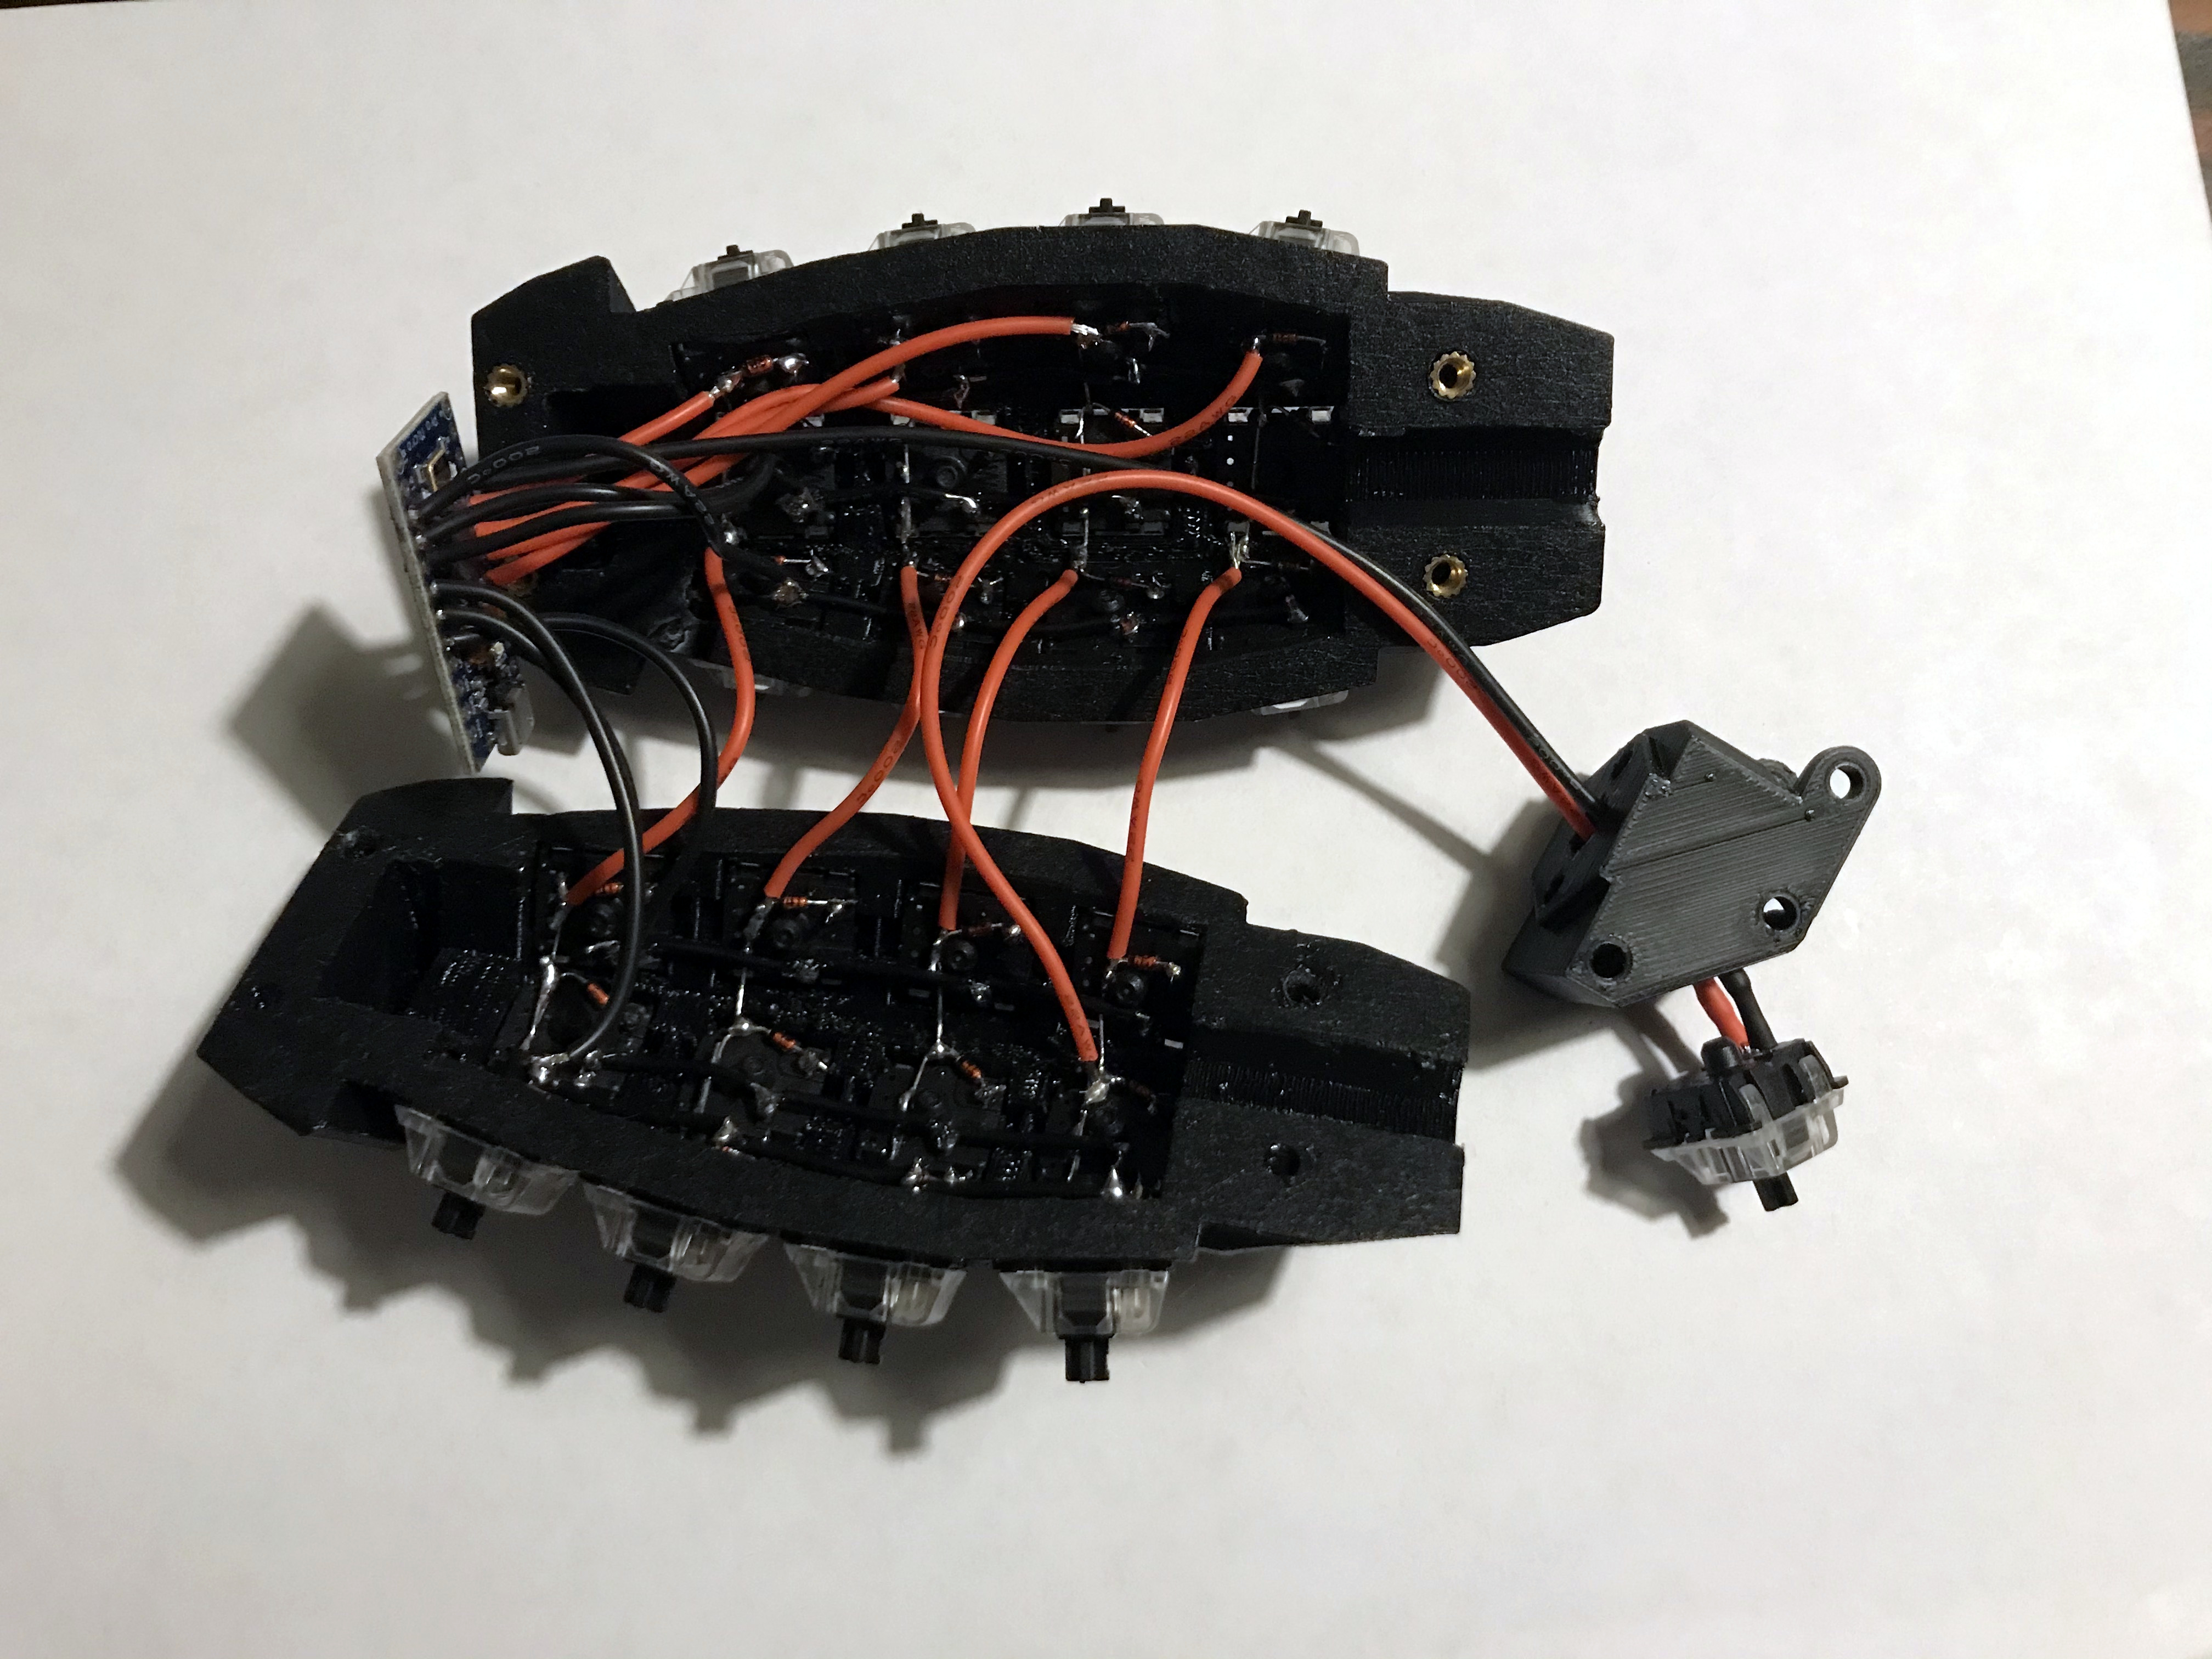 the only anti-personnel factor being the clickiness of the key switches.
This groovy grenade has 25 keys total, 24 of which are in a 4×6 grid around the body. The 25th key, the best one, is hiding under the lever and you bet it can only be actuated by pulling the pin first. We love the use of the lever because it makes us think of Morse code keyers, which might be what we would use that switch for.
Inside is an Arduino Pro Micro running QMK and some skillful wiring. The entirely 3D-printed enclosure is in two main pieces that are connected with M3 screws, plus the top. If you want to pack one of your own, the STLs and firmware are out on GitHub. Just don’t take it to the airport.
Be sure to check out the demos after the break — in the stock firmware, every key types out a different onomatopoeic boom-type sound. Are you more of a pacifist when it comes to macro pad design? That’s understandable. We have plenty of different builds to admire.