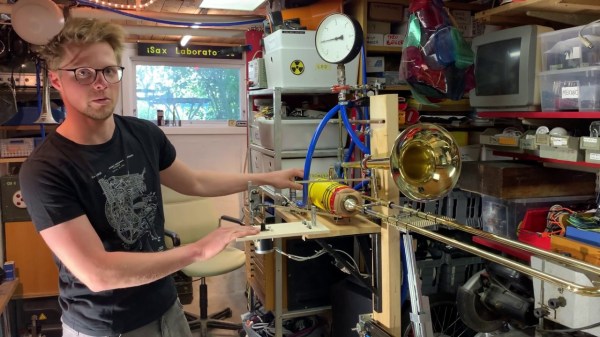
At first glance, this might appear to be a Rube Goldberg machine made of toys. The truth isn’t far off — it’s a remote-control animatronic story machine driven by its spectators and their phones. [Niklas Roy] and a team of volunteers built it in just two weeks for Phaenomenale, a festival centered around art and digital culture that takes place every other year.

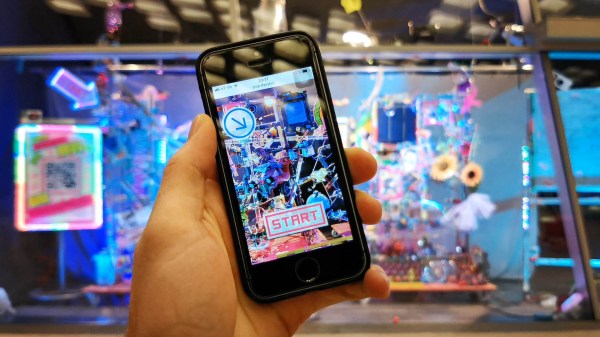
A red ball travels through a network of clear acrylic tubes using 3D printed Venturi air movers, gravity, and toys to help it travel. Spectators can change the ball’s path with their phones via a local website with a big picture of the installation. The ball triggers animations along its path using break beam detection and weaves a different story each time depending on the toys it interacts with.
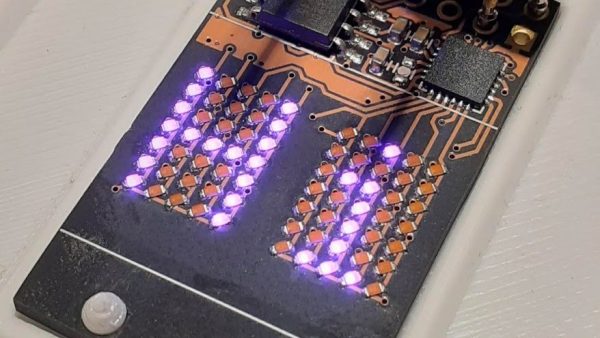
Here’s how it works: a Raspberry Pi 4 is responsible for releasing the ball at the beginning of the track and for controlling the track switches. The Pi also hosts a server for smartphones and the 25 Arduino Nanos that control the LEDs and servos of the animatronics. As a bonus animatronic, there’s a giant whiteboard that rotates and switches between displaying the kids’ drawings and the team’s plans and schematics. Take a brief but up-close tour after the break.
This awesome art project was a huge collaborative effort that involved the people of Wolfsburg, Germany — families in the community donated their used and abandoned toys, groups of elementary school kids were brought in to create stories for the toys, and several high school kids and other collaborators realized these drawings with animatronics.
Toys can teach valuable lessons, too. Take this body-positive sushi-snarfing Barbie for example, or this dollhouse of horrors designed to burn fire safety into children’s brains.
Continue reading “A Tubular Fairy Tale You Control With Your Phone”