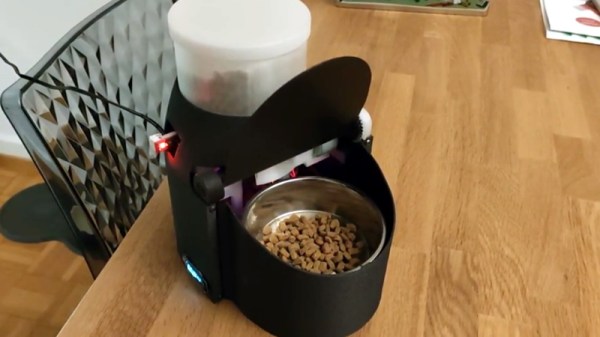
We often like to say that if something is worth doing, then it’s worth overdoing. This automatic cat feeder built by [krizzli] is a perfect example of the principle. It packs in far more sensors and functions than its simple and sleek outward appearance might suggest, to the point that we think this build might just set the standard for future projects.
The defining feature of the project is a load cell located under the bowl, which allows the device to accurately measure out how much feed is being dispensed by weight. This allows the feeder to do things such as detect jams or send an alert once it runs out of food, as well as easily adjust how much is dispensed according to the animal’s dietary needs. To prevent any curious paws from getting into the machine while it’s doling out the food, the lid will automatically open and close during the filling process, complete with optical sensors to confirm that it moved as expected.
 All of the major components of the feeder were printed out on a Prusa i3 MK3S, and [krizzli] says that the feed hopper can be scaled vertically if necessary. Though at the current size, it’s already packing around a week’s worth of food. Of course, this does depend on the particular feline you’re dealing with.
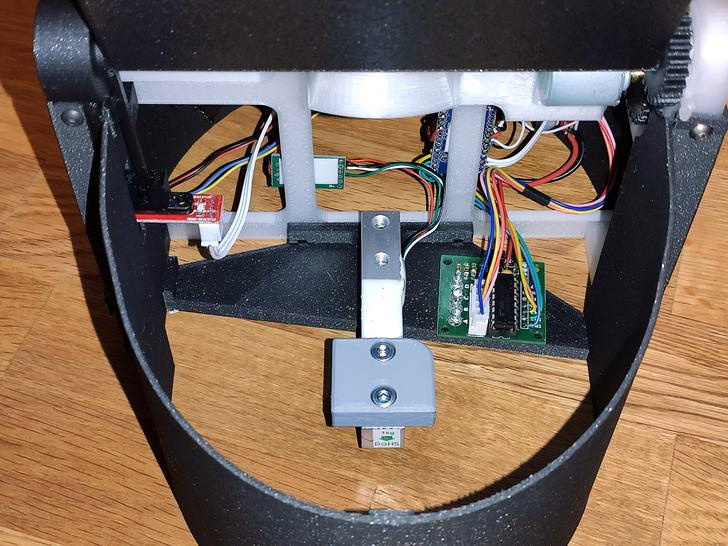
In terms of electronics, the feeder’s primary control comes from an ESP8266 (specifically, the Wemos D1 Mini), though [krizzli] also has a Arduino Pro Mini onboard so there’s a few more GPIO pins to play with. The food is dispensed with a NEMA 17, and a 28-BYJ48 stepper is in charge of moving the lid. A small OLED on the side of the feeder gives some basic information like the time until the next feeding and the dispensed weight, but there’s also a simple API that lets you talk to the device over the network. Being online also means the feeder can pull the time from NTP, so kitty’s mealtime will always be on the dot.
Over the years we’ve seen an incredible array of automatic cat feeders, some of which featuring the sort of in-depth metrics possible when you’ve got on onboard scale. But we can’t help but be impressed with how normal this build looks. If nothing else, of all the feeders we’ve seen, this one is probably the most likely to get cloned and sold commercially. They say it’s the most sincere form of flattery.