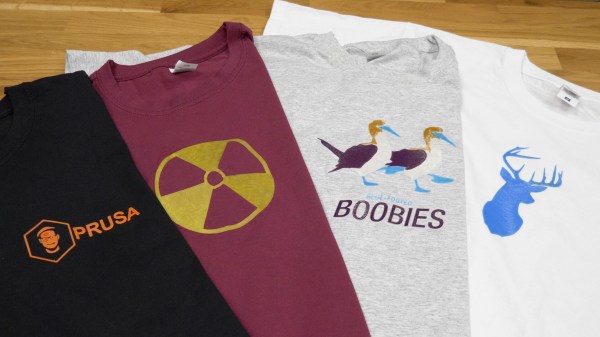
Want to make a t-shirt with a custom design printed on it? It’s possible to use a 3D printer, and Prusa Research have a well-documented blog post and video detailing two different ways to use 3D printing to create colorful t-shirt designs. One method uses a thin 3D print as an iron-on, the other prints directly onto the fabric. It turns out that a very thin PLA print makes a dandy iron-on that can survive a few washes before peeling, but printing flexible filament directly onto the fabric — while more complicated — yields a much more permanent result. Not sure how to turn a graphic into a 3D printable model in the first place? No problem, they cover that as well.
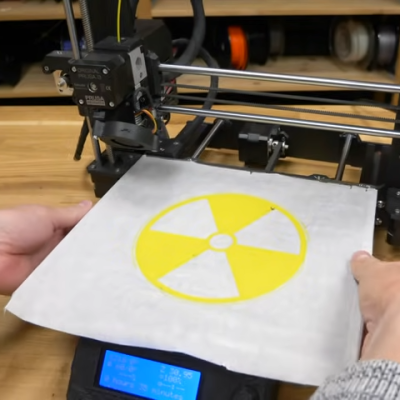
Making an iron-on is fairly straightforward, and the method can be adapted to just about any printer type. One simply secures a sheet of baking paper (better known as parchment paper in North America) to the print bed with some binder clips, then applies glue stick so that the print can adhere. A one- or two-layer thick 3D print will stick to the sheet, which can then be laid print-side down onto a t-shirt and transferred to the fabric by ironing it at maximum temperature. PLA seems to work best for iron-ons, as it preserves details better. The results look good, and the method is fairly simple.
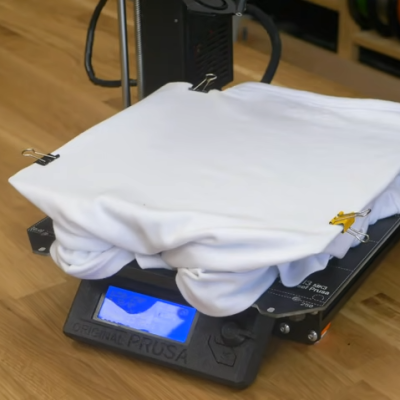
Direct printing to the fabric with flexible filament can yield much better (and more permanent) results, but the process is more involved and requires 3D printing a raised bed adapter for a Prusa printer, and fiddling quite a few print settings. But the results speak for themselves: printed designs look sharp and won’t come loose even after multiple washings. So be certain to have a few old shirts around for practice, because mistakes can’t be undone.
That 3D printers can be used to embed designs directly onto fabric is something many have known for years, but it’s always nice to see a process not just demonstrated as a concept, but documented as a step-by-step workflow. A video demonstration of everything, from turning a graphic into a 3D model to printing on a t-shirt with both methods is all in the short video embedded below, so give it a watch.
Continue reading “3D Print A Custom T-Shirt Design, Step-by-Step”
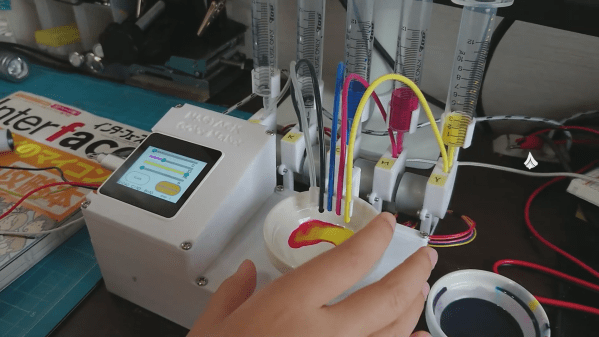
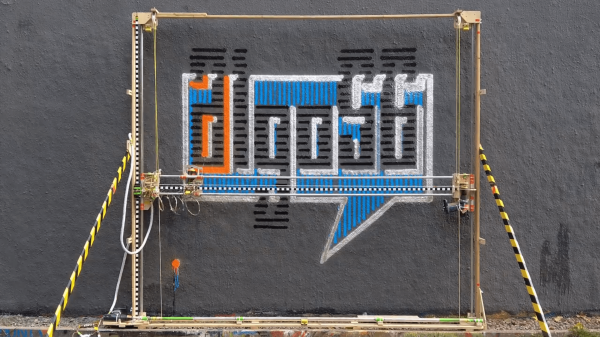
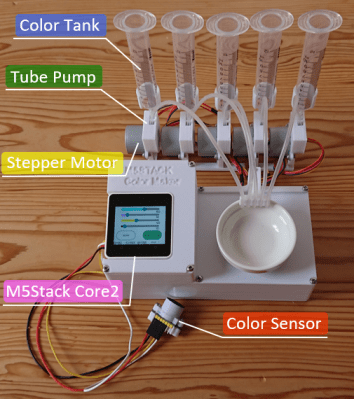 The color sensor is similar in use to the color picker (or “dropper”) tool present in most graphics programs: simply point it at something that has the right color, and it will generate the correct values for you. It is based on an AMS TCS34725 color sensor, which is housed in a 3D-printed shell that also includes a white LED. The sensor outputs Red, Green and Blue (RGB) values, which are converted into the corresponding CMYK values by a Raspberry Pi Pico. A touch-sensitive screen allows the user to make adjustments before activating the paint pumps.