If there’s any looming, unwritten rule of learning a programming language, it states that one must break in the syntax by printing Hello, World! in some form or another. If any such rule exists for game programming on a new microcontroller, then it is certainly that thou shalt implement Snake.
 This is [__cultsauce__]’s first foray away from Arduinoville, and although they did use one to program the ATtiny85, they learned a lot along the way.
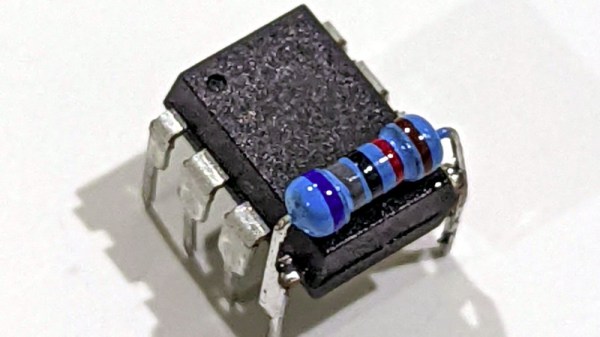
It doesn’t take much to conjure Snake with an ’85 — mostly you need a screen to play it on (an OLED in this case), some buttons to direct the snake toward the food dot, a handful of passives, and a power source.
[__cultsauce__] started by programming the microcontroller and then tested everything on a breadboard, both of which are admirable actions. Then it was time to make this plywood and cork sandwich, which gives the point-to-point solder joints some breathing room and keeps them from getting crushed. Be sure to check it out in action after the break, and grab the files from GitHub if you want to charm your own ‘tiny Snake.
There’s a ton you can do with this miniature microcontroller, and that includes machine learning.
Continue reading “ATtiny85 Snake Game Is A Circuit Sandwich”