On today’s episode of “What If?” — what if the Apollo 13 astronauts had a 3D printer? Well, for one thing, they may have been able to avoid all the futzing with duct tape and procedure list covers to jury rig the lithium hydroxide filters, at least if they’d known about these 3D printed enzymatic CO2 filters. And time travel…they probably would have needed that too.
A bit of a stretch, yes, but environmental CO2 scrubbing is at least one use case for what [Jialong Shen] et al from the Textile Engineering Department at North Carolina State University have developed here. The star of the show isn’t so much the 3D printing — although squirting out a bio-compatible aerogel and cross-linking it with UV light on the fly is pretty cool. Rather, the key to developing a CO2-scrubbing textile is carbonic anhydrase, or CA, a ubiquitous enzyme that’s central to maintaining acid-base homeostasis. CA is a neat little enzyme that coordinates a zinc ion in its active site and efficiently catalyzes the addition of water to carbon dioxide to produce bicarbonate and hydrogen ions. A single CA molecule can catalyze the conversion of up to a million CO2 molecules per second, making it very attractive as a CO2 filter.
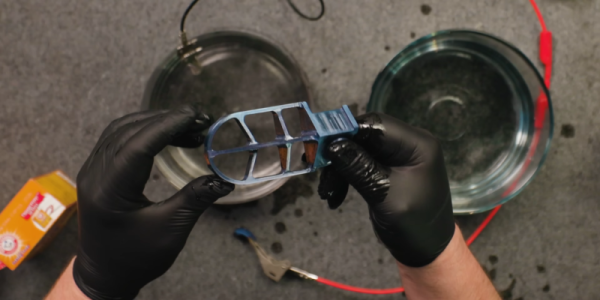
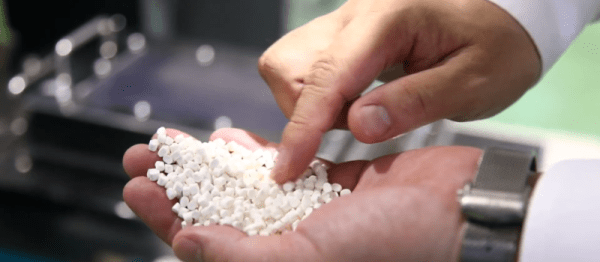
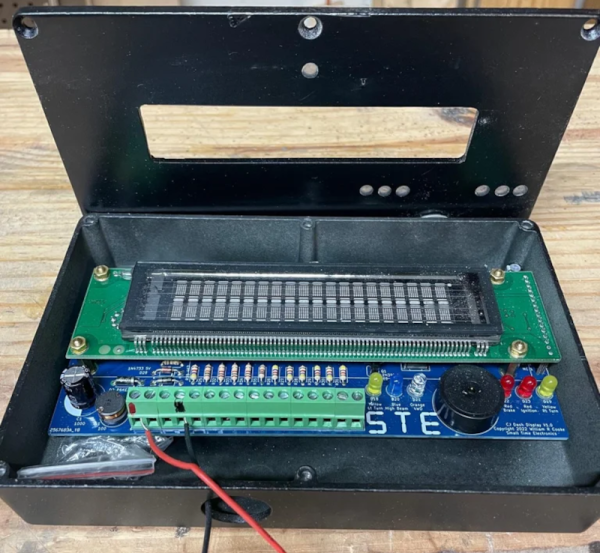
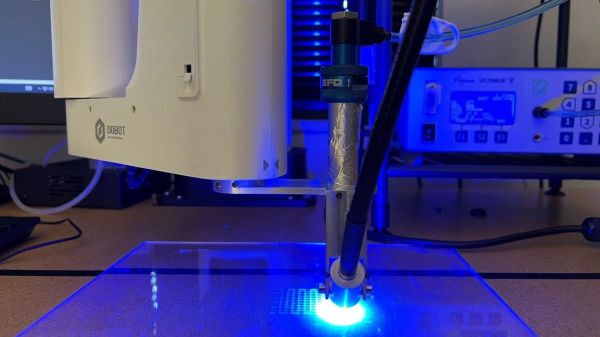
In the current work, an aerogel of poly(ethylene glycol) diacrylate/poly(ethylene oxide) (PEG-DA/EO) was used to entrap CA molecules, holding them in place in a polymer matrix to protect them from denaturation while still allowing access to gaseous CO2. The un-linked polymers were mixed with photoinitiators and a solution of carbonic anhydrase and extruded through a fine nozzle with a syringe pump. The resulting thread was blasted with 280–450 nm UV light, curing the thread instantly. The thread is either wound up as a mono-filament for later weaving or printed directly into a 2D grid.
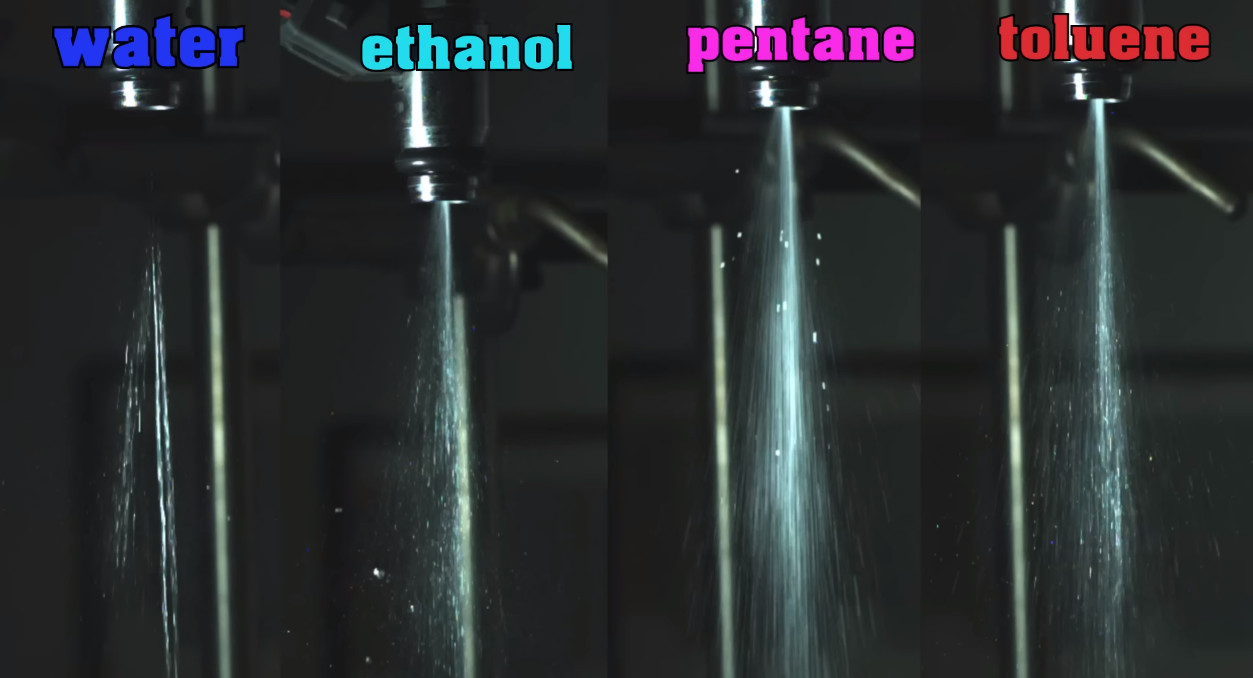
The filament proved to be quite good at CO2 capture, managing to scavenge 24% of the gas from a mixture passed over it. What’s more, the entrapped enzyme appears to be quite stable, surviving washes with various solvents and physical disruptions like twisting and bending. It’s an exciting development in catalytic textiles, and besides its obvious environmental uses, something like this could make cheap, industrial-scale bioreactors easier to build and run.
Photo credits: [Sen Zhang] and [Jialong Shen], NC State; [Rachel Boyd], Spectrum News 1
[via Phys.org]