Undertale came out in 2015 and took the world by storm. With a heartwrenching story, compelling characters and a soulful soundtrack, it won legions of fans and became an indie gaming legend. Years later, [Gornkleschnitzer] decided to begin a pinball machine build, and it became a tribute of epic proportions.
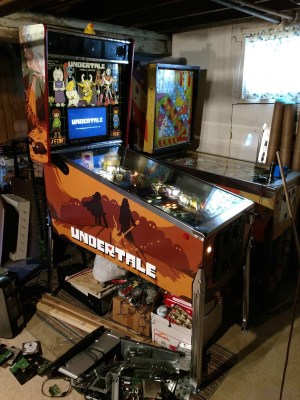
Yes, we’re talking about a living, clacking, and breathing Undertale pinball build. [Gornkleschnitzer] demonstrates not only a deep knowledge of the source content, but also a mastery of pinball construction. The build began with a design in Virtual Pinball, which allowed the basic design to be dialled in. This allows things like trick shots and other features to be tested before cutting real parts. With the design roughed out, the real work starts. Full sets of cabinet and playfield decals were professionally printed, flashers installed, and subway tunnels lasercut in steel. All manner of flippers, slingshots and ball troughs were installed, tested, and tweaked in the pursuit of perfection.
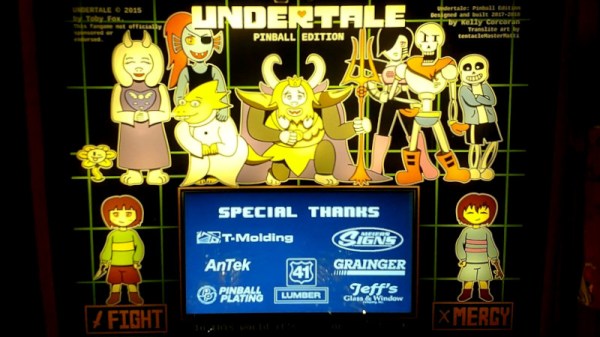
The attention to detail is where this machine really shines. The artwork is stunning, and the game is complete with the original soundtrack, including the death theme. There’s even hidden gems like the Tem Shop and bonuses galore to be had.
It’s a stunning pinball machine, and one we’re dying to play for ourselves. If you’re keen to get your feet wet, why not consider starting with a cardboard build? Video after the break. Continue reading “Undertale Pinball Machine Is A Work Of Art”