What happens when you throw a ball into a box? In the real world, the answer is simple – the ball bounces between the walls and the floor until it eventually loses energy and comes to rest. What happens when you throw a virtual ball into a virtual box? Sounds like something you might need a program running on a digital computer to answer. But an analog computer built with a handful of op amps can model a ball in a box pretty handily too.
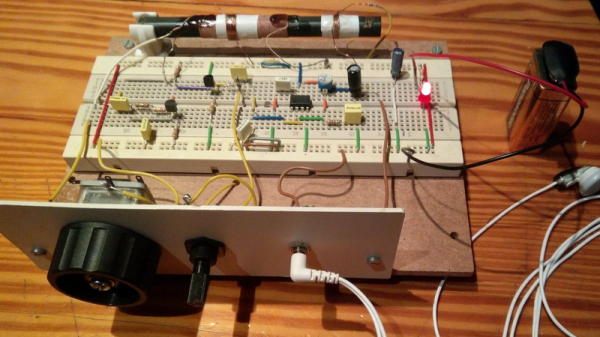
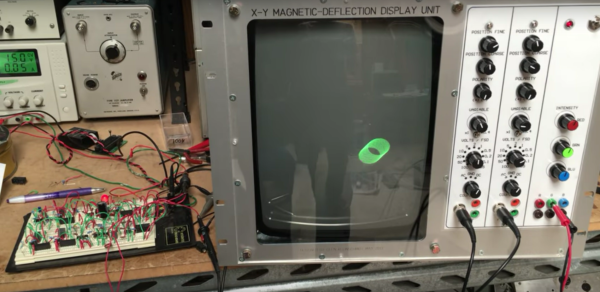
OK, it takes quite a large handful of op amps and considerable cleverness to model everything in this simple system, as [Glen Kleinschmidt] discovered when he undertook to recreate a four-decade-old demonstration project from AEG-Telefunken. Plotting the position of an object bouncing around inside the virtual box is the job of two separate circuits, one to determine the Y-coordinate and bouncing off the floor, and one to calculate the X-coordinate relative to the walls. Those circuits are superimposed by a high-frequency sine-cosine pair generator that creates the ball, and everything is mixed together into separate outputs for an X-Y oscilloscope to display. The resulting simulation is pretty convincing, with the added bonus of the slowly decaying clicks of the relay used to change the X direction each time a wall is hit.
There’s not much practical use, but it’s instructional for sure, and an impressive display of what’s possible with op amps. For more on using op amps as analog computers, check out [Bil Herd]’s “Computing with Analog” article.
Continue reading “Op Amps Combine Into Virtual Ball In A Box”