FPSLIC Powered LED Matrix

[Mathieu] built this display in hopes that he can play pong on it. You can imagine the headache that awaits when trying to figure out how to drive the 6144 bi-color LEDs. I must have worked out because the thing looks great in the video after the break. The solution he chose was a bit unfamiliar to us though. He used a Field Programmable System Level Integrated Circuit produced by Atmel, or FPSLIC. This is a kind of mash-up of components we’re more accustomed to.

The AT94K is a single chip that houses an 8-bit AVR microcontroller, and FPGA, and SRAM. This project uses that FPGA to handle the multiplexing of the display via code written in VHDL. The AVR core receives data via a USB port, stores two images in the SRAM (one for each LED color), and then outputs it to be drawn on the display. On second thought, this project sounds like fun and it’s a great way to get start learning that VHDL you’ve been putting off. Continue reading “FPSLIC Powered LED Matrix”

7-segment Sudoku

[John Sarik] keeps cranking out new ideas for his digital Sudoku project. This time he’s using 7-segment displays for each digit. The game play works the same as the Nixie Tube version, but this makes things quite a bit easier to build. The board above is one of the nine modules that make up the game. They each use three shift registers to drive the nine 7-segment displays. With the help of five resistors all of the multiplexing is addressed via the serial input on those chips.

Making Nixie Tubes At Home

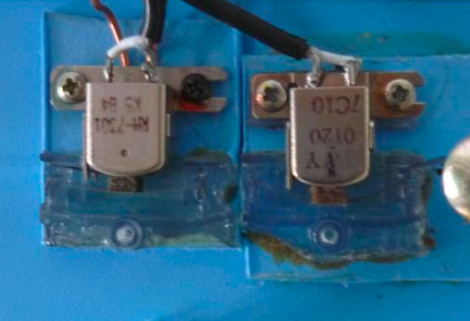
[Aleksander Zawada] makes vacuum tubes in his home. One of the most challenging builds he has taken on is to produce a working Nixie tube. He describes the process in a PDF (Internet Archive, updated 2024), covering his success and failure. It seems the hardest part is to get the tube filled with the proper gas, at the proper pressure, and firmly seal it. In the end he managed to make a tube with three digits (0, 1, and 2) that worked for about 700 hours before burning out.

[Aleksander] joins [Jeri Ellsworth] on the short list of hackers who can pull off extreme industrial manufacturing at home. Kudos.

[Thanks Duncan]

6809 Computing

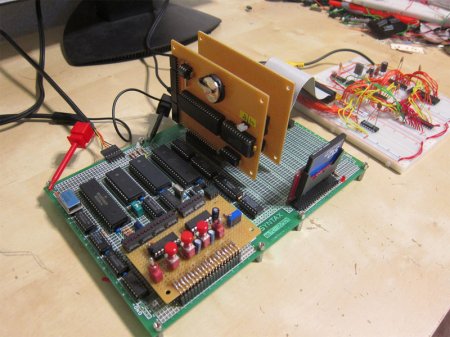
[Matthew Arnoff] built an 8-bit computer around the Motorola 6809 processor. He chose this processor because it seems there are a lot of Z80 builds out there and he wanted to try something different.

This actually packs quite a punch. He’s clocking the machine at 2 MHz with 512 KB of SRAM memory. Compact Flash that is FAT formatted provides mass storage. He’s using a serial connection for a user interface. After the break you can see his oscilloscope is used as the monitor. This was easy to accomplish by connecting the serial out to Terminalscope, one of his previous projects. Continue reading “6809 Computing”

Teensy Credit Card Reader

Here’s a hack that makes business sense. [PT] recalls last year’s HOPE conference when their booth was using a virtual credit card terminal for purchases that required manual entry of card information. This year they’ll have the same virtual terminal but this magnetic stripe reader will fill it out automatically.

A magstripe reader (reading only, no funny business here) from Mouser grabs data from the card. A Teensy microcontroller board, which identifies itself as a USB keyboard, automatically fills out the virtual terminal from the parsed data. The real question, are his customers comfortable sliding their plastic through a hacked reader?

Adding A Serial Port To A Dockstar

If you don’t look close you might think this Seagate Dockstar is in stock condition. But look at the three holes in the white case just above the thumb drive which act as a serial connection for the Dockstar. [Firestorm_v1] posted the instructions after see our post about installing OpenWRT on the device. He did a nice job of concealing the connection, heating up a pin header to melt the holes he needed. Now he has quick access without sacrificing features or aesthetics. A serial-to-USB cable is modified with a polarized pin header to ensure a quick and accurate connection. This is great for PC connectivity but you also never know when you want to add your own hardware bits to the network device.

PIC Based Picture Frame

Take a PIC 24HJ256GP206 processor and add a dash of knock-off touchscreen and a pinch of SD card compatibility for a DIY digital picture frame. [Daniel] wrote his own driver for the HX8347 controlled LCD that can achieve 15 FPS at 320×240 resolution with 16-bit color. As this was a gift for his wife, [Daniel] included a heart-shaped ring of LEDs that fade in and out like an electronic pulse. He notes that the JPEG decoder runs rather slow but that’s mostly because of the bottleneck caused when accessing data from the SD card. We’ve got more pictures and a link to the source code after the break.

Continue reading “PIC Based Picture Frame”