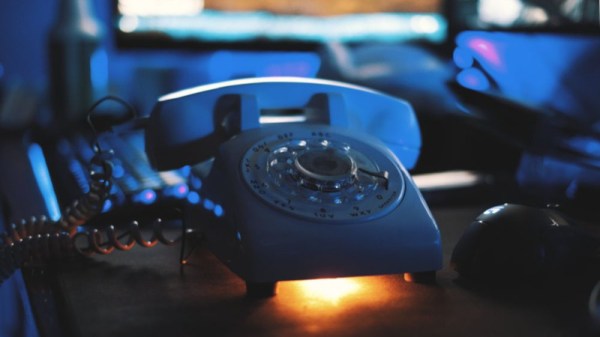
It’s an age-old conundrum for anyone working with retro hardware: preserve its original condition or not? The answer depends so often on a complex mix of how rare, obsolete or unusable the device is in its original form , and what the intended use for the device will be. For [Typhon Mind] who needed a novelty method of recording best wishes at a wedding through an old dial phone there was no need for it to be entirely original, so the solution was to turn it into a USB device for a host computer.
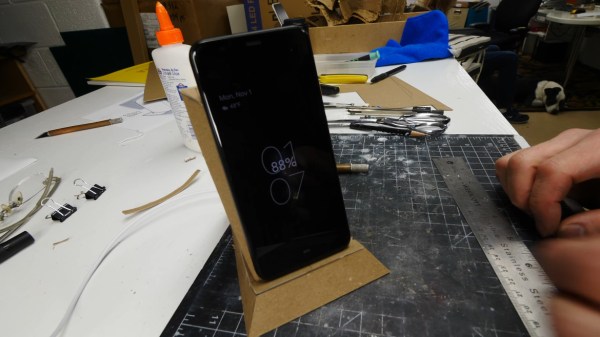
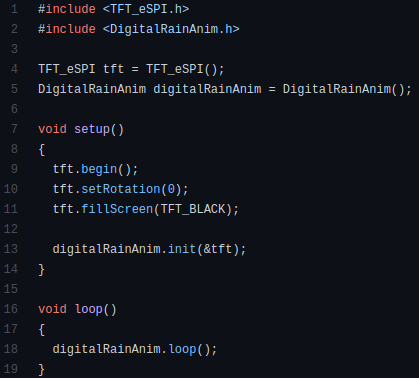
Out went the original circuitry, and in came a USB hub, a USB audio interface, and an Arduino. The original earpiece would suffice, but the microphone was replaced with a more modern one. The Arduino will register the cradle switch, and also power a set of LED addressable lights under the unit.
The result is a phone that retains all its looks, but has a new life as a PC peripheral. We’d venture to suggest that also using the Arduino to read the dial and produce DTMF tones might make it a valid peripheral for a VOIP application and complete the transformation, but that’s something that could be done at a later date. Maybe it could even be given a GSM makeover.

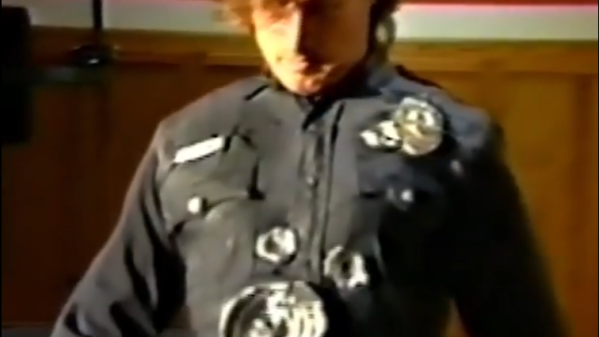
 How was this accomplished? First of all, Winston and his team researched the correct “look” for the splash impacts by firing projectiles into mud and painstakingly working to duplicate the resulting shapes. These realistic-looking crater sculpts were then cast in some mixture of foam rubber, and given a chromed look by way of vacuum metallizing (also known as