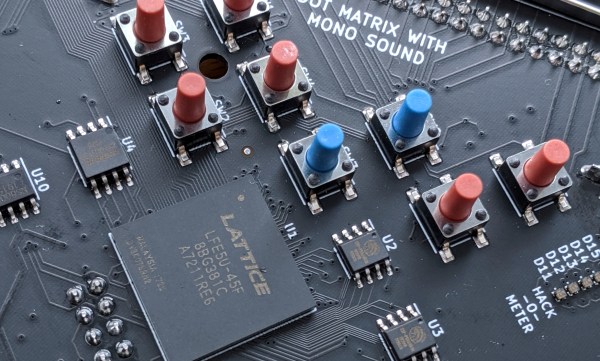
Look upon this conference badge and kiss your free time goodbye. The 2019 Hackaday Superconference badge is an ECP5 FPGA running a RISC-V core in a Game Boy form factor complete with cartridge slot that is more open than anything we’ve ever seen before: multiple open-source CPU designs were embedded in an open system, developed using the cutting-edge in open-source FPGA tools, and running (naturally) open-source software on top. It’s a 3,000-in-one activity kit for hardware people, software people, and everyone in between.
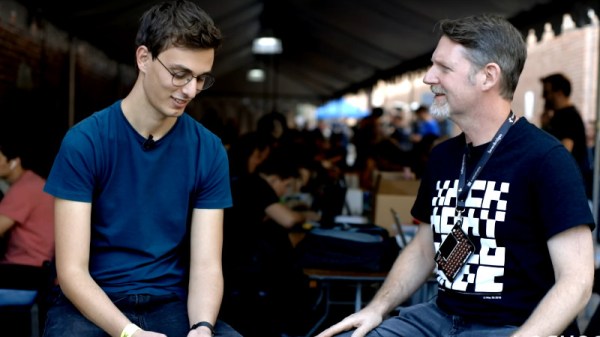
The brainchild of Jeroen Domburg (aka Sprite_TM), this design has been in the works since the beginning of this year. For more than 500 people headed to Supercon next week, this is a source of both geeky entertainment and learning for three action-packed days and well beyond. Let’s take a look at what’s on the badge, what you need to know to hack it, and how the design serves as a powerful development tool long after the badge hacking ceremonies have wrapped up.
The Dutch organisation eth0 has run a series of informal small camps over the years, never with an attendance too far into three figures, and without pre-planned events or entertainment. What happens is at the instigation of the attendees, and the result is a weekend of much closer socialising and working together on projects than the large camps where you spend your time running around to catch everything.
The largest of hacker camps offer all the lights, robots, tschunk, and techno music you can stomach; they can be a blast but also overwhelming. I made my way eth0 over the past week weekend, enjoying the more intimate size and coming away having made friendships from spending time with great people at a large private camping hostel near Lichtenvoorde. This is in the far east of the country near the German border, to which in the company of a British hardware hacker friend I traveled in the tiny European hatchback. Netherlands roads are so easy to navigate!
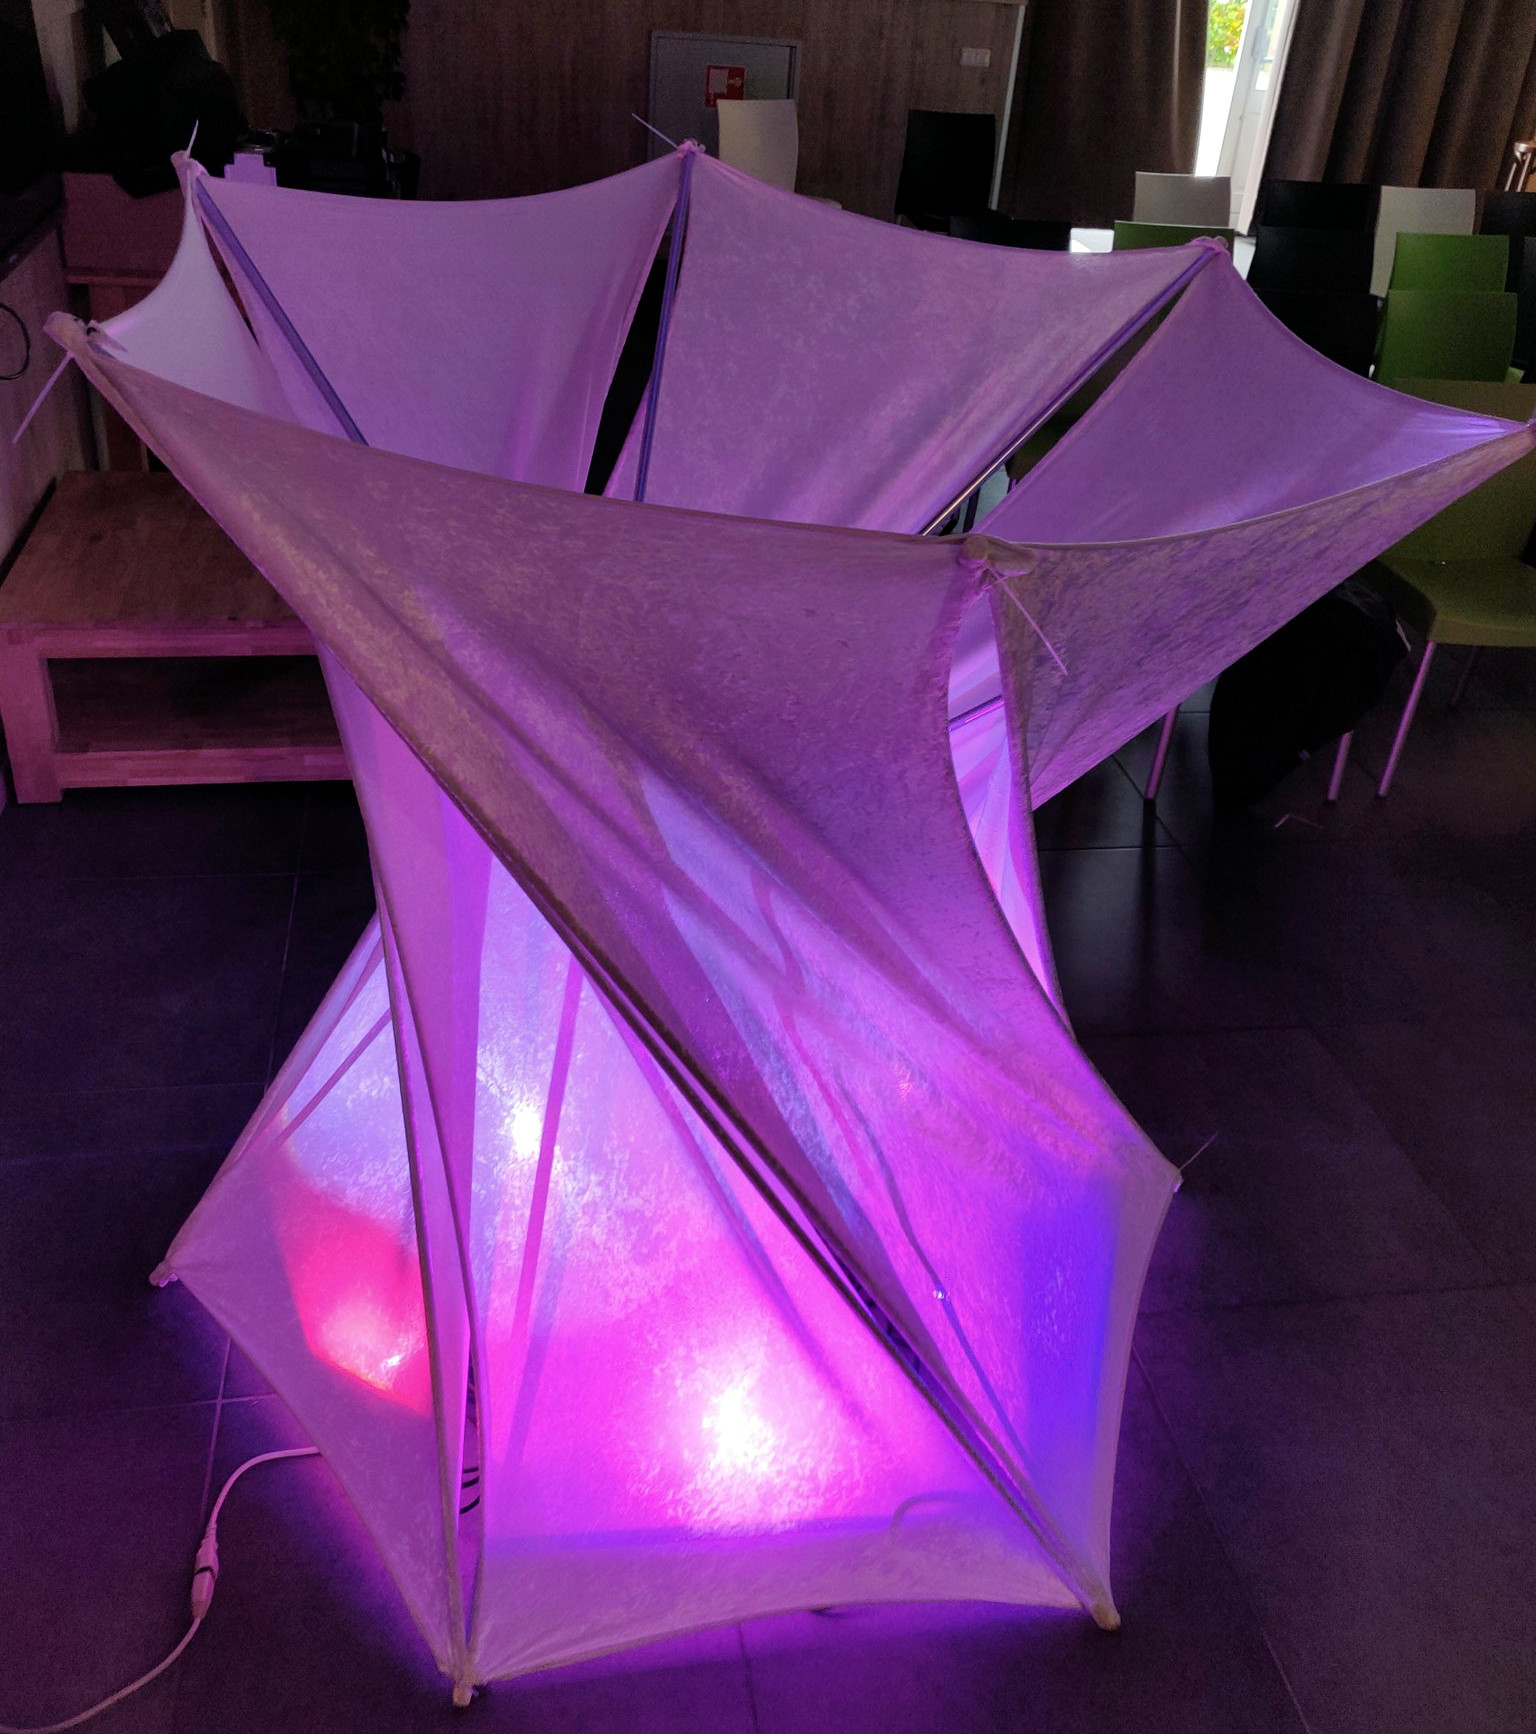
A prototype tensegrity structure. Image: Igor Nikolic.
At the event was the usual array of activities, though since it was a restricted photography affair I’m short on wider shots that would include people. This year’s hit came from surplus flipdot displays from retired German buses, with plenty of glitches as their quirks were figured out by our friends Lucy Fauth and Jana Marie Hemsing. Something tells me I’ll be seeing a lot of those fluorescent circles in the future.
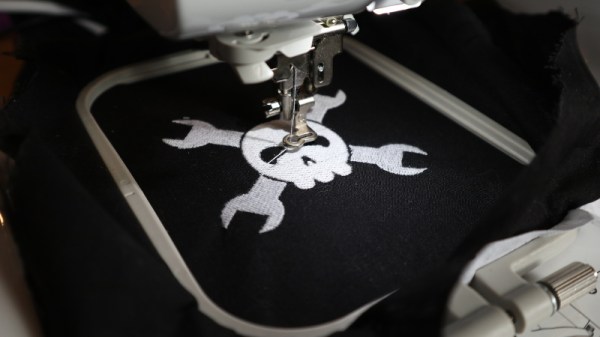
I’d brought along the nucleus of a textile village, and RevSpace in the Hague had added their embroidery machine to my overlocker and sewing machines. Its operator was Boekenwuurm from Hackalot in Eindhoven who was kind enough to embroider a Wrencher for me, and now I want one of these 600-Euro machines even if I can’t afford one. She and RevSpace’s Igor Nikolic were experimenting with inflatables and tensegrity structures, creating prototypes with an eye to more impressive installations at future camps.
An entertaining tale of a couple of days hanging out with friends in the Netherlands countryside could probably be spun into a reasonable tale, but there was something more interesting still at this camp. It had a badge, courtesy of the prolific badge.team Dutch badge crew. It didn’t come with their trademark ESP32 firmware though, instead in keeping with the budget of the event it was a prototyping board on which attendees could create their own badges. What came forth from that was extremely impressive, and continued after the event.
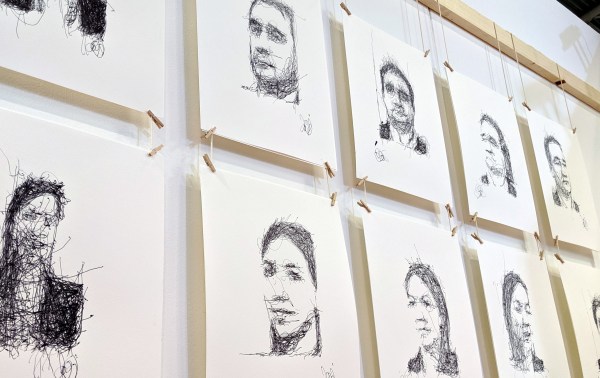
How is it possible that a robot can sketch both better and worse than I can at the same time, and yet turn out an incredible work of art? Has 3D-scanning really come so far that a simple camera and motorized jig can have insane resolution? These are the kinds of questions that were running through my mind, and being answered by the creators of these brilliant machines, at Maker Faire Rome.
There was a high concentration of robots creating art and 3D printing on display and the Faire, so I saved the best examples just for this article. But you’ll also find hacks from a few groups of clever students, and hardware that made me realize industrial controllers can be anything but boring. Let’s take a look!
Through the weekend Twitter has been a-titter with news coming out of Saintcon, the annual security conference in Provo, Utah. Now that the weekend is over we can finally get our hands on full hardware and software sources for the curvy, LED-covered badge we’ve been salivating over and a write up by its creators [compukidmike] and [bashNinja]. Let’s dive in and see what’s waiting!
Design
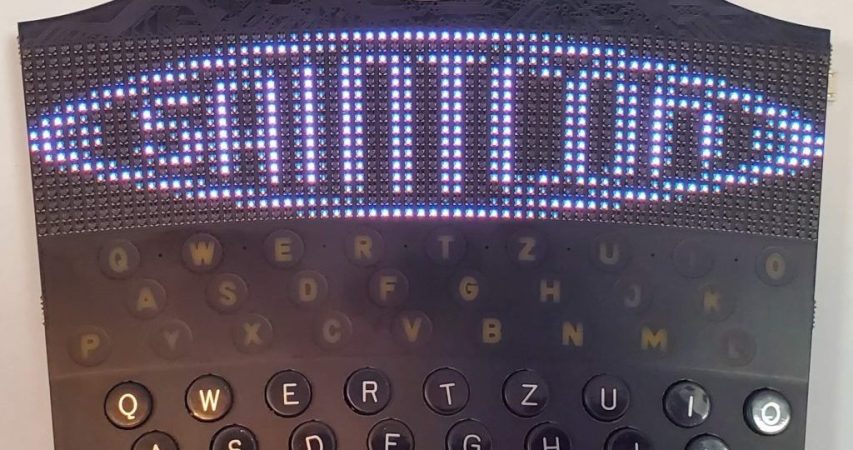
This year’s badge is designed to represent a single tooth on a single rotor of an Enigma machine. The full function of an Enigma machine is quite complex, but an individual device has three rotors with 26 teeth each (one for each letter) as well as a keypad for input and a character display to show each enciphered letter. For reference, the back of the badge has a handy diagram of a badge’s place in the Enigma system.
Reminiscent of the WWII device which the badge design recalls, each unit includes a full QWERTZ keyboard (with labeled keys!) and RGB “lampboard” for individual character output, but unlike the original there’s also a curved 16 x 64 RGB LED display made from those beguiling little ~1mm x 1mm LEDs. All in, the device includes 1051 LEDs! Combined with the unusually non-rectilinear shape of the badge and the Enigma-style Saintcon logo it makes for an attractive, cohesive look.
We’re just two weeks away from the fifth annual Hackaday Superconference, the single biggest gathering of hardware enthusiasts on at least one continent. It’s gearing up to be great, and we’re super excited for the opportunity to bring you such a diverse array of talks, workshops, and more.
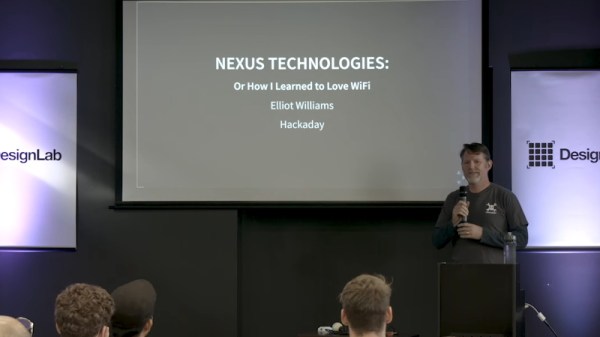
[Ted]’s back again this year with a talk about building an open-source multi-GHz sampling ‘scope, and why that’s harder than it seems. You really should be there, you know. Oh, what? It’s sold out? Don’t worry, just kick back and watch the live stream! Subscribe to our YouTube channel and you’ll be notified when it starts, which will be around 10:00 am Pacific on November 15th.
If you do already have a Supercon ticket, but didn’t get tickets for the workshop you wanted, go check again! We released a limited amount of tickets this morning and emailed everyone about it. See you there!
Hackers from all over Europe descended upon Rome last weekend for the Maker Faire that calls itself the “European Edition”. This three-day event is one of the largest Maker Faires in the world — they had 27,000 school students from all over Italy and Europe attend on Friday alone.
This was held at Fiera Roma, a gigantic conference complex two train stops south of the Rome airport — kind of in the middle of nowhere. I was told anecdotally that this is the largest event the complex hosts but have no data to back up that claim. One thing’s for certain, three days just wasn’t enough for me to enjoy everything at the show. There was a huge concentration of really talented hardware hackers on hand, many who you’ll recognize as creators of awesome projects regularly seen around Hackaday.
Here’s a whirlwind tour of some of my favorites. On that list are a POV holographic display, giant cast-resin LEDs, an optical-pump ruby laser built out of parts from AliExpress, blinky goodness in cube-form, and the Italian audience’s appreciation for science lectures (in this case space-related). Let’s take a look.
Tiny PCBAs and glowy VFD tubes are like catnip to a Hackaday writer, so when we saw [hamster]’s TubeCube tube segment driver we had to dig in to learn more. We won’t bury the lede here; let’s enjoy a video of glowing tubes before we go further:
The TubeCube is built to fit the MiniBadge badge addon standard, which is primarily used to host modules on the SAINTCON conference badge. A single TubeCube hosts a VFD tube, hardware to provide a 70 V supply, and a microcontroller for communication and control. Each TubeCube is designed to accept ASCII characters via UART to display on it’s display, but they can also be chained together for even more excitement. We’re not sure how [hamster] would be able to physically wear the beast in the video above, but if he can find a way, they all work together. If you’re interested in seeing the dead simple UART communication scheme take a look at this file.
We think it’s also worth pointing about the high voltage supply. To the software or mechanically minded among us it’s easy to get trapped thinking about switching power supplies as a magical construct which can only be built using all-in-one control ICs. But [hamster]’s supply is a great reminder that a switching supply, even a high voltage one, isn’t as complex as all that. His design (which he says was cribbed from Adafruit’s lovely Ice Tube Clock) is essentially composed of the standard primitives. A big low voltage capacitor C1 to source the burst of energy which will be boosted, the necessary inductor/high voltage cap C2 which ends up at the target voltage, and a smoothing cap C3 to make the output a little nicer. It’s controlled by the microcontroller toggling Q1 to control the current flow through L1. The side effect is that by controlling the PWM frequency [hamster] can vary the brightness of the tubes.
Right now it looks like the repository has a schematic and sources, which should be enough to build a small tube driver of your own. If you can’t get enough TubeCubes, there’s one more video (of a single module) after the break.