Throwies occupy a special place in hardware culture — a coin cell battery, LED, and a magnet that can be thrown into an inaccessible place and stick there as a little beacon of colored light. Many of us will fondly remember this as a first project. Alas, time marches inevitably on, and launching cheerful lights no longer teaches me new skills. With a nod to those simpler times, I’ve been working on the unusual idea of building a fully functional server that can be left in remote places and remain functional, like a throwie (please don’t actually throw it). It’s a little kooky, yet should still deliver a few years of occasional remote access if you leave it somewhere with sunlight.
A short while ago, I described the power stages for this solar-powered, cloud accessible Linux server. It only activates on demand, so a small solar cell and modest battery are sufficient to keep the whole show running.
Where we left off, I had a solar cell that could charge a battery, and provide regulated 12 V and 5 V output. For it to be a functional device, there are three high level problems to solve:
- It must be possible to set up the device without direct physical access
- You must be able to remotely turn it on and off as needed.
- It needs to be accessible from the Internet.
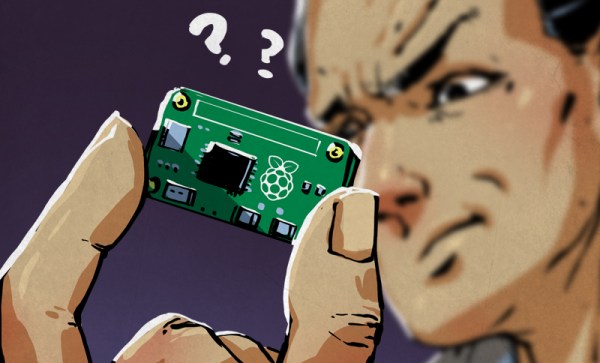
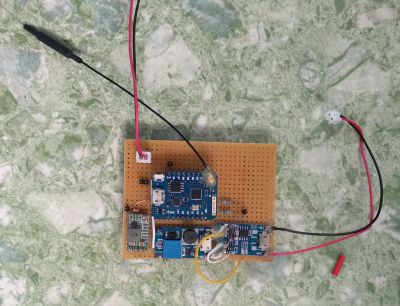
The funny thing is, this hardware reminds me of a satellite. Of course it’s not meant to go into space, but I do plan to put it somewhere not easy to get to again, it runs off of solar power, and there’s a special subsystem (ESP8266) to tend the power, check for remote activation, and turn the main computer (Raspberry Pi 3) on and off as necessary. This sounds a lot like space race tech, right?
As I have a bit more code than usual to share with you today, I’ll discuss the most interesting parts, and provide links to the full firmware files at the end of the article.
Continue reading “The Linux Throwie: A Non-Spacefaring Satellite” →