Levitating Speaker

Levitating Speaker Plays Back Eerie Recordings

Let’s face it, levitating anything is pretty fascinating — especially when you think there should be wires. This project puts a new spin on magnetic levitation by using a PID controller to levitate a speaker while it plays music!

It uses the standard levitation setup — an electromagnet, a permanent magnet, and a hall effect sensor. A microcontroller implements the PID system, varying the current supplied to the electromagnet to keep the speaker floating at just the right height. Music is wirelessly transmitted to the speaker via Bluetooth, but unfortunately the speaker’s power is not. It features a small lithium ion battery which has a run-time of around 5 hours before it has to be recharged manually.

As you’ll notice in the following video, having a floating speaker has a pretty interesting effect — especially when it starts spinning.

Continue reading “Levitating Speaker Plays Back Eerie Recordings”

A Hackable Hi-Fi Audio DSP

DSP 01 Hi-fi Signal Processor


Audiophiles tend to put analog systems on a pedestal. Analog systems can provide great audio performance, but they tend to be quite costly. They’re also hard to tinker with, since modifying parameters involves replacing components. To address this, [tshen2] designed the DSP 01.

The DSP 01 is based around the Analog Devices ADAU1701. This DSP chip includes two ADCs for audio input, and four DACs for audio output. These can be controlled by the built in DSP processor core, which has I/O for switches, buttons, and knobs.

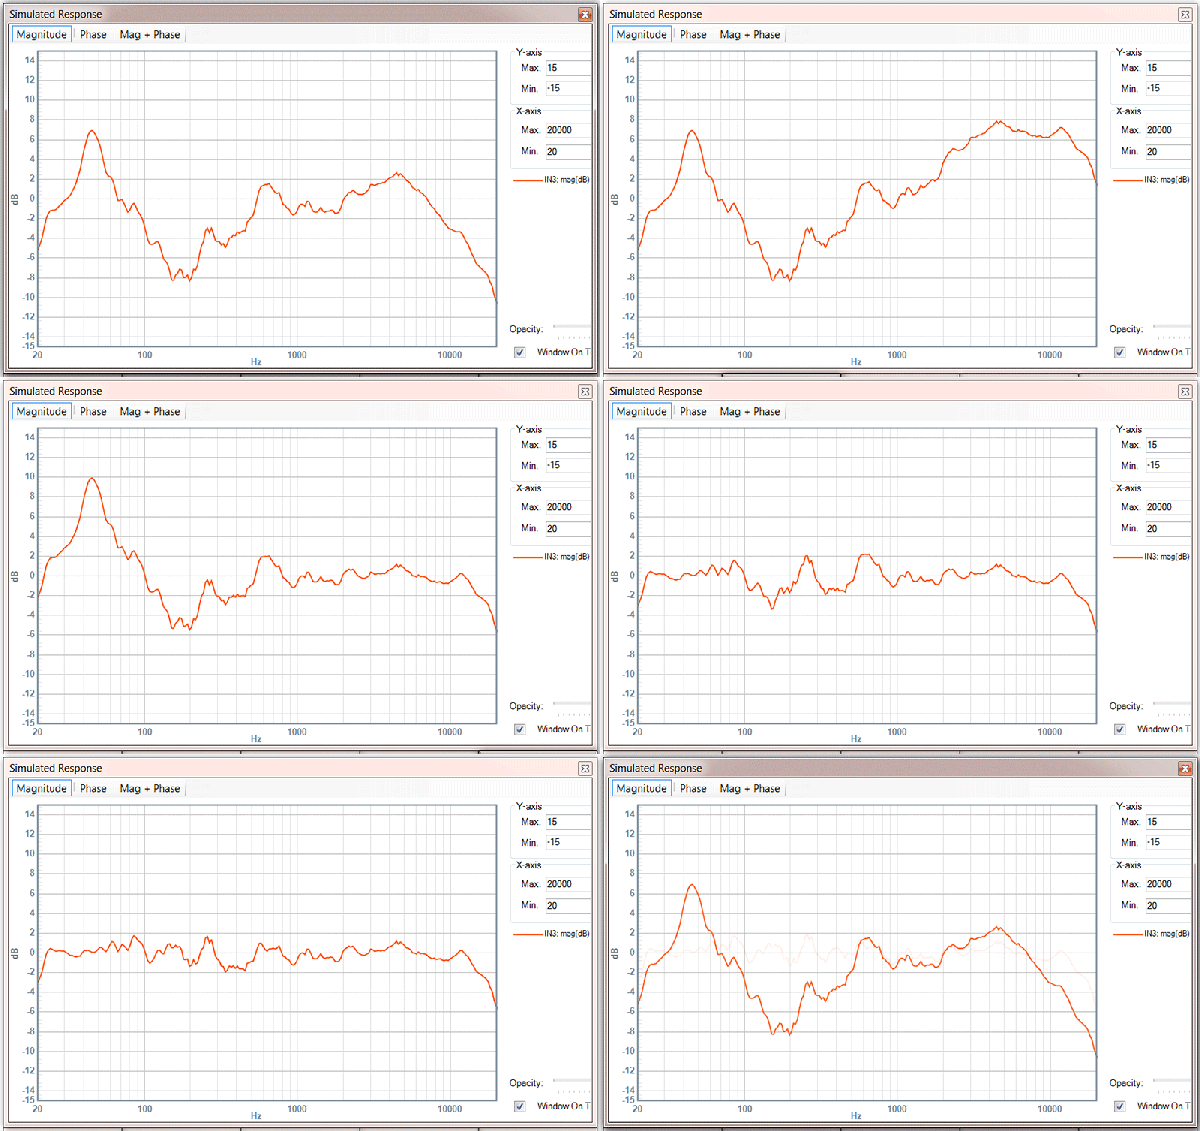
[tshen2]’s main goal with the DSP 01 was to implement an audio crossover. This device takes an input audio signal and splits it up based on frequency so that subwoofers get the low frequency components and tweeters get the higher frequency components. This is critical for good audio performance since drivers can only perform well in a certain part of the audio spectrum.

Analog Devices provides SigmaStudio, a free tool that lets you program the DSP using a drag-and-drop interface. By dropping a few components in and programming to EEPROM, the DSP can be easily reconfigured for a variety of applications.

Beach Buddy Is A Boombox, Phone Charger, And Sunburn Warner

The Beach Buddy

When you venture out onto the beach for a day in the sun, you’re probably not preoccupied with remembering the specifics about your sunscreen’s SPF rating—if you even remembered to apply any. [starwisher] suffered a nasty sunburn after baking in the sunlight beyond her sunscreen’s limits. To prevent future suffering, she developed The Beach Buddy: a portable stereo and phone charger with a handy sunburn calculator to warn you the next time the sun is turning you into barbecue.

After telling the Beach Buddy your skin type and your sunscreen’s SPF rating, a UV sensor takes a reading and an Arduino does a quick calculation that determines how long until you should reapply your sunscreen. Who wants to lug around a boring warning box, though?

[starwisher] went to the trouble of crafting a truly useful all-in-one device by modifying this stereo and this charger to fit together in a sleek custom acrylic enclosure. There’s a switch to activate each function—timer, charger, stereo—a slot on the side to house your phone, and an LCD with some accompanying buttons for setting up the UV timer. You can check out a demo of all the Beach Buddy’s features in a video below.

Continue reading “Beach Buddy Is A Boombox, Phone Charger, And Sunburn Warner”

Adding Bluetooth And A Lightning Connector To Beats Pro Headphones

Beats

Not wanting to wait for Apple to step up their game and complete their purchase of Beats headphones, [Carnivore] decided he wanted his own pair of Apple-compatible Beats cans with Bluetooth. He created something that will probably be for sale in the Apple store come Christmas: a pair of Beats Pro headphones with Bluetooth and a Lightning connector for charging.

[Carnivore] liked the sound of his Beats Pro headphones but hated the wires. After disassembling the headphones, he carefully rewired the speakers with smaller gauge wire, added a small Bluetooth module and battery, and sealed everything back up.

There are a few interesting bits to this build – by getting rid of all external wires, [Carnivore] was left with a few holes in the headphones. These were a perfect place to add a 3D printed mount for the power button and the Lightning adapter taken from an Apple Lightning extension connector.

Thanks [Tony] for the tip!

Party Ready Mini LED Volume Tower

Audio LED Light Tower

There are many very cool visual effects for music, but the best are the kind you build yourself. [Ben’s] mini LED volume towers adds some nice bling to your music.

[Ben] was inspired to created this project when he saw a variety of awesome stereo LED towers on YouTube (also referred to as VU meters). We have even featured a few VU meters, one very recently. [Ben] goes over every detail, including how to test your circuit (a very important part of any project). The schematic is deceptively simple. It is based on the LM3914 display driver IC, a simple chained comparator circuit is used to control the volume bar display. All you really need is a 3D printer to make the base, and you can build this awesome tower.

See the completed towers in action after the break. What next? It would be cool to see a larger tower that displays frequency magnitude!

Continue reading “Party Ready Mini LED Volume Tower”

MIDI And Vintage FM Synthesis

FM

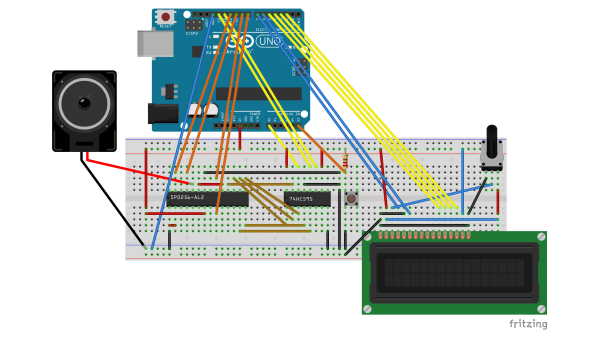
Before the days when computers could play and record audio that far surpassed the quality of CDs, sound cards were very, very cool. Most audio chips from the 80s, from the Commodore SID is pretty much a synth on a chip, but you can also find similar setups in ancient ISA sound cards. [Emilio] pulled one of these cards with an ADLIB OPL2 chip on it, and used a PIC micro to create his very own FM synthesis synth (IT, translatatron, although Google is screwing up the formatting).

The Yamaha YM3812 chip, otherwise known as the OPL2, was a fairly complete synthesizer in a very tiny package using FM synthesis for some very unique sounds. Once [Emilio] had the PIC sending commands to the sound chip, he added MIDI support, allowing him to play this vintage ‘synth on a chip’ with a keyboard instead of a tracker.

Judging from the video below, it sounds great, and that’s with [Emilio] mashing the keys for a simple demo.

Continue reading “MIDI And Vintage FM Synthesis”

Keep Those Filaments Lit, Design Your Own Vacuum Tube Audio Equipment

It was a cold January Saturday night in Chicago and we had big plans. Buddy Guy’s Legends bar was packed. We setup directly under one of the PA speakers less than 15′ from the stage. Time to celebrate. Skip the glass, one pitcher each and keep them coming. We’re about to make bootleg recording history. Conversation evolved into bloviation on what our cover art would look like, certainly it would be a photo of our battery powered tube mic pre-amp recently created in my basement lab. We had four hours to kill before Buddy’s appearance. Our rate of Goose Island and Guinness consumption would put us at three-sheets to the wind by 11. Must focus. It’s time, Buddy was on. Much fumbling about and forgetting how to turn on the Japanese-made 24 bit digital recorder with its nested LCD menus, cryptic buttons, and late 90’s firmware. Make it work. We did, just in time for the bouncers to notice the boom mike and battery packs. Wait, wait… maybe we should talk about why tube amps are worth this kind of trouble first.

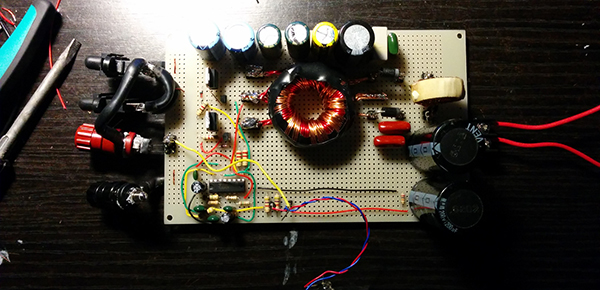
Yes, vacuum tubes do sound better than transistors (before you hate in the comments check out this scholarly article on the topic). The difficulty is cost; tube gear is very expensive because it uses lots of copper, iron, often point-to-point wired by hand, and requires a heavy metal chassis to support all of these parts. But with this high cost comes good economic justification for building your own gear.

This is one of the last frontiers of do-it-yourself that is actually worth doing.

Continue reading “Keep Those Filaments Lit, Design Your Own Vacuum Tube Audio Equipment”