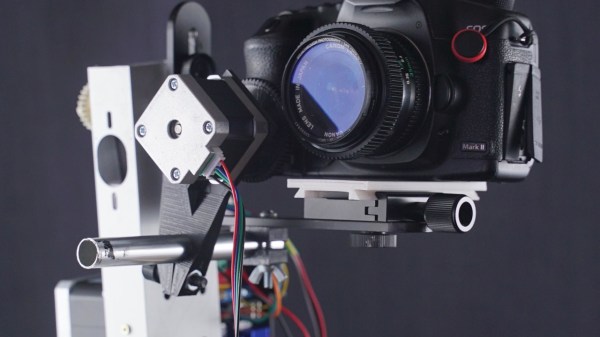
If you plan on building your own motorized camera mount, a 3D printer can definitely be of help. But in this case, [dslrdiy] didn’t use it for printing out parts — finding himself with little use for an old printer built from scrap back in the day, he decided to repurpose it and turn it into a remote controlled DSLR camera mount that’s capable of panning, tilting, and sliding.
The main goal was to not only salvage the stepper motors and controller board, in this case an Arduino Mega 2560 with RAMPS board, but also to keep the original firmware itself in use. For this to work, [dslrdiy] redesigned the mechanical parts that would allow him to perform the different camera movements using regular G-Code instructions operating the X, Y, and Z axes to pan, tilt, and slide respectively.
The G-Code instructions themselves are sent via UART by an accompanying control box housing an ESP32. This allows the camera mount to operated by either via joystick and buttons, or via serial Bluetooth connection, for example from a phone. The ESP32 system also allows to set predefined positions to move to, along with speed and other motor tweaks. You can see it all demonstrated in the video after the break.
While there’s simpler solutions for camera mounts out there, this is certainly an interesting approach. It also shows just how far desktop 3D printers have come if we already find the older generations repurposed like this. For more of [dslrdiy]’s work with 3D printers and cameras, check out his customizable lens caps.
Continue reading “Motorized Camera Mount Was Once A 3D Printer”

