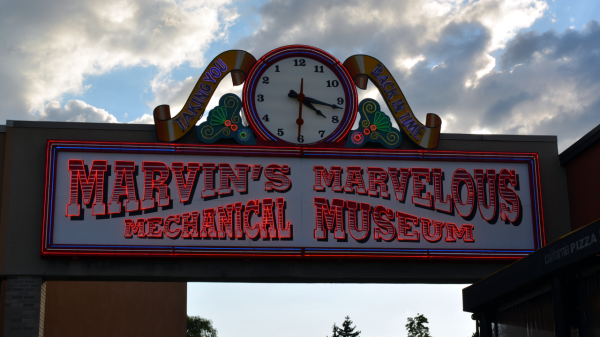
Don’t call it an arcade. There are arcade-like things about it… like dance-based video games, Skee-ball, and tickets — oh so many tickets. But Marvin’s Marvelous Mechanical Museum is a one-of-a-kind that you need to visit next time you’re in the North suburbs of Detroit, Michigan.
[Marvin] was there in person, as he is many days. He talked with us for a few minutes and we’ve folded his interview, along with footage of many of the attractions, into the video above.
He’s been collecting for more than three decades. The attractions are packed into every bit of floor space, spilling up onto the walls, and hanging from every spot in the ceiling. There are true antiques from both home and abroad that could be referred to as automatons, rows of fortune tellers, a track of large airplane models that make a loop around the establishment when fed a quarter, and much more.
Some of the attractions were build for him, like the robot band you can make out behind [Marvin] during the interview. It is a MIDI-based build that allows songs to be selected from a touchscreen. Soon to be on exhibit is a Tesla-coil-based offering which [Marvin] commissioned after taking second place to [Nicolai Tesla] on a list of oddest museums.
While most of the teams in this year’s Red Bull Creation didn’t really pay attention to the theme of ‘reinventing the wheel’, 1.21 Jiggawatts did. Their creation, a giant typewriter that can be suspended along the side of a building, takes its inspiration directly from 1970s typewriters and printers. Yes, it’s a giant daisy wheel typewriter.
The basic idea of a daisy wheel typewriter is a wheel with a few dozen petals, on the end of which is a single letter. To print a letter, the wheel spins around, and a solenoid mechanism strikes the letter against a piece of paper. This was cutting edge tech in the 70s, and was a fast (and cheap) way for computers to print out letter-quality reports.
1.21 Jiggawatts used a ladder as the rail to move down a line of text. The movement from line to line was supposed to be done by dangling the ladder off a chain with a few sprockets attached to motors. Unfortunately, the team couldn’t quite get the machine working for the competition and live event, but the build does show an amazing amount of creativity and respect for classic, forgotten technology.
I don’t use that label lightly. After the Red Bull Creation’s day of show and tell was over — winners having been presented with trophies and stuffed with barbecue over at Bert’s — people started to trickle into OmniCorp Detroit for the party.
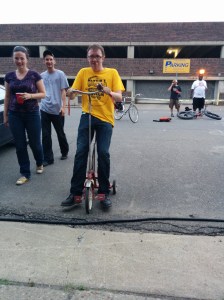
Like all of the best parties we didn’t really see it coming. I grabbed a folding chair on the street out front with a beer in my hand and enjoyed a rotating variety of interesting people to talk with. [Brian] rolled up riding one of the trophies, a modified toddler’s tricycle that proves his future with a travelling circuit is still viable. They roped off the area and set up huge speakers for the DJ. Then two guys game lumbering down the street sharing the work of hauling a tub full of ice and 12-ounce clear glass bottles with colored liquid inside. Turns out they just opened a distillery down the street and decided to donate some vodka infusions for the festivities. Yum!
Upstairs, a couple hundred square feet of area was ringed by a bar (with wide variety of kegs, slushy drinks, and one of those hot dog rollers), couches, a few work benches, a second DJ booth, and a photobooth. We only got one picture before the smoke machine reduced visibility.
Unlike a lot of ragers I’ve been at, it was easy to start up a conversation with just about anyone. Living expenses are so low in Detroit and artists are flocking to the area. This is who made up most of the group. Fascinating people who are working on a multitude of different projects and have stories of building community on their streets while rehabbing houses that cost $1-2.5k to purchase but didn’t come with most of what you’d assume a house should.
Then the fire dragon showed up
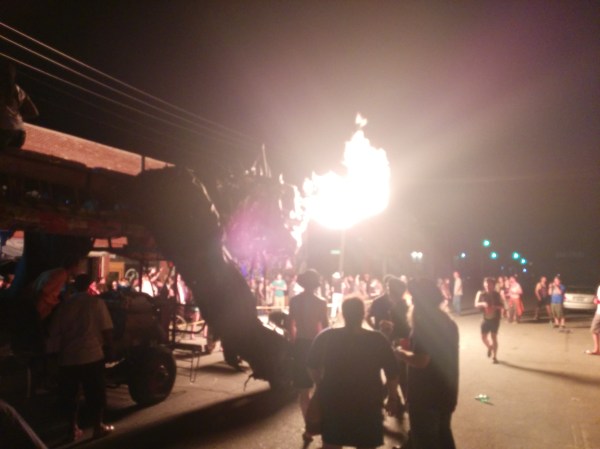
Inside was packed and outside was starting to get crowded. Then the fire dragon showed up. Named Gon KiRin, it’s the collaboration between [Teddy Lo] and [Ryan C. Doyle] who was on Team Detroitus and is artist in residence at Recycle Here!, the build venue for the Red Bull Creation. The beast is built on the frame of a 1960’s dump truck and most of the building materials were found on the sides of the highway. The huge propane tank on the back allows it to breathe fire. I love that three daisy-chained 9-volts and two bare wires are the control mechanism for this. One thing became readily apparent; you don’t stand in front of Gon KiRin while it’s breathing fire.
The crowd piled onto the couches on top of the tail and at either rear hip. The dragons back also bore a continually rotating set of people. After midnight the guests really started to flood in. [Caleb] and I tried to close down the party but a few hours after midnight it didn’t seem to be getting any slower.
Capping off the weekend like this really proves that you need to get your team into next year’s Red Bull Creation. I got in the easy way — judges don’t have to stay up for 72 hours building stuff. Despite the sleep deprivation for contestants I didn’t come across anyone who wasn’t having a blast during the build, while goofing off, or trying to stay awake as this party got moving.
Bravo Detroit, you’re now on my short list of best party towns. Who else wants to be added to that list? Hackaday’s going to be in Las Vegas for DEFCON in a few weeks. Anyone know of parties planned that weekend and how we can get in?
The fire-breather “Gon KiRin”
We only got one picture before the fog machine was turned on
Chris and Mike tried out the Omnicorp Photobooth which prints out your photos
Brian Benchoff trys out the team choice trophy — a modified toddler’s tricycle
I ran into a guy at Maker Faire Kansas City who I used to scoop ice cream with twenty years ago. We were slinging frozen dairy at a Baskin Robbins in a dying suburban strip mall that had a one-hour photo booth in the parking lot. It was just far enough away from our doorstep that dotting its backside with the hard-frozen ice cream balls that had been scooped and then not always accidentally dropped into the depths of the freezer was challenging. This guy, [Blake], kept a hockey stick hidden in the back room especially for this purpose. I never could get them to fly that far, but he was pretty good at it.
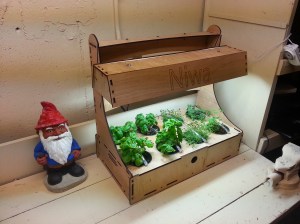
I hadn’t seen him since those days, and there he was manning a booth at Maker Faire. He looked quite professional, showing no hint of the mischief from those days of ice cream hockey. His booth’s main attraction was Niwa, a connected indoor garden. Having spent four years living and working in Japan after college, [Blake] did not choose this name arbitrarily: ‘niwa’ is Japanese for ‘garden’. He loves Hackaday and was more than happy to share his story.
Connecting with Nature
[Blake] is an avid gardener, but his wife does not share this passion. A few years ago, he took a new job that required travel on an almost weekly basis, which meant big trouble for his plants. Unfortunately, he couldn’t find what he wanted to ensure they were taken care of. You know what comes next: he decided he would design his own system. However, he had no experience with electronics.
If there’s one thing I learned about Detroit last weekend, it’s that it is freaking huge. It’s an unbelievably large city, and looking at the population numbers, you can really start to see the problem of providing city services to such a large area. With such a sparse population, it’s the ideal environment for experimentations in urban farming, after a few seasons of planting crops that will leech everything out of the soil of course.
If you have a farm, you’re going to need some means of irrigation, and you might as well throw a scarecrow in there as well, giving i3 Detroit the idea for RoboCrop, the perfect project for an urban farm or anyone who is putting on a production of The Wizard Of Oz but is a little shorthanded for a full cast.
RoboCrop is an all-in-one irrigation and bird and small mammal scaring device, controllable with webcam video streamed right to the remote. It’s a fun project, and fits right into the apparent unofficial “urban gardening” theme of this year’s Red Bull Creation.
i3 is also the largest and arguably the best equipped hackerspace in the Detroit region. They were kind enough to let us throw a little get together there last weekend where we gave away a 3D printer for The Hackaday Prize. Good times all around. We’ll have a video tour of i3 up a little bit later.
Cracked windshields ready for greenhouse
Windshields added to greenhouse.
Robocrop dressed with face and hands
Face worthy of Robocop; spits water while camera watches you
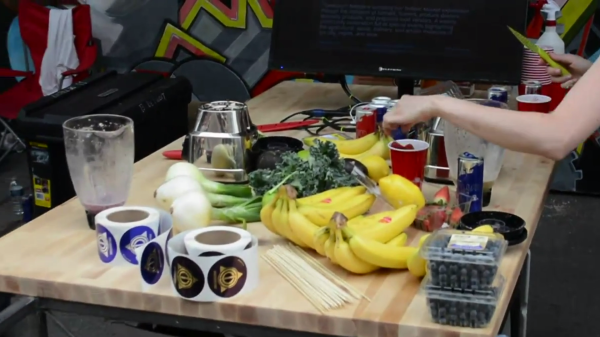
While the bulk of the building for the Red Bull Creation happened at a recycling center/art space in Detroit, the judging was at Detroit’s Eastern Market, a huge farmer’s market that has just about everything. The Omnicorp hackerspace is just off Eastern Market, so this is their territory: they know what will work. For their entry for this year’s RBC, they’re going local: a wheeled information kiosk that’s also a great place to make smoothies and grill up a few veggies and dogs.
While the information kiosk the team is commendable, the idea of giving all the visitors to the Red Bull Creation event a halfway decent lunch is a great idea: all the ingredients are already there, so all that’s needed is an extension cord and a little bit of charcoal.
After the Red Bull Creation event is where this project would have really shined: hundreds of people going through at least six kegs, fireworks, a friggin’ dragon dump truck, and a DJ loud enough to be heard a half mile away. We’ll get to that in a post tomorrow. Let’s just say our head editor had fun.
We’ve been fascinated by [Joe Grand] for years. His early talks at DEFCON, and extensive work designing badges for it, helped to put the conference on our radar. We’ve seen many pieces of hardware come from his company Grand Idea Studio over the years, and of course there was the television show Prototype This!which must have been way too awesome for some TV exec to allow it to continue.
We asked [Joe], who is a judge for The Hackaday Prize, a few a questions. He sent back the video response embedded below. He talks about what he’s doing these days, the hacker community in Boston, shows off some hardware he uses when teaching about security, and much more.

 [Brian] rolled up riding one of the trophies, a modified toddler’s tricycle that proves his future with a travelling circuit is still viable. They roped off the area and set up huge speakers for the DJ. Then two guys game lumbering down the street sharing the work of hauling a tub full of ice and 12-ounce clear glass bottles with colored liquid inside. Turns out they just opened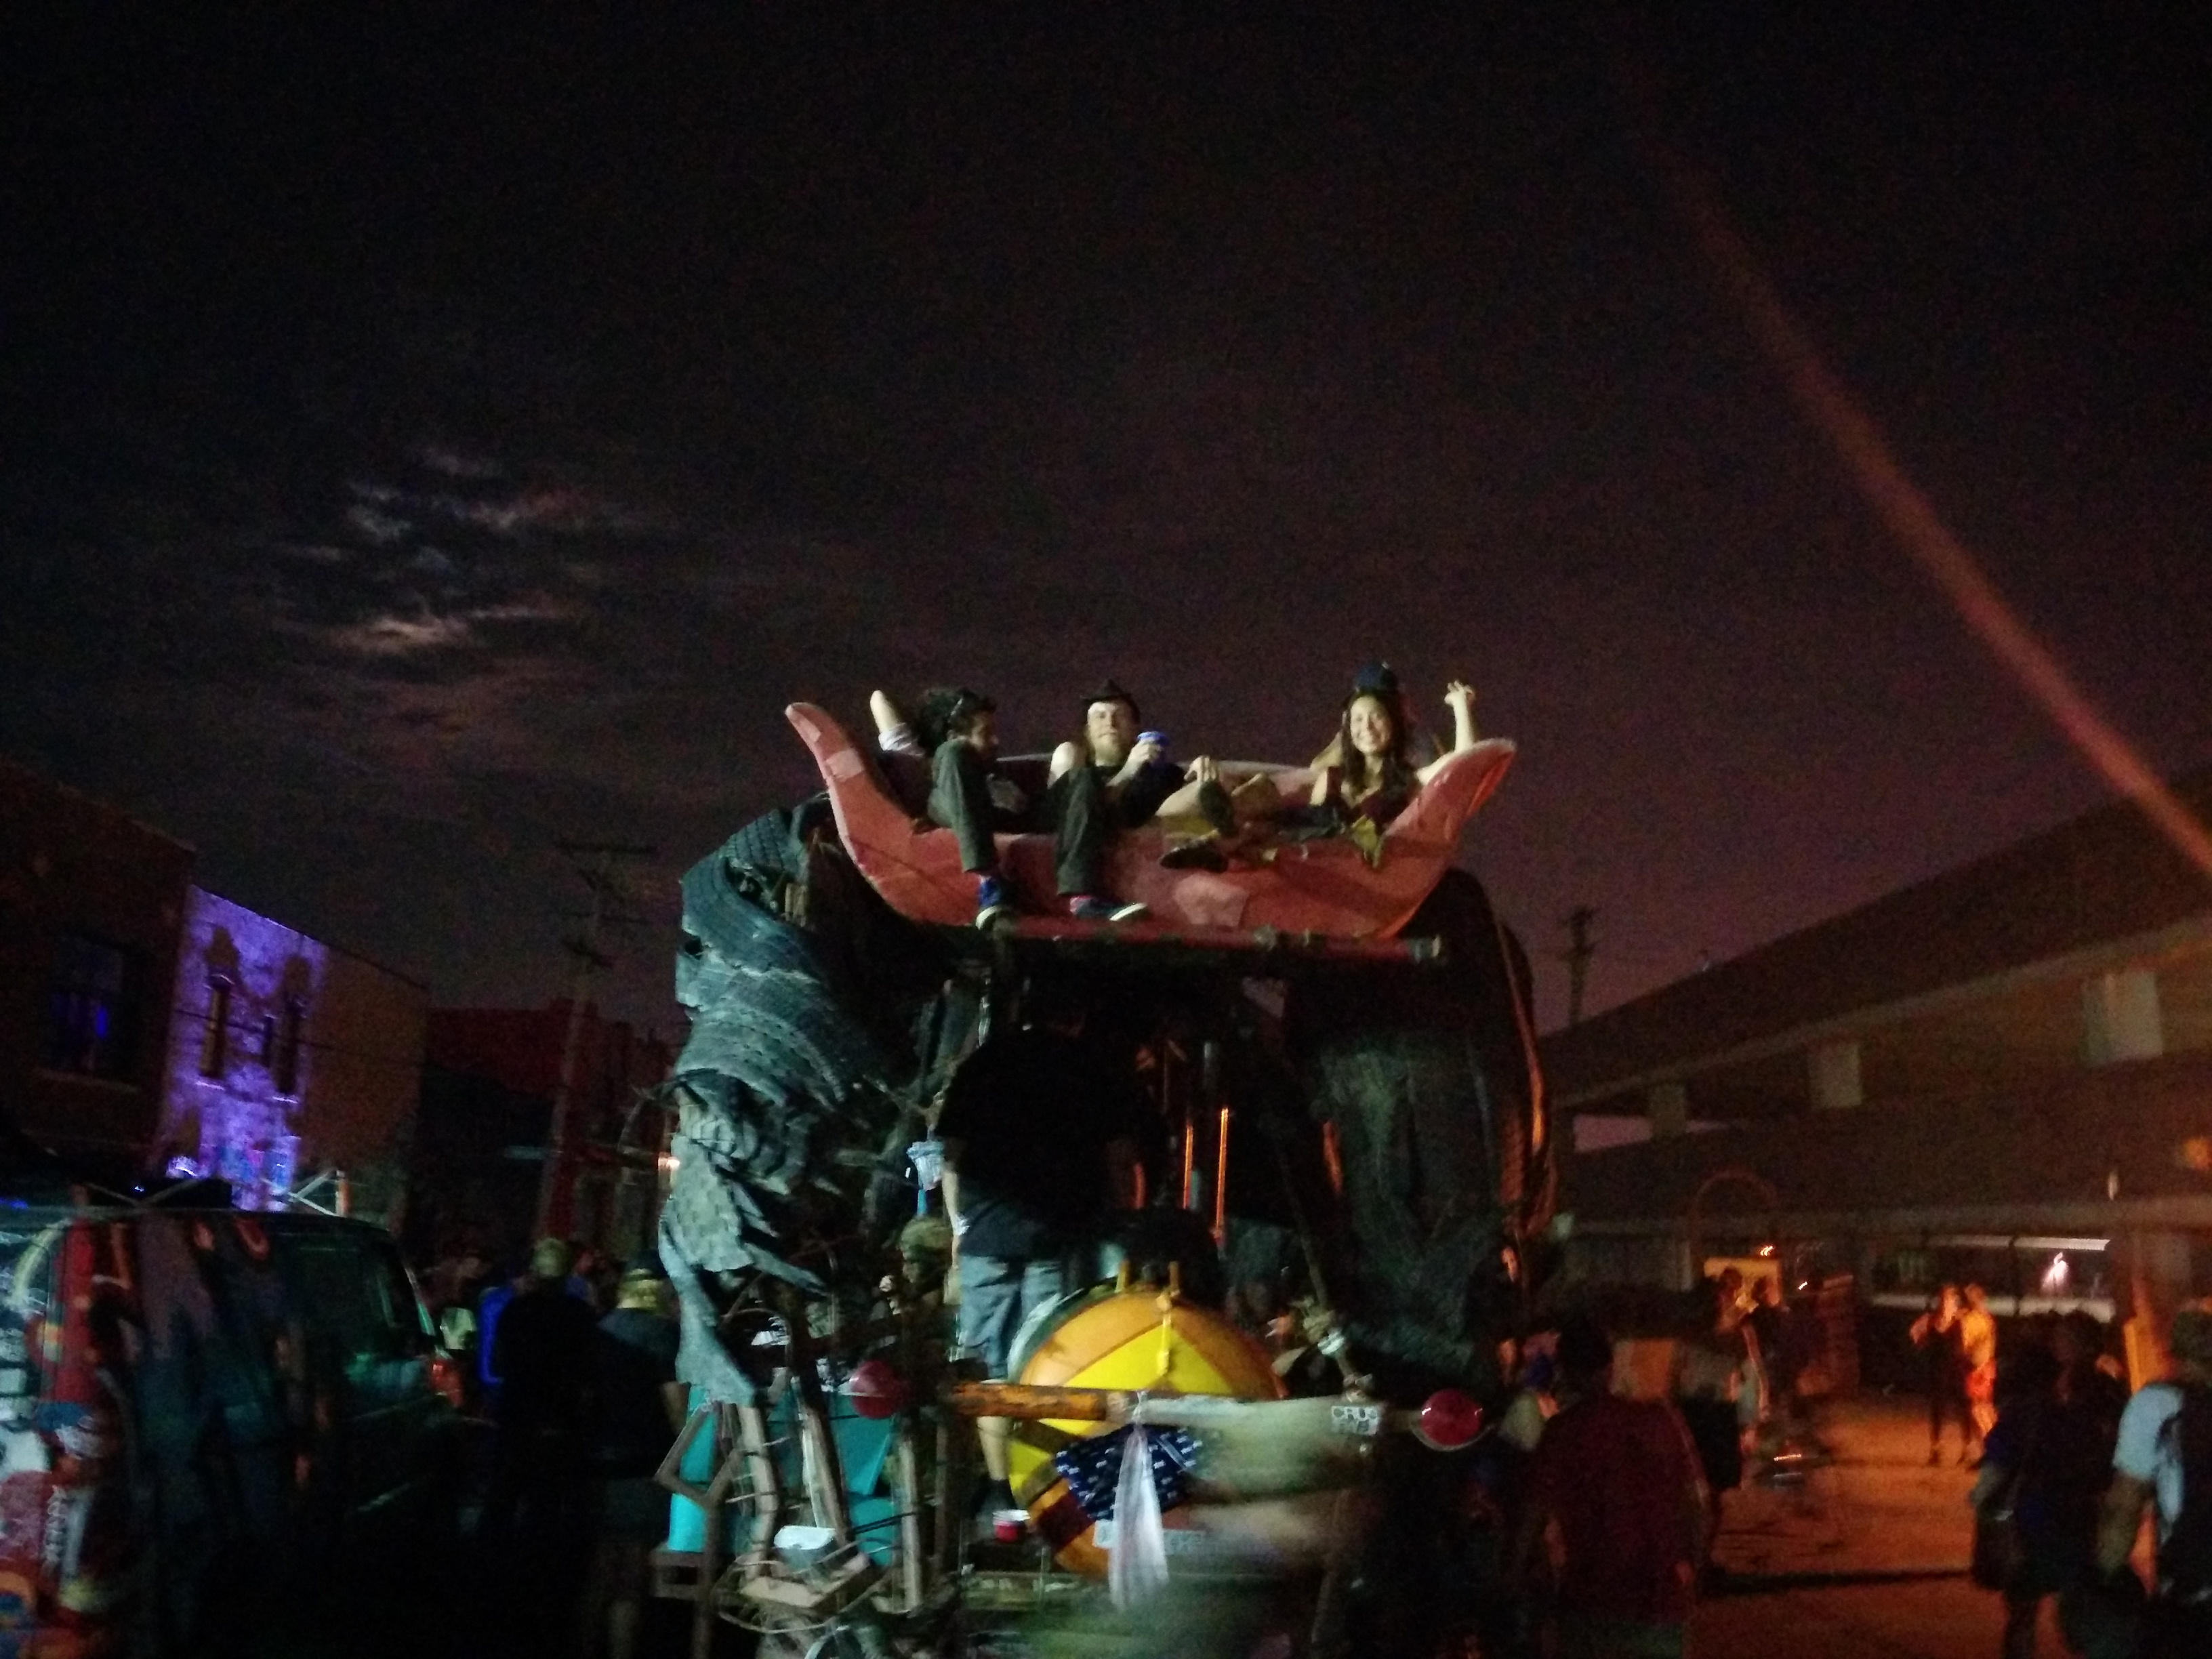


 I ran into a guy at Maker Faire Kansas City who I used to scoop ice cream with twenty years ago. We were slinging frozen dairy at a Baskin Robbins in a dying suburban strip mall that had a one-hour photo booth in the parking lot. It was just far enough away from our doorstep that dotting its backside with the hard-frozen ice cream balls that had been scooped and then not always accidentally dropped into the depths of the freezer was challenging. This guy, [Blake], kept a hockey stick hidden in the back room especially for this purpose. I never could get them to fly that far, but he was pretty good at it.