This excellent content from the Hackaday writing crew highlights recurring topics and popular series like Linux-Fu, 3D-Printering, Hackaday Links, This Week in Security, Inputs of Interest, Profiles in Science, Retrotechtacular, Ask Hackaday, Teardowns, Reviews, and many more.
At first glance, SawStop seems like a hacker’s dream. A garage tinkerer comes up with a great idea, builds a product around it, and the world becomes a better place. As time has gone on, other companies have introduced similar products. Recently, SawStop successfully stopped Bosch from importing saws equipped with their Reaxx safety system into the USA. This not only impacts sales of new saws, but parts for existing equipment. Who gets screwed here? Unfortunately, it’s the owners of the Bosch saws, who now have a safety feature they might not be able to use in the future. This has earned some bad press for SawStop in forums and on websites like Reddit, where users have gone as far as to call SawStop a patent troll. Is that true or just Internet puffery? Read on and decide for yourself.
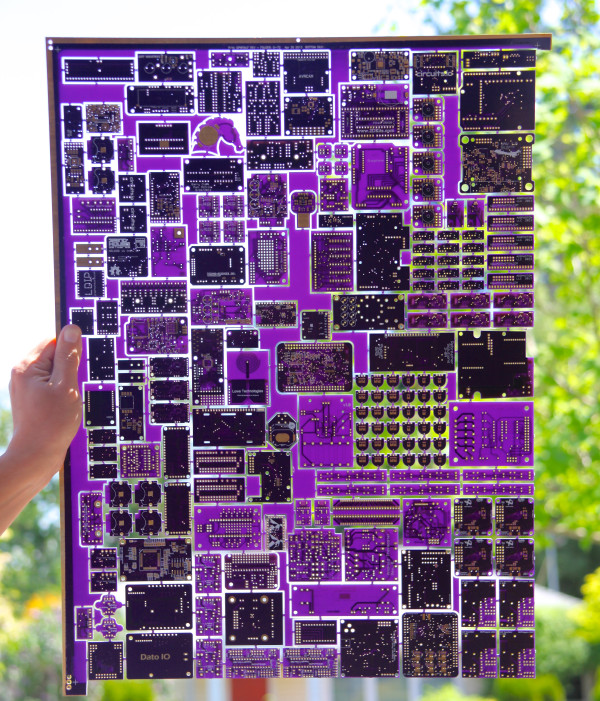
For reasons that will remain undisclosed until some time in the future, I recently had a need to panelize a few PCBs. Panelization is the art of taking PCB designs you already have, whether they’re KiCad board files, Eagle board files, or just Gerbers, and turning them into a single collection of PCBs that can be sent off to a fab house.
Now this is panel racing
If you’re still wondering what this means, take a look at the last board you got from OSH Park, Seeed, Itead, or Dirty PCBs. Around the perimeter of your board, you’ll find some rough spots. These are ‘mouse bites’ and tabs, places where the boards are strung together to form a gigantic rectangular panel sent off to a manufacturer. You can check out this great interview with [Laen] from OSH Park to get an idea of how this works, but the basic process is to take a bunch of Gerbers, add tabs and mouse bites, solve the knapsack problem, and send the completed panel off to a board house.
Panelizing boards is something most of us won’t have to do often. Really, you only want a panel of boards when you’re manufacturing something. For small-scale production and prototypes, bare boards will do just fine. Simply by virtue of the fact that panelizing boards is far less common than throwing some Gerbers at OSH Park or Seeed, there aren’t many (good) tutorials, and even fewer (good) tools to do so. This is how you panelize boards quickly and easily using Open Source tools.
Every Friday, we gather ’round the hot air gun over on Hackaday.io, invite some cool people over, and get them to talk about what they do. This is the Hack Chat. It’s become a tradition, and already we’ve had a ton of awesome people walk through our doors.
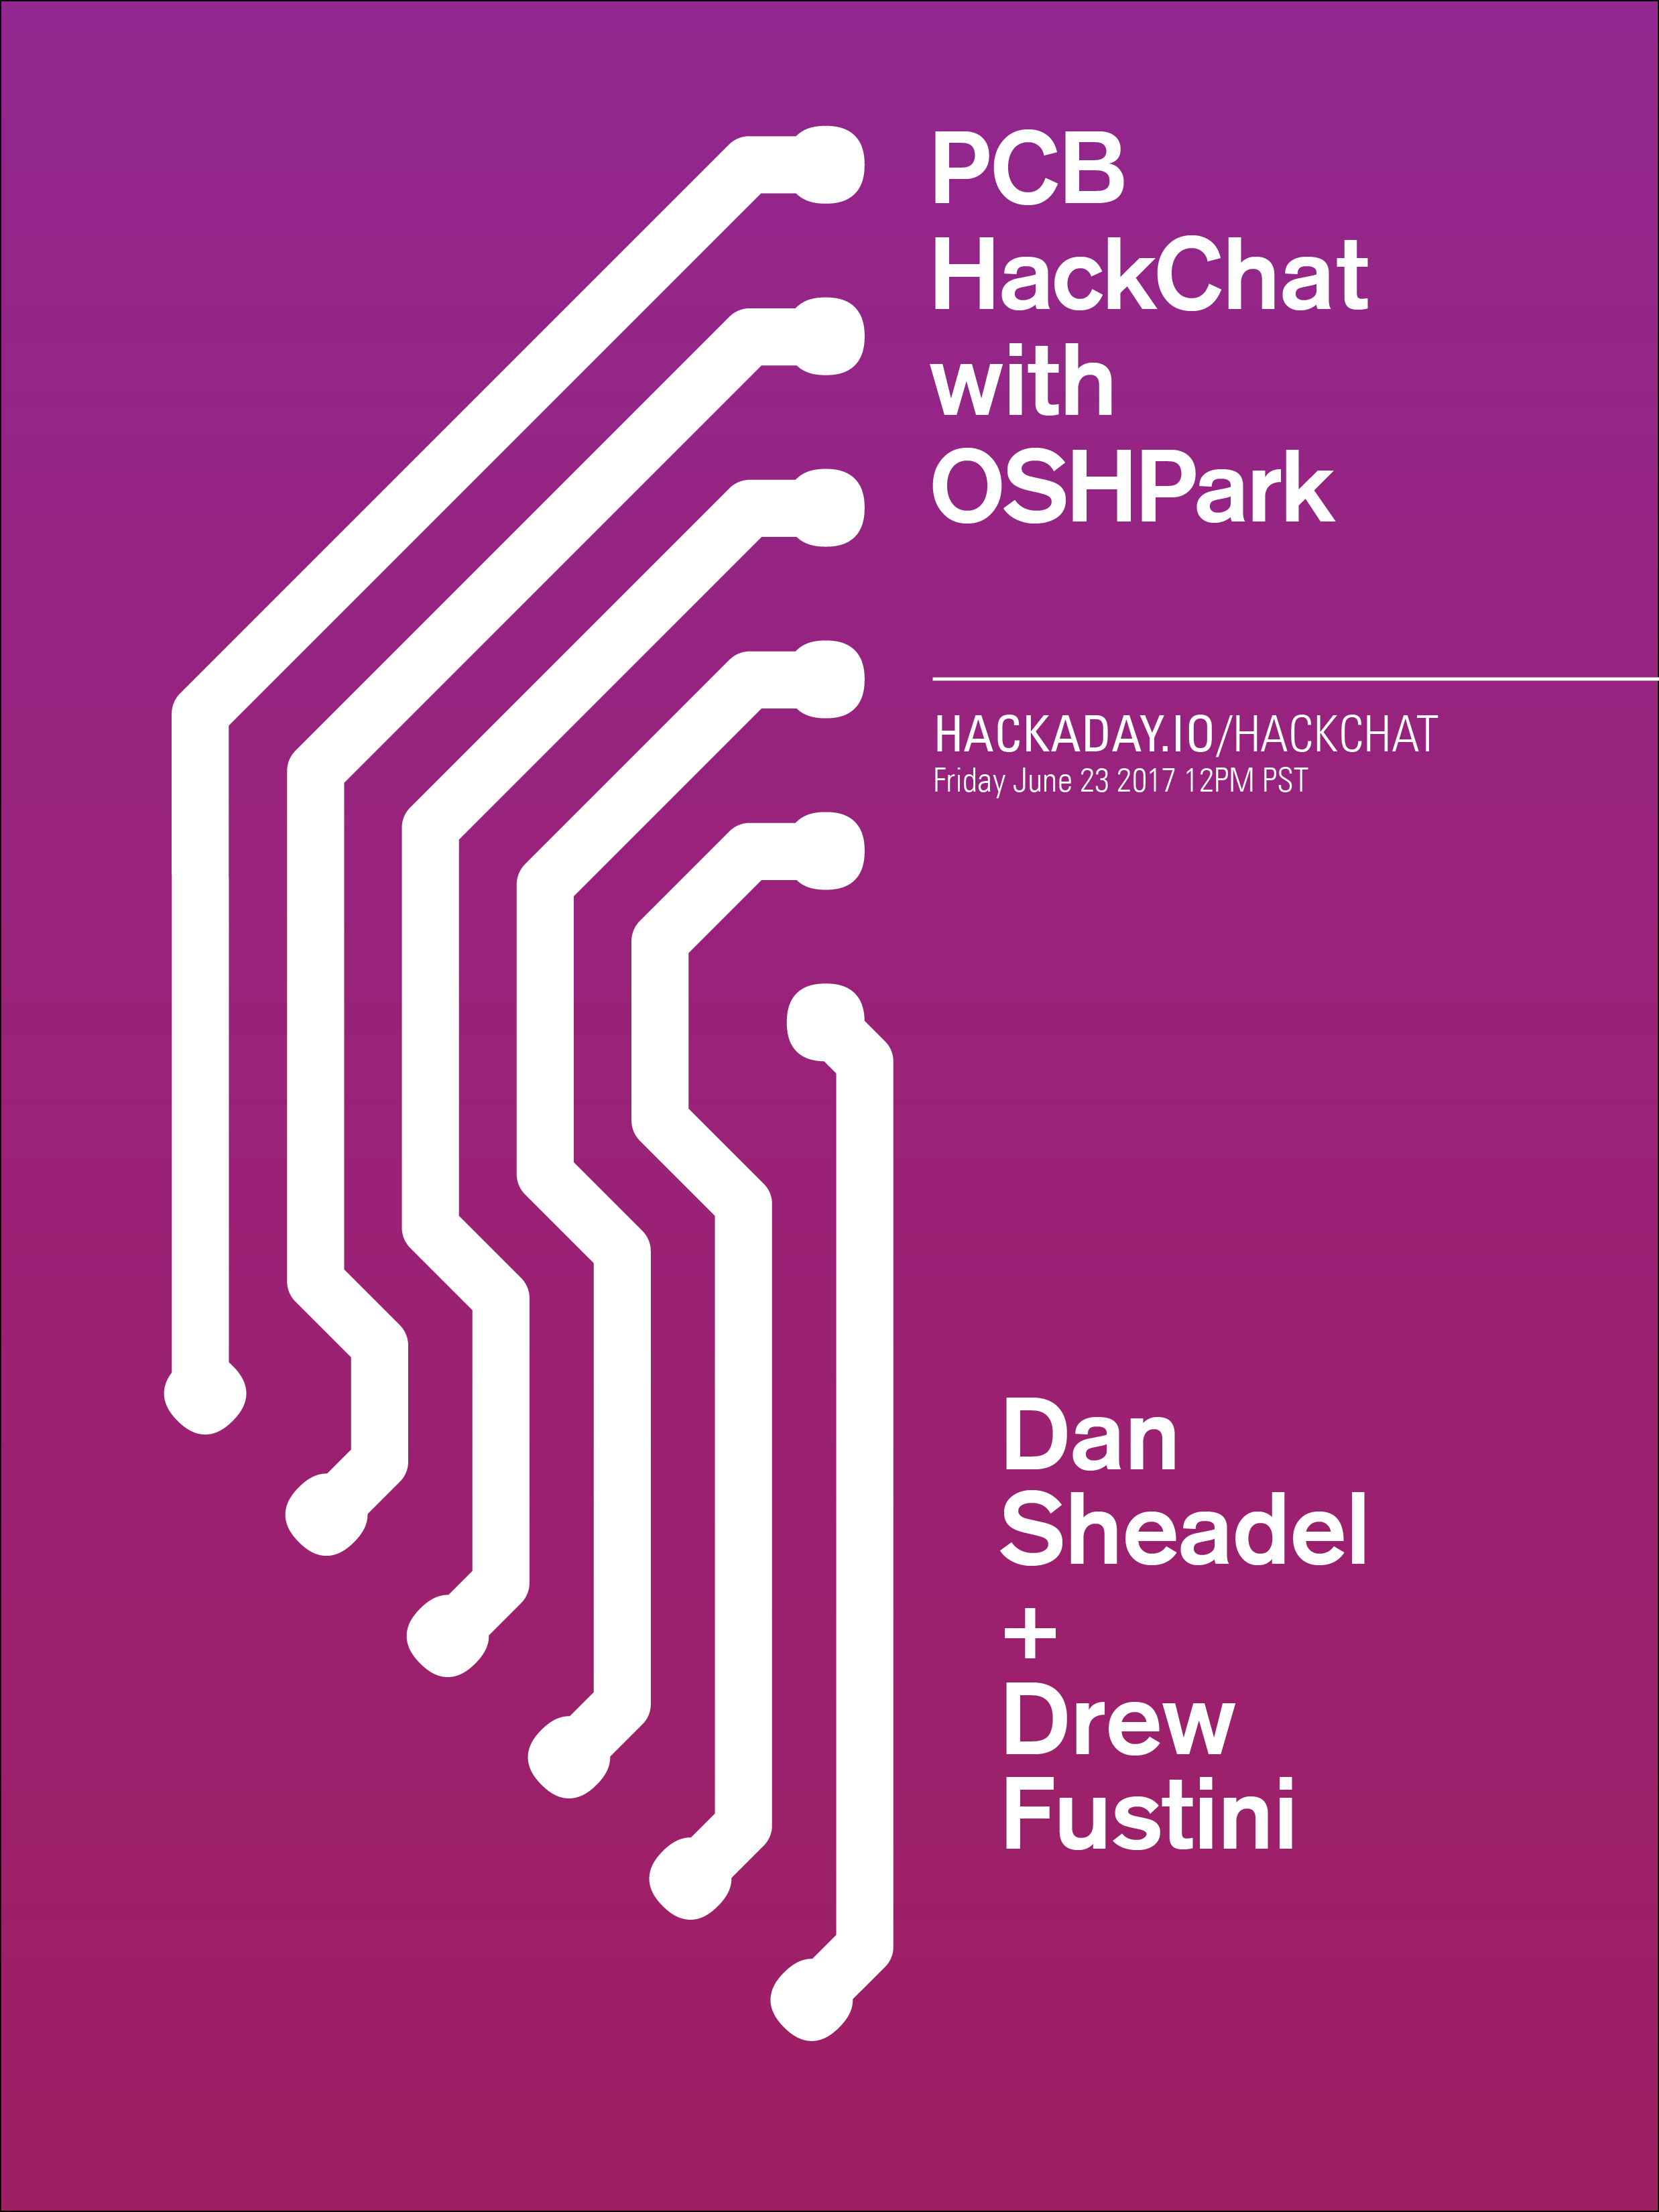
This Friday, we’re going to sit down with the purveyors of perfect purple PCBs. Over the last decade or so, a lot has changed in the space of small-run PCB production. Ten years ago, PCBs were expensive, and it wouldn’t be abnormal to spend hundreds of dollars on a small run of tiny boards. Now, The DEF CON 24 badge, in a panel are cheaper than ever, giving industrious hardware creators access to professional quality manufacturing at a fraction of the price seen just a few years ago.
For the last few years, OSH Park has been a mainstay of low-volume PCB fabrication. Their website is as simple as it gets: Upload some Gerbers, an Eagle board file, or a KiCad PCB, press a few buttons, and in a week or so you’ll have a perfect purple PCB in your mailbox.
This week, we’re inviting [Drew Fustini] and [Dan Sheadel] to talk about what OSH Park does, how they became the first place that comes to mind when you need a PCB. They’ll explain why the boards are purple, environmental regulations for PCB manufacturing in the US, shared projects and tips and tricks for creating the perfect board.
What would you like to see from a PCB supplier? Would you like to see OSH Park expand further into their burgeoning Pog business? How about a sticker club? Who would win in a fight, a blue robot dog or a purple robot shark? All these questions and more will be answered; if you have a question for the OSH Park team, drop it in this spreadsheet.
Here’s How To Take Part:
Our Hack Chats are live community events on the Hackaday.io Hack Chat group messaging. This hack chat will take place at noon Pacific time on Friday, June 23rd. Confused about where and when ‘noon’ is? Here’s a time and date converter!
Log into Hackaday.io, visit that page, and look for the ‘Join this Project’ Button. Once you’re part of the project, the button will change to ‘Team Messaging’, which takes you directly to the Hack Chat.
You don’t have to wait until Friday; join whenever you want and you can see what the community is talking about
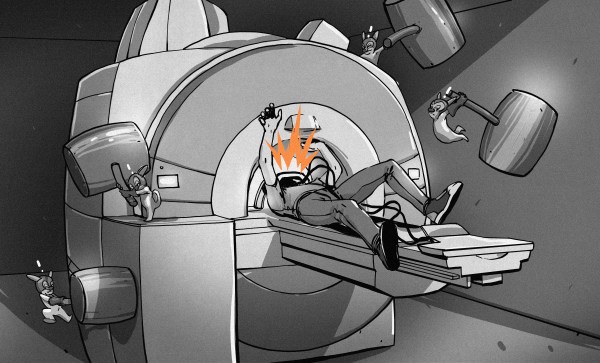
My dad was scheduled for his first MRI scan the other day, and as the designated family technical expert, Pop had plenty of questions for me about what to expect. I told him everything I knew about the process, having had a few myself, but after the exam he asked the first question that everyone seems to ask: “Why is that thing so damn loud?”
Sadly, I didn’t have an answer for him. I’ve asked the same question myself after my MRIs, hoping for a tech with a little more time and lot more interest in the technology he or she uses to answer me with more than the “it’s the machine that makes the noise” brush-off. Well, duh.
MRI is one of those technologies that I don’t feel I have a firm enough grasp on, and it seems like something I should really be better versed in. So I decided to delve into the innards of these modern medical marvels to see if I can answer this basic question, plus see if I can address a few more complicated questions.
It’s a common sight in the farming areas of the world — a group of enterprising automotive hackers take a humble economy car, and saw the roof off, building a convertible the cheapest way possible. Being the city dwelling type, I always looked on at these paddock bashing antics with awe, wishing that I too could engage in such automotive buffoonery. This year, my time would come — I was granted a hatchback for the princely sum of $100, and the private property on which to thrash it.
However, I wasn’t simply keen to recreate what had come before. I wanted to take this opportunity to build a solution for those who had suffered like me, growing up in the confines of suburbia. Surrounded by houses and with police on patrol, it simply isn’t possible to cut the roof off a car and drive it down to the beach without getting yourself in altogether too much trouble. But then again, maybe there’s a way.
The goal was to build the car in such a way that its roof could be cut off, but remain attached by removable brackets. This would allow the car to be driven around with the roof still attached, without raising too much suspicion from passing glances. For reasons of legality and safety, our build and test would be conducted entirely on private property, but it was about seeing what could be done that mattered.
Museum exhibits are difficult to make, and they’re always breaking down; especially the interactive ones. This is a combination of budget, building a one-off, and the incredibly harsh abuse they take from children.
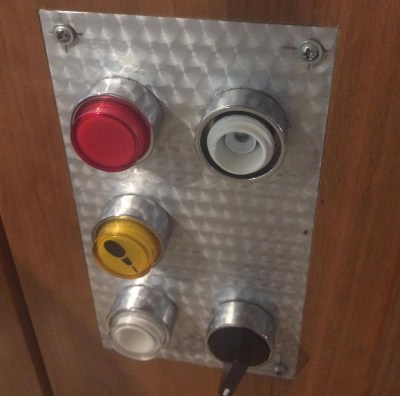
My first exhibit is an interactive laser show that turns waveforms from music into laser patterns, and different types of music have very different patterns. I knew from talking to the museum staff that industrial buttons were a necessity, but it turns out that industrial buttons are made under the assumption that tiny creatures won’t be constantly mashing, twisting, and (ew ew ew) licking the buttons. After a while, the buttons (and poor knob) were trashed.
The button face has been removed, and the knob is spinning freely.
Buttons at toddler level are in a vulnerable position.
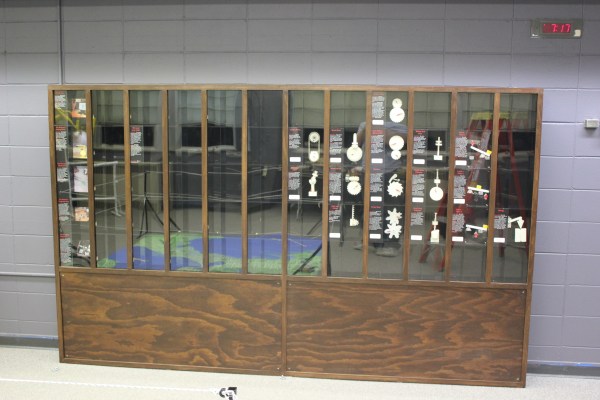
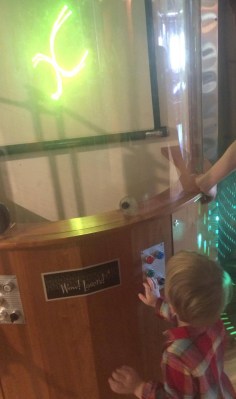
The second exhibit is also interactive, but in this case it’s just a simple button that turns on a thing for a while, then shuts it off. You can read more about the Periodic Table of Motion on the project page. Here I thought; let’s use capacitive touch, put the sensor behind two layers of acrylic for protection, and then there won’t be any moving parts to break. I built a bunch of units, tested it for weeks, then installed it. Instant failure despite my diligence.
Something is different about the installation from my test environment. It might be the second layer of acrylic contributing. Maybe it’s the power supply and a strange ground issue. Maybe the room’s fluorescent lights are creating an electromagnetic field that is interrupting the sensor, or the carpet is causing static buildup that is somehow causing the midichlorians to reverse polarity and discharge through the base plate of prefabulated aluminite. In some of the cells, the button doesn’t work. In other cells it is extremely sensitive. In one column of the table (columns share a common piece of acrylic among 5 cells), a single touch will trigger all 5.
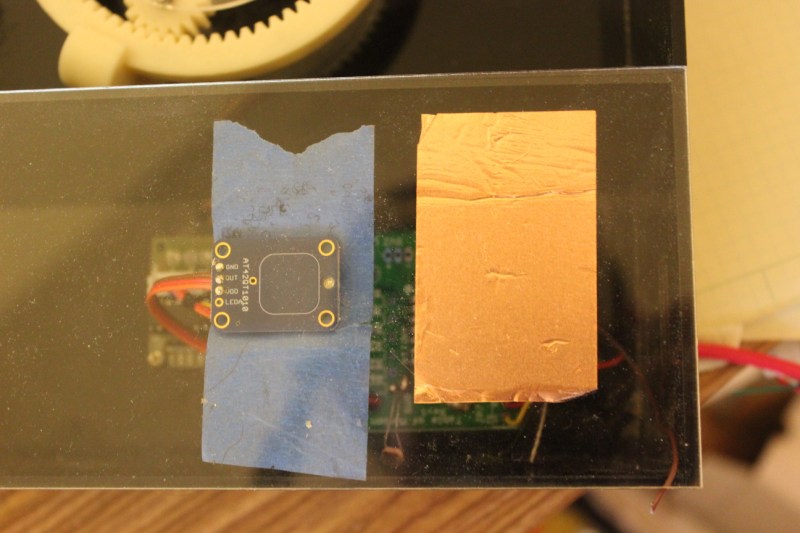
The circuit is an ATtiny with a 2.2M resistor between two pins, one of which connects via a short wire to a soldered connection to a piece of copper tape on the underside of an acrylic piece. The ATtiny is using the capsense library, which has features for automatic recalibration. Because of the way it is installed, I can’t reprogram them to adjust their sensitivity while inside the enclosure, so tweaking them post-install is not an option. I thought I could isolate the problem and use an existing capacitive touch sensor breakout of the AT42QT1010 hooked up to just power, but it had the exact same issue, meaning it’s either the power supply, the enclosure, or the room.
Side-by-side tests of copper tape+Arduino and AT42QT1010 had similar problems.
There are three paths I can go down now:
Find the problem and solve it
Switch to a photoresistor
Petition Hackaday for a better solution
Finding the problem and solving it will be a long and difficult path, especially since the museum environment is somehow and inexplicably different from the test environment. The photoresistor option has promise; when the user puts their hand over the paper button the light level changes. Some early testing indicates that it is easy to detect instantaneous change, and a trailing average and adjusting threshold make it robust enough for changing lighting conditions throughout the day. Further, it’s a simple change to the code, and the existing circuit board will accommodate the adjustment.
As for the third option…
What have you done for child-compatible touch interfaces that are robust enough to handle uncertain environments and harsh abuse? What buttons, knobs, and other interactive elements have you used?
Hackaday is all about the neat hacks and the repurposing of old components into new projects, but many people then try to take those projects and turn them into businesses. We’ve seen lots of people offer their stuff as kits and sell them on Tindie, with the rare few going on to develop a consumer electronic product at scale.
The Hackaday Prize 2017 Best Product highlights this journey. “Scale” itself is a vague term, but essentially it means to be able to produce enough to meet market demand. We hope that market demand is roughly 7 billion units, purchasing yearly, but the reality is that it is somewhere between 1 and a few hundred thousand, with very big differences in manufacturing at each order of magnitude. So how do you start with a proof of concept and design your product from the very beginning to be optimized to scale to meet whatever demand you can handle?