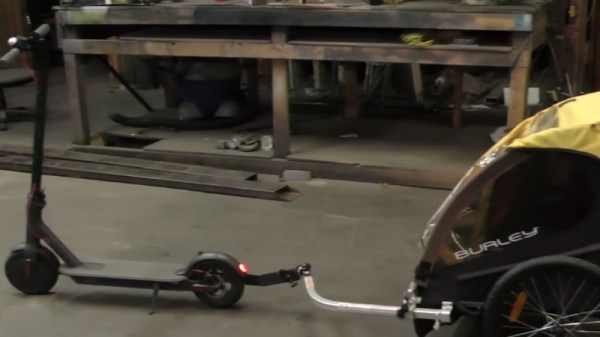
Where there’s a will, there’s a way. Similarly, where there’s a paying customer and a well stocked metalworking shop, there will also be a way. That’s about all the backstory you need to understand this latest creation from [Richard Day] of 42Fab. A customer asked him to build something that didn’t exist, and in a few hours he not only fabricated it from scratch but documented the whole thing for our viewing pleasure.
 The object in question is a mount that would allow the customer to pull a “Burley Bee” kid trailer behind their electric scooter. The trailer is only meant for a bicycle, but the expected stresses of getting pulled around by a scooter seemed similar enough that [Richard] figured it should work. Especially since the ride height of the scooter lined up almost perfectly with the trailer’s tongue. The trick is, he wanted to avoid making permanent changes to either the scooter or the trailer.
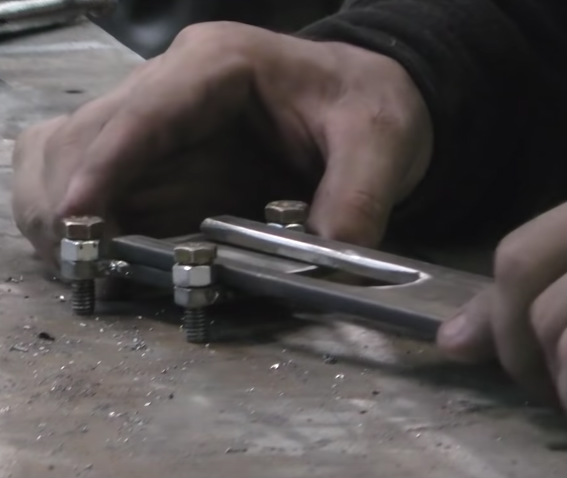
On the scooter side, [Richard] came up with a clamp arrangement that would squeeze onto the frame. This gave him plenty of strength, without having to put any holes in the scooter. To create the clamp he took two pieces of 1/4″ x 2″ steel flat bar and welded 5/16″ nuts to them. By drilling the threads out of outer nuts they act as bushings, so cranking down on the bolts draws the two pieces together. To simplify the alignment, he welded the nuts to the bars while the bolts were threaded in, so he knew everything would be in place.
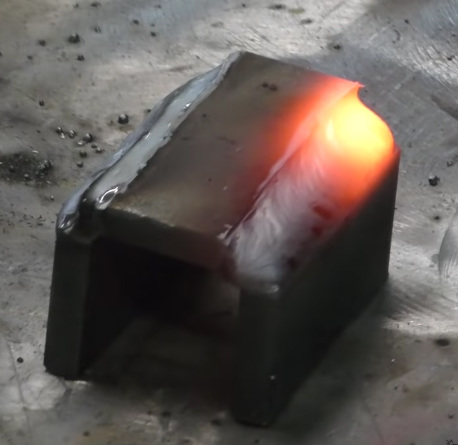 For the trailer side, he took another piece of flat steel and turned it into a “U” shape by cutting almost all the way through the back of it and then folding it over in his vice. A bead of metal was then laid in the cut with the welder to strengthen it back up. [Richard] used this opportunity to demonstrate the difference between pushing and pulling the torch while welding, which is an interesting tip to file away. A hole drilled through the two sides and a little grinding, and it’s ready to mount.
Between the two fabricated components is some flat stock welded at an eyed up angle. As [Richard] says in the video, the nice thing about these one-off projects is that you can basically design on the fly. Plus you can always use a hammer to make some final adjustments.
While his isn’t the first bike trailer hack we’ve seen here at Hackaday, it would be fair to say it’s something of a rarity around these parts. Usually we get word of somewhat larger bits of kit getting dragged around.
Continue reading “Scooter Hauls Kids With A Little Heavy Metal”
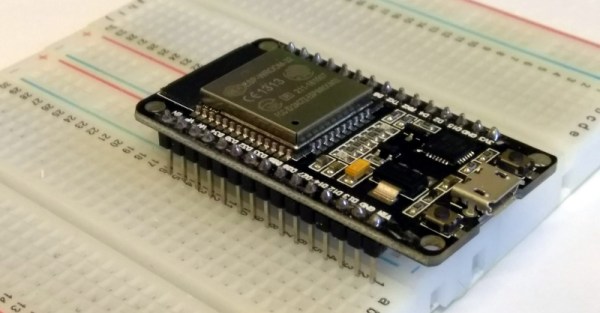
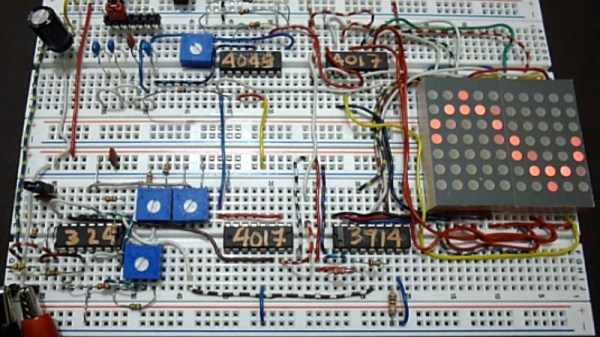
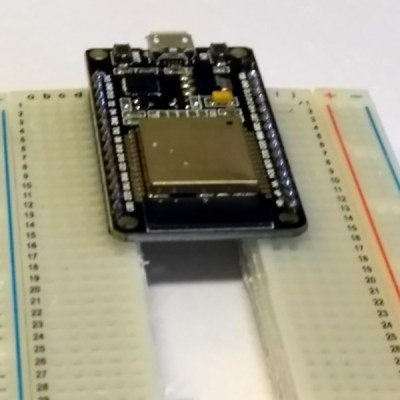 The solution came to [Luc] when he realized the center of every breadboard has no electrical connections, and was simply held together by a little piece of plastic. Yes, he took a hacksaw to the breadboard. This is technically a hack.