What’s Inside A 555?

555

The 555 timer chip is a ubiquitous piece of technology that is oft-considered the hardcore way of doing things. Of course, the old timers out there will remind us that discrete transistors are the badass way of doing things, and tubes even more so. It’s not quite at the level of triodes and transformers, but Evil Mad Scientist’s discrete 555 kit is still an amazing piece of kit.

Instead of transistors and resistors etched into silicon as in the OG 555, [Windell] over at EMS turned the basic circuit inside a 555 into a mega-sized version using discrete components. Your parts bins need new scale if you’re going to work with this and other up-scaled hobby electronic components.

Although the integrated stand that makes the whole package look like an overgrown DIP doesn’t break out the signals on the board, it does include some neat screw terminals for alligator clips and bits of wire so this kit can be used in a circuit. Because it uses discrete components, you can also take a meter or scope to check out how a 555 chip works from the inside.

An “ill” Logical PWM Control

illogicalPWMcontrol

[James] recently finished up a gigantic seven segment display for Nottingham Hackerspace, and although it looks great, the display isn’t the interesting part. The PWM dimmer control implemented in logic is the true head-turner. That’s right: this is done without a programmable controller.

Unsatisfied with the lack of difficulty he faced when slapping together the rest of the electronics, [James] was determined to complicate the auto-dimmer by foregoing all sensible routes. He started by building an 8-bit timer made from a 555 timer fed into a 12-bit 4040 counter. He then used an 8-bit ADC IC to read a photoresistor. The outputs from both the ADC and from the scratch-built 8-bit timer plug into an 8-bit comparator; If the values match, the comparator outputs LOW for a single clock period.

Though this set the groundwork for PWM control, [James] had to add a couple of additional logic gates into the mix to nail everything down. You can find a diagram and the details behind flip-flopping out a duty cycle on his project blog. Clever builds like this one are a rarity when a few lines of code and a microcontroller can give you numerous shortcuts. [James] doesn’t recommend that you over-engineer your PWM controller, but we’re glad he did.  Meanwhile, Moore’s Law marches on; check out what people are doing with Low-Energy Bluetooth these days.

Sending Data Over Bluetooth Low Energy With A Cheap NRF24L01+ Module

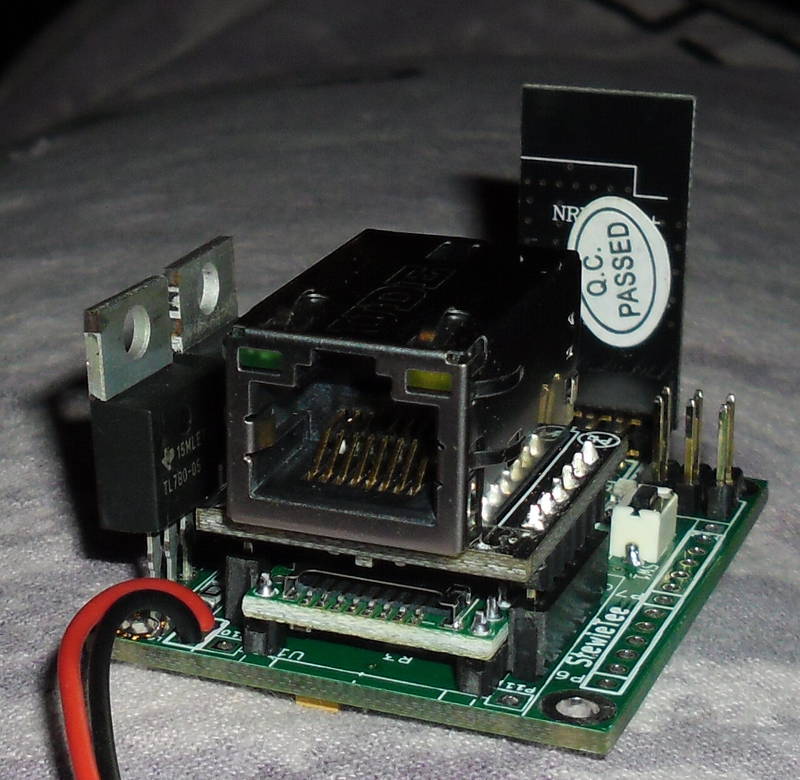
nRF24L01+ modules like the one shown above are a great way to send data wirelessly between your projects. They can be found on many websites for less than $1.50 a piece and many libraries exist for them. After having thoroughly looked at the Bluetooth Low Energy (BLE) specifications, [Dimitry] managed to find a way to broadcast BLE data with an nRF24L01+.

Luckily enough, BLE and nRF24L01+ data packets have the same preambles. However, the latter can’t send more than 32 bytes in a packet and can’t hop between frequencies as fast as the BLE specification wants. [Dimitry] found the solution when he discovered that he could send unsolicited advertisements on three specific channels. In the end, considering the 32 bytes the nRF24L01+ can send, you’ll need to use 3 bytes for the CRC, 2 for the packet header, 6 for the MAC address and 5 for devices attributes. This leaves us with 16 bytes of pure data or 14 bytes to split between data and name if you want your project to have one.

DIY Ultrasonic Acoustic Levitation

[Mike] saw a few videos of ultrasonic acoustic levitation rigs put together by student researchers. Figuring it couldn’t be that hard to replicate, he set out and built his own using surplus parts and whatever was sitting around his parts drawer.

The build began with a huge ultrasonic transducer from an old ultrasonic cleaning tank [Mike] picked up on eBay for $20 £20. He didn’t pick up the standard driver board, as those don’t have a very clean output – something desperately needed if you’re setting up a standing wave. He did manage to put a simple supply together with a 555 timer, a MOSFET and a 12 V transformer connected backwards, though.

The test rig is pretty simple – just the transducer sitting on a table with an aluminum plate sitting above it on threaded rods. By adjusting the distance between the transducer to the aluminum plate, [Mike] managed to set up some standing waves he was able to suspend small Styrofoam balls in. It’s not quite precise enough to levitate small chunks of sodium and water, but it makes for an excellent science fair-type project.

Continue reading “DIY Ultrasonic Acoustic Levitation”

Desoldering Chips With Fire

Salvaging components is a staple of any electronic enthusiast, but many times those interesting chips – old 8-bit microcontrollers, memories, and CPUs found in everything from game consoles to old computers – are rather difficult to remove from a board. [Ryan] over on Instructables has a rather interesting method of removing old SMD packages using nothing more than a little fire and a pair of tweezers.

Obviously the best way to go about salvaging SMD components is with a heat gun, but lacking the requisite equipment, [Ryan] managed to remove a few SMD chips using rubbing alcohol as a heat source. In a properly controlled environment, [Ryan] filled a small metal dish with alcohol, set it on fire, and used the heat generated to remove a few components. Alcohol lamps are a common bench tool in a range of repair disciplines because the fuel is cheap and burns relatively cleanly (not leaving an unwanted residue on the thing you’re heating).

It’s an interesting kludge, and given [Ryan]’s display of desoldered components, we’re going to call it a success. It might also work for through-hole components, allowing for easy removal of old SRAM, ROM, and other awesome chips.

Seven Decade Programmable Resistor

124

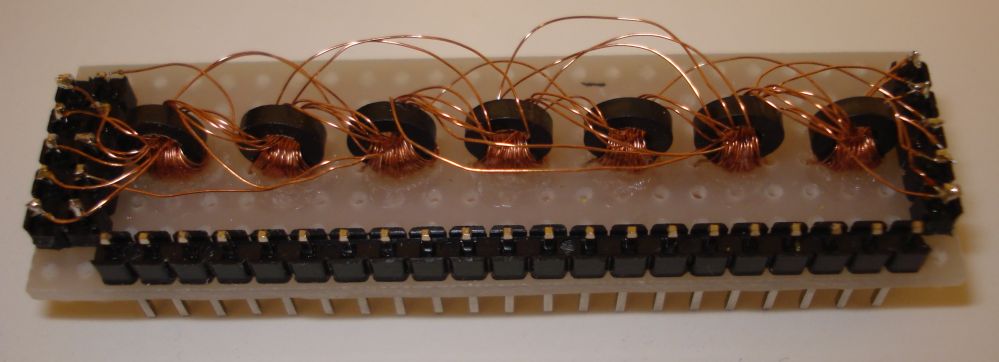
[Gerry Sweeney] was tired of messing around with resistors while prototyping his projects, so he decided he wanted a resistor decade box. The problem is they are typically big and rather expensive ($100+). Unhappy with the selection available for purchase, he decided to design his own.

In the accompanying video, he shows off his first attempt after being inspired by a past post we covered that used a combination of resistors and thumbwheel decimal switches. He modified the design a bit and used surface mount resistors instead, which made for a fairly compact and convenient seven decade resistor box. But he still wasn’t happy with it.

He decided to design his own PCB instead. The simple design utilizes surface mount resistors to conserve space, and jumpers to select the resistance. No bulky switches get in the way and it’s fairly cheap to produce.

Check out the great video explanation of the project after the break. He also shows off the insides of a commercial resistor decade box!

Continue reading “Seven Decade Programmable Resistor”

Explaining The Low Level Stuff You Don’t Know About ARM Programming

Most of us don’t realize how spoiled we are with the different development environments available on the internet. If someone wants to start a blank project on a new [ARM/DSP/…] platform, he usually fires up the dedicated Integrated Development Environment (IDE) and starts coding a C/C++ program. However, there are many initialization routines and scripts required with your program before it can run correctly. In his great article, [Andrew] explains to us what these are by starting a blank project without using any IDE.

As you can see in the above picture, [Andrew]’s project is made around an Atmel SAM4E microcontroller. The chosen toolchain is the arm-none-eabi-gcc from GNU Tools for ARM Embedded Processors. The first part of the article starts with a simplified explanation on how/why your code and variables are split into different memory sections (.bss, .data, .rodata, .text), then [Andrew] details how the linker script will put these sections at different physical addresses depending on your microcontroller’s memory layout. He also shows us how to take care of the stack placement, vector table, variable (non)initialization, and C Runtime. For information, the latter is executed when your processor starts, it is in charge of setting up the stack pointer, initializing the RAM, setting up the standard library and calling the main().

A very nice introduction on the very low level routines running on most processors out there.