Putting A PDP-10 On An FPGA

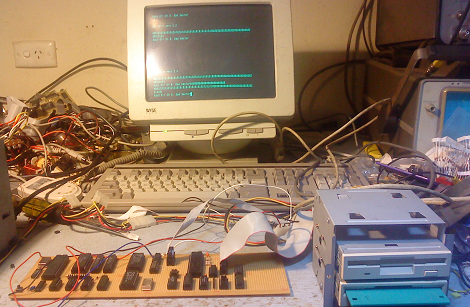
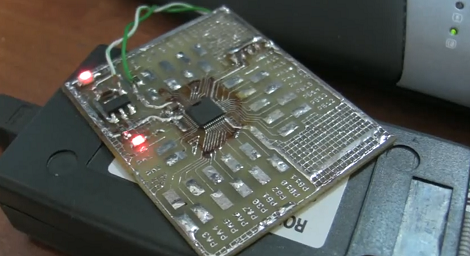
[dgcx] has been working on reimplementing a PDP-10/x on an FPGA for the last 2 and a half years. This surprised us because we’re only hearing about this project now.

After designing three versions, [dgcx] eventually ended up with a one-FPGA implementation of a PDP-10 and an awesome PDF writeup. Although PDP-10 emulators do exist, this project isn’t an emulation – the system actually has the 36-bit word length of the original, implemented on five 4096 kilobit SRAM chips. This is a fully functioning replica, and even has CHAOSNET implemented with a small Ethernet controller.

Continue reading “Putting A PDP-10 On An FPGA”

Component Storage Roundup

It’s been suggested that the first self-replicating computer virus was a single IC that eventually expanded into multiple plastic component storage boxes. Organizing components by their values is a huge PITA as well. Here’s some solutions we’ve found:

Photo Boxes

[Mathew] sent in his organization scheme that uses 4×6 photo boxes. Better get those boxes while they’re hot – we can’t remember the last time we used film.

Use a binder

This instructables uses binders for storage. Good for passives, but unless someone can find anti-static bags for a binder, we’ll keep our ICs separate.

The only way to organize resistors

[Johannes] stores his resistors on a sheet of styrofoam. The grid has the first color band on the left side and the second color band on the top. Extremely, extremely clever. We’re wondering why we Radio Shack didn’t come up with this in the 70s. The grid could be laid out on a log scale, though.

If Susan is lazy, why does she do all the work?

[D.C. Boyce] hacked up a couple of lazy susans, built frames out of 2x4s and mounted plastic component drawers on them. The result is probably more space than we’ll ever need. To keep things simple, he wrote a database program to keep track of everything.

The Isostick

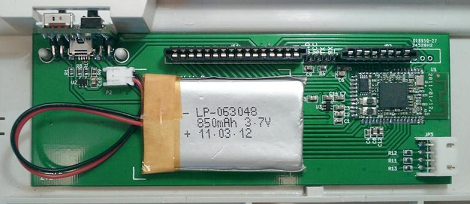
The Isostick, a Kickstarter project now in development, is meant to emulate an optical drive in the form of a USB stick.  Although there is nothing new with putting an iso file (optical disk image) on a USB stick, what is unique about this drive is that it fully emulates a drive without actually having to worry about drivers or extra programs.

When plugged in, a computer sees a flash drive and a virtual optical drive.  An excellent feature is that this disk can store multiple “iso” files and select them with a built in utility program. This could be invaluable for a technician or hacker since more than one CD or DVD is often needed to complete a task.

If fully developed, one could expect to attach this “drive” to your keychain and not have to worry about lugging an optical disk around anymore. Also, the activity light is programmable, which is a nice bonus.

Impressive Steampunk Keyboard

This amazing steam punk keyboard was sent in to the tip line, and while it’s not necessarily a ‘hack’ in the purest sense, the level of quality in the build is incredible.

Each key was crafted from brass tubing that was later filled with a wooden dowel and covered with the key cap label. While there’s no mention of how the key caps were made, we do especially like the abstract Windows Key label. After the PCB for the keyboard matrix was enclosed in a bit of plywood, the hand tooled leather was applied to the front. The name plaque that was hand engraved with a modified screwdriver is especially nice.

The build is based around the amazing Das Keyboard with Cherry Blue switches, one of the only keyboards currently being manufactured that comes close to the feel of the One True Keyboard. While it’s not a keyboard built from scratch, it’s still one of the best steampunk builds we’ve seen, most likely because not a single gear was glued to the project.

Color Changing EL Wire

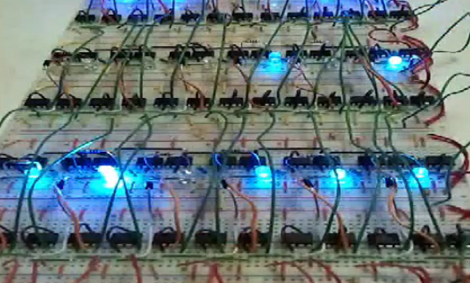
All EL wire drivers use a resonator circuit to supply power to the EL wire. It’s an efficient system, but [Paul] noticed that there was some color change when powering different lengths of wire off of the same driver. He realized that this is because of the changing frequency of the resonator circuit, so the only reasonable thing for [Paul] to do was to build a color fading EL wire driver.

The circuit used to drive the wire is very simple. [Paul] used a Teensy board to switch two transistors and produce AC current. This is sent through a step-up transformer which powers the EL wire. It was necessary to use aqua or ‘Tron blue’ EL wire for this build because of the clear wire jacket. Many colors of EL wire have a fluorescent jacket – much like a fluorescent light bulb – that changes the color produced inside the wire to something different. [Paul] says the color change is subtle, but unique.

Of course the build is nothing without a video of the color changing EL wire. Check it out after the break.

Continue reading “Color Changing EL Wire”

Improved FPGA Synth

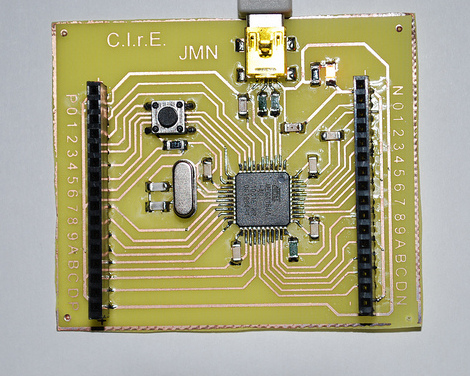
A week or so ago we featured an FPGA MIDI interface. Since then the builder has gone crazy with his FPGA and revised his code to include polyphony and PWM output, and posted a polyphony demo.

In our previous coverage of the build, the synth was monophonic, and the MIDI implementation was pretty shaky. After realizing the hard work was done, [Mich] re-wrote the MIDI interpretation module to keep 8 voices in memory. Now the synth can play 16th note arpeggios at 999bpm.

The original build used 8 pins to output the audio with an R/2R ladder for a digital to analog converter. This didn’t work well with a polyphonic synth (everything was clipped or noisy), so [Mich] moved to PWM output.

Continue reading “Improved FPGA Synth”

Thumper The T-Shirt Launcher

Thumper The T-Shirt Launcher

[joe] and [ryan] built Thumper for their high school FIRST robotics team. The cannon itself is a solenoid-fired compressed air launcher that gets its juice from three large PVC tanks stored in the box below the turret, and the cannon is able to be fired nine times between visits to the air compressor. It was intentionally designed to resemble an M2 Browning 50 Caliber heavy machine gun, with the two vertical handles and boxy body.  They finished construction in about a week with a budget of only $300. When they saw that a lot of their friends had also built cannons, they scrounged for parts from their garages to re-use to build the mobile platform simply for one-upmanship sake. The motor and drive-train propelling this behemoth came out of a 1980s-era mobile X-Ray machine that had been discarded by a local hospital. The rear wheels were specially modified to fit the drivetrain, and the front end is a chopped, hacked, and welded axle and steering mechanism from an old lawn tractor. Sections of unistrut form the rest of the frame.

[joe] and [ryan] were even asked to bring Thumper to their high school prom as a unique way to hand out T-Shirts for the evening. Unfortunately, there’s no website for this build.

See video of Thumper in action with a Nerf Football after the break. Hack A Day even got to take it for a spin around the Power Wheels Racing Series track at Maker Faire KC!

Continue reading “Thumper The T-Shirt Launcher”