Over the last decade or so, e-ink price tags have become more and more ubiquitous, and they’ve now reached the point where surplus devices can be found inexpensively on various websites. [Dmitry Grinberg] found a few of these at bargain-basement prices and decided to reverse engineer and hack them into monochrome digital picture frames.
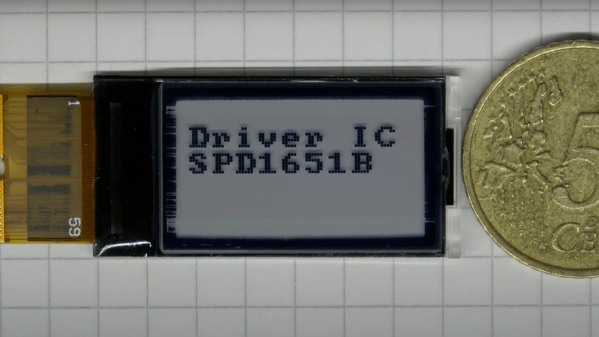
Often, the most difficult thing about repurposing surplus hardware is the potential lack of documentation. In the two tags [Dmitry] hacked, not only are the labels not documented at all, one even has an almost-undocumented SoC controlling it. After some poking around and some guesswork, he was able to find connections for both a UART and an SWD debugging interface. Fortunately, the manufacturers left the firmware unprotected, so dumping it was trivial.
Even with the firmware dumped, code for controlling peripherals (especially wireless devices) is often inscrutable. [Dmitry] overcomes this with a technique he calls “Librarification” in which he turns the manufacturer’s firmware into libraries for his custom code. Once he was able to implement his custom firmware, [Dmitry] developed his own code to wirelessly download and display both gray-scale and two-color images.
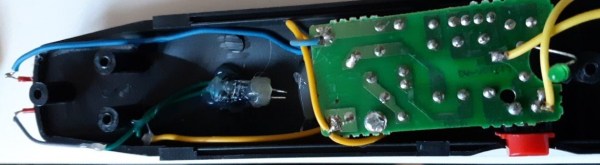
Even if you’re not interested in hacking e-ink tags, this is an incredible walk-through of how to approach reverse-engineering an embedded or IoT device. By hacking two different tags with completely different designs, [Dmitry] shows how to get into these systems with intuition, guesswork, and some sheer persistence.
If you’d like to see some more of [Dmitry]’s excellent reverse-engineering work, take a look at his reverse-engineering and ROM dump of the PokeWalker. If you’re interested in seeing what else e-ink tags can be made to do, take a look at this weather station made from the same 7.4″ e-ink tag.