Control A Motor With A Touchpad

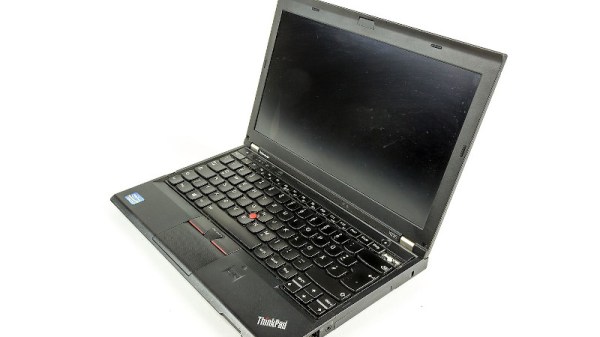
There are a surprising wealth of parts inside of old laptops that can be easily scavenged, but often these proprietary tidbits of electronics will need a substantial amount of work to make them useful again. Obviously things such as hard drives and memory can easily be used again, but it’s also possible to get things like screens or batteries to work with other devices with some effort. Now, there’s also a way to reuse the trackpad as well.

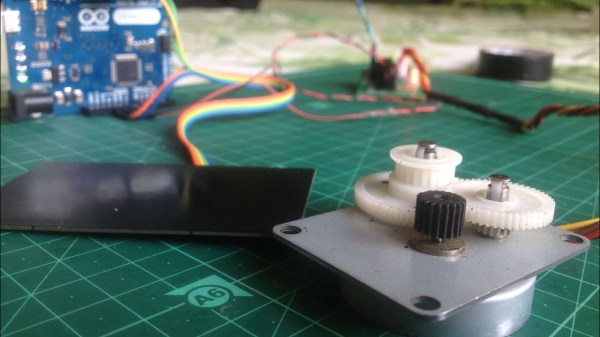
This build uses a PS/2 touchpad with a Synaptics chip in it, which integrates pretty smoothly with an Arduino after a few pins on the touchpad are soldered to. Most of the work is done on the touchpad’s built in chip, so once the Arduino receives the input from the touchpad it’s free to do virtually anything with it. In this case, [Kushagra] used it to operate a stepper motor in a few different implementations.

If you have this type of touchpad lying around, all of the code and schematics to make it useful again are available on the project page. An old laptop in the parts bin is sure to have a lot of uses even after you take the screen off, but don’t forget that your old beige PS/2 mouse from 1995 is sure to have some uses like this as well.

Continue reading “Control A Motor With A Touchpad”

Solving Buyer’s Remorse With A Rotary Tool And Soldering Iron

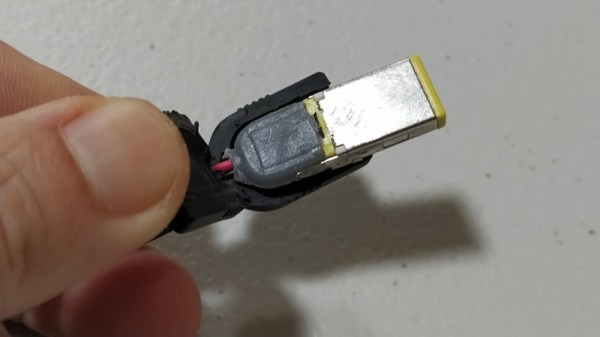
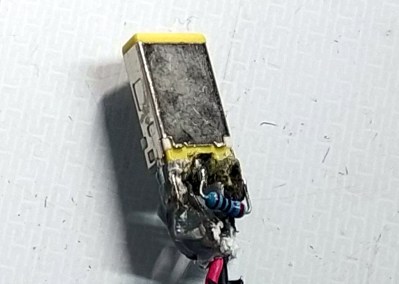
At this point, it’s pretty clear that USB-C has become the new standard connector for an increasing amount of applications, but predominantly charging. Even Apple is on board this time, and thanks to backwards compatibility, you don’t have to abandon devices using the older standards you may prefer for their simplicity or superior lint-resilience either. For [Mat] on the other hand, it’s USB-C all the way nowadays. Yet back in the day when he bought his laptop, he had the price tag convince him otherwise, and has come to regret it, as all the convenience of a slim design is cancelled out by dragging a bulky charger for the laptop’s proprietary charging port along.

Well, as the saying goes for situations like this: love it, leave it, or get out the tools and rework that sucker. Lucky enough, the original charger provides 20 V, which matches nicely the USB power delivery (PD) specification, and after opening up the laptop, [Mat] was happy to see that the interior provided enough room to fit the USB-C module he was planning to use. Even better, the charging port itself was a standalone component attached to a cable, so no modifications to the mainboard were necessary. Once the USB-C module was soldered to that same cable, the only thing left to do was carving a bigger hole on the laptop case, and saying good bye to the obsoleted charger.

The downside is of course the lack of actual USB functionality with that shiny new charging port, but that was never the goal here anyway. With more and more USB-C devices popping up, it’s also no surprise that we’ve seen modifications like this before, and not only with laptops. In case you’re thinking of upgrading one of your own devices to USB-C, and do wish for actual USB functionality, don’t worry, we got you covered as well.

Continue reading “Solving Buyer’s Remorse With A Rotary Tool And Soldering Iron”

Netbooks: The Form Factor Time Forgot

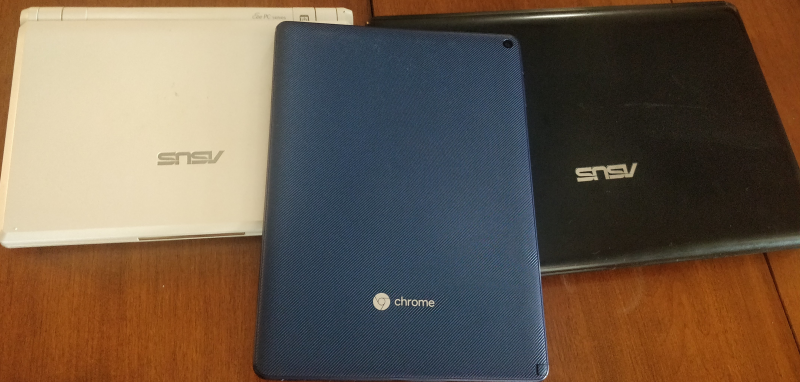
Long ago, before smartphones were ubiquitous and children in restaurants were quieted with awful games on iPads, there was a beautiful moment. A moment in which the end user could purchase, at a bargain price, an x86 computer in a compact, portable shell. In 2007, the netbook was born, and took the world by storm – only to suddenly vanish a few years later. What exactly was it that made netbooks so great, and where did they go?

A Beautiful Combination

An Asus EEE PC shown here running Linux. You could run anything on them! Because they were real, full-fat computers. No locked down chipsets or BIOS. Just good, clean, x86 fun.

The first machine to kick off the craze was the Asus EEE PC 701, inspired by the One Laptop Per Child project. Packing a 700Mhz Celeron processor, a small 7″ LCD screen, and a 4 GB SSD, it was available with Linux or Windows XP installed from the factory. With this model, Asus seemed to find a market that Toshiba never quite hit with their Libretto machines a decade earlier. The advent of the wireless network and an ever-more exciting Internet suddenly made a tiny, toteable laptop attractive, whereas previously it would have just been a painful machine to do work on. The name “netbook” was no accident, highlighting the popular use case — a lightweight, portable machine that’s perfect for web browsing and casual tasks.

But the netbook was more than the sum of its parts. Battery life was in excess of 3 hours, and the CPU was a full-fat x86 processor. This wasn’t a machine that required users to run special cut-down software or compromise on usage. Anything you could run on an average, low-spec PC, you could run on this, too. USB and VGA out were available, along with WiFi, so presentations were easy and getting files on and off was a cinch. It bears remembering, too, that back in the Windows XP days, it was easy to share files across a network without clicking through 7 different permissions tabs and typing in your password 19 times.

Continue reading “Netbooks: The Form Factor Time Forgot”

Two Way Mirror Improves Video Conferencing

Like everyone lately, [Matt] has been spending more time doing video conferencing lately. The problem is you naturally want to look at the screen, but that means you aren’t looking at the camera and, thus, you aren’t making eye contact. If you use a laptop, there is a relatively easy fix, although it isn’t particularly stylish. [Matt] built a black shroud out of foam board and put in two-way mirror. How does that help? Well, with the set up, you can put a very thin black web camera pointing up towards the mirror. Because the shroud is dark, you can see the screen through the mirror, but the camera sees you.

Where do you get a thin black web camera? You make one from an old laptop camera. They are tiny and easy to repurpose, a trick [Matt] has shared before. As a bonus, the post shows an easy way to take an LED strip and make a diffused light for lighting up your webcam call.

Continue reading “Two Way Mirror Improves Video Conferencing”

Hacking Dell Laptops To Use Off-Brand Chargers

Dell, along with many other manufacturers, have begun to implement smart features into their laptop charging circuitry. This leaves the user out of luck if they wish to use an off-brand part, or get caught short when their original charger fails. [Neutrino] was in just such a position, and decided to hack around the problem.

The laptop verifies the identity of the attached charger by a third pin. This communicates with a One-Wire IC embedded in the charger, which reports the charger’s identity when queried by the laptop. When [Neutrino]’s charger broke, an attempt was made to use an off-brand charger, with the third pin hooked up to the original failed unit. This tricked the laptop into charging successfully.

For a more permanent workaround, [Neutrino] harvested the One-Wire IC from inside the original charger, and instead hooked it up inside the laptop, directly to the charge port. Thus, the laptop always thinks a Dell charger is connected when power is applied. There is some risk, in that if the user plugs in a lower-power charger than the original, there could be an overload event, but that’s just the risk inherent in the hack.

It’s a tidy workaround for an annoying problem that is all too common in the post-DRM world. Laptop chargers are often prime candidates for failure too; we’ve seen fixes as creative as repairing a Magsafe with a pistacchio nut before!

[Thanks to Levi for the tip]

Breathing New Life Into Old School ThinkPad Keyboards

The ThinkPad is generally considered the unofficial laptop of hackerdom, so it’s no surprise that we see plenty of projects focused on repairing and modifying these reliable workhorses. But while we usually see folks working on relatively modern incarnations of this iconic line of computers, this project by [Frank Adams] and [Brian Chan] shows that the hacker’s love affair with the ThinkPad stretches back farther than many might realize.

As explained on the project’s Hackaday.io page, the duo have produced an open hardware board that will allow you to take the keyboard and trackpoint from a late ’90s ThinkPad 380ED and use it as a standard USB input device on a modern computer. According to [Frank], the keyboards on these machines are notable for having full-size keys rather than the “chicklet” boards that are so common today.

Now you may be wondering why this is significant. After all, we’ve seen plenty of projects that hook up an old keyboard to a USB-equipped microcontroller to get them speaking the lingua franca. Well, the trick here is that the trackpoint on these older ThinkPads actually required additional circuitry on the motherboard to function. The keyboard features three separate FPC connections for the matrix, the trackpoint buttons, and the analog strain gauges in the trackpoint itself.

After a considerable amount of reverse engineering, [Frank] and [Brian] have developed a board that uses the Teensy 3.2 to turn this plethora of pins into something useful. In the video after the break, you can see the new composite USB device working perfectly on a modern Windows computer.

It will probably come as little surprise to find that [Frank] is no stranger to hacking ThinkPad keyboards. In 2018 we covered a similar adapter he built for the far more modern T61, which was an absolute cakewalk by comparison.

Continue reading “Breathing New Life Into Old School ThinkPad Keyboards”

DIY Magsafe Charger Feeds Off 12 V Solar Battery

[Steve Chamberlin] has a spiffy solar-charged 12 V battery that he was eager to use to power his laptop, but ran into a glitch. His MacBook Pro uses Apple’s MagSafe 2 connector for power, but plugging the AC adapter into the battery via a 110 VAC inverter seemed awfully inefficient. It would be much better to plug it into the battery directly, but that also was a problem. While Apple has a number of DC power adapters intended for automotive use, none exist for the MagSafe 2 connector [Steve]’s mid-2014 MacBook Pro uses. His solution was to roll his own MagSafe charger with 12 VDC input.

Since MagSafe connectors are proprietary, his first duty was to salvage one from a broken wall charger. After cleaning up the wires and repairing any frayed bits, it was time to choose a DC-DC converter to go between the MagSafe connector and the battery. The battery is nominally 12 volts, so the input of the DC-DC converter was easy to choose, but the output was a bit uncertain. Figuring out what the MagSafe connector expects took a little educated guesswork.

The original AC adapter attached to the charger claimed an output of 20 volts, another Apple adapter claimed a 14.85 V output, and a third-party adapter said 16.5 volts. [Steve] figured that the MagSafe connectors seemed fine with anything in the 15 to 20 V range, so it would be acceptable to use a 12 V to 19 V DC-DC boost converter which he had available. The result worked just fine, and [Steve] took measurements to verify that it is in fact much more efficient than had he took the easy way out with the inverter.

MagSafe has been displaced by USB-C nowadays, but there are plenty of MagSafe devices still kicking around. In a pinch, keep in mind that a little bit of filing or grinding is all that’s needed to turn MagSafe 1 into MagSafe 2.