If your path has taken you through any work with hi-fi audio, you will be aware of the effects of distortion on sound quality. The tiniest non-linearity in a component can ruin the result, and people who work at the extreme end of the hi-fi spectrum will go to impossible lengths to chase the tiniest percentages of distortion that no human could possibly hear.
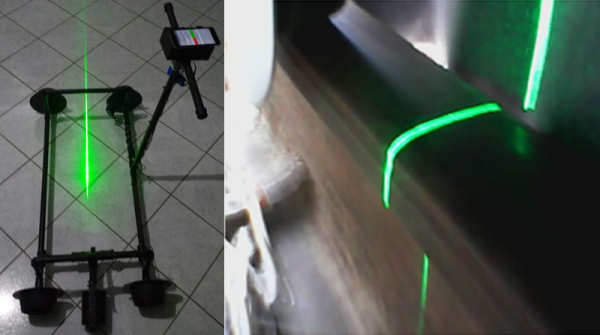
[Monta Elkins] has a Boldport kit, the Lite2Sound, which as its name suggests translates a light level to an audio signal. Given a laser diode and a source of country music from his Amazon Echo then, perhaps he could transmit the sound across a beam of laser light. And given that the Lite2Sound is an all-analogue device so unless it incorporates a low-pass filter it might struggle with PWM, to achieve that feat he would have to modulate the country music directly onto the laser light.
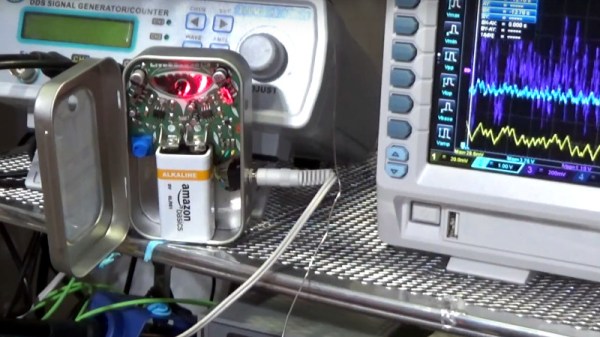
In the video below he shows us how he characterised his laser diode by plotting its VI curve on an oscilloscope, and identified its most linear region. He was then able to supply a voltage in the middle of that region, and simply overlay the line level audio from the Echo through an RC network. The result is a successful transmission of music via laser that sounds OK, though we’d find it interesting to see what an audio analyser would make of it. We’d also be interested to know whether the VI curve also maps to the same profile in the light intensity, we suspect the answer would be “close enough”.
So laser wireless audio can be done, and anyone who points out that the same feat could have been achieved with Bluetooth is spoiling the fun. After all, what’s a hi-fi without Frickin’ lasers!