LED Christmas Tree Is Perfect Holiday Build

Soon the most wonderful time of the year will be upon us. Families all over the globe will gather together to exchange gifts, eat good food and enjoy some quality time with each other. For many, it will be the first time they’ve seen each other since the last holiday season. For us hackers –  this translates to a time we get to talk about ourselves and show off a little about what we do. Been taking it easy this year? Have no hacks to talk about? Well, it’s not too late! Break out the soldering iron and whip up the perfect conversation starter – an LED Christmas tree!

[Gumix] took a handful of those flickering LEDs and a step down DC-DC converter to make his simple but elegant tree. No microcontroller here… no code is running. As soon as power is applied, the flickering LEDs do all the work to create a visual delight.

Flickering LEDs have been the focus of a few hackers. They’re basically LEDs designed to flicker like a real candle. [cpldcpu] hooked a scope to one and guessed that a linear shift-register was responsible for the randomness behind the flickering, which would be confirmed several months later.

Be sure to check out [Gumix] LED tree and the video demonstration below.

Continue reading “LED Christmas Tree Is Perfect Holiday Build”

POV Display Is FAN-tastic

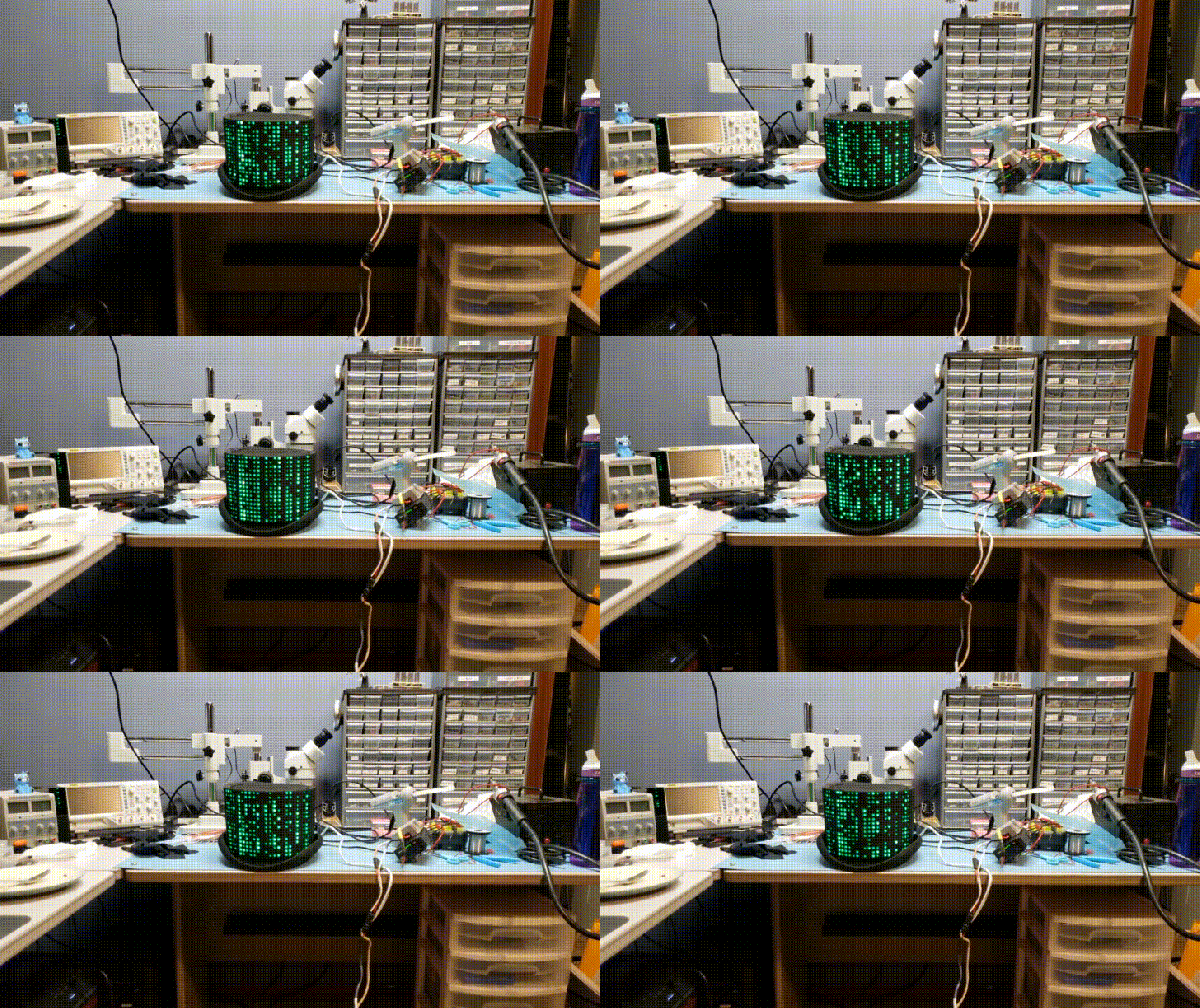
Persistence-of-vision displays come in all shapes and sizes. But when you get a couple of [Bruce Land’s] students involved, well let’s just say they tend to up the ante. When [Emily] and [Han] decided to make a POV display for their next class project, they did so with style. Unsatisfied with smaller displays they saw on YouTube – they decided to make a larger one out of an old box fan and a DotStar LED strip, which are similar to NeoPixels except they use SPI, which means you can update the LEDs at a much faster rate. This makes them perfect for a POV display!

As usual with projects out of Cornell’s EE class – this POV project is extremely well documented and it’s nice to see the fundamental details of a POV display explained. So be sure to check out this project if you’re rusty on the inner workings of POV displays.

We’ve seen some interesting POV displays here at Hackaday, including one strapped to a dog to display its running speed. What’s the coolest POV display you’ve seen?

Joule Thief Steals In Favor Of Christmas

A lot of things tend to get stretched during the holiday season, like shopping budgets and waistbands and patience. This year, [Chris] is stretching the limits of both the mini breadboard and the humble 1.5 V LR44 coin cell with his joule thief-driven LED mini Christmas tree.

With the push of a micro momentary, the joule thief circuit squeezes enough power from an LR44 to boot an MSP430 microcontroller, which needs 1.8 V – 3.6 V. After boot, the micro takes control of the joule thief circuit and milks it whenever the voltage falls below 3.2 V. This tree may be small in stature, but it’s feature-rich. A push of the same momentary button cycles through four different light shows, ending with a medley of all four. Be dazzled after the break.

The code for this tiny tree, which features an awesome ASCII breadboard layout and schematic, is up on GitHub. [Chris] has it listed among a few other manageable bare-metal ‘430 projects that would be great for beginners at pure C. If that sounds like you, why not give yourself the gift of learning a new language?

We’ve seen some spirited ways of lighting LEDs, but doing it with candle power takes the fruitcake.

Continue reading “Joule Thief Steals In Favor Of Christmas”

Bringing A Christmas Lights Show Inside

Instructables user [Osprey22] has been building towards this Christmas for years. Why? This year, he has brought an impressive musical Christmas light display inside, and at a fraction of the cost too!

An box at the tree’s base hides the power supply and the controller boards — a Raspberry Pi and a SanDevices e682 Pixel controller for the 400 WS2811 RGB LEDs — with an added router to connect them to the main network. The Pi is running Falcon Pi Player and a projector somewhere in the region of $100 complements the light show.

As far as mapping out the LEDs, Xlights is the program of choice, locating the LEDs in space with the help of a cell phone video recording. [Osprey22] had to write a quick program in C to fix the LED overlaps in the grid. (A spreadsheet would work just as well, here). Oh, and the gifts at the bottom of the tree double as a projector screen!

Continue reading “Bringing A Christmas Lights Show Inside”

Old Scanner Finds New Life In DIY PCB Fab

Cheap, high-quality PCBs are truly a wonder of our age. That a professionally fabricated board with silkscreen and solder mask can be ordered online and delivered to your door has lowered the bar between a hobbyist project and a polished product. But the wait can be agonizing, and it can throw a wrench into the iterative design process. What to do?

[Andras Kabai] knows the answer to that, and this former flatbed scanner turned into a UV exposer is the centerpiece of his DIY board fab. The old Mustek scanner was a couple of bucks secondhand, and provided not only the perfect form-factor for a board scanner but a trove of valuable parts to reuse. [Andras] replaced the original fluorescent light bar with a long, narrow PCB stuffed with UV LEDs, and added an Arduino Mega to control the original stepper drive. The project looks like it went through a little feature creep, with an elaborate menu system and profiles that include controls for exposure time, the brightness of the LED array via PWM, and the length of board that gets exposed. It’s clearly a work in progress, but early results are encouraging and we’ll be watching to see how [Andras]’ in-house fab shapes up.

This approach to PCB fab is only one of many, of course. You can turn a budget 3D-printer into a PCB machine, or even use an LCD to mask the boards during exposure. The latter intrigues us — an LCD mask and a scanning UV light source could make for a powerful PCB creation tool.

Aluminum Foil Heatsink Keeps LEDs In Check

In your kitchen is very likely a roll of aluminum foil, like most people you probably use it to line pans or wrap food for baking. If you heard somebody used aluminum foil in the cooling of items, you could be forgiven for thinking they were referring to wrapping leftovers and tossing them in the refrigerator. But rather than preserving Mom’s famous meatloaf, [Michael Dunn] is using that classic kitchen staple to protect his LED strips.

Cheap LED strips are becoming extremely popular and have been popping up in more and more projects, but they have a pretty serious flaw: heat dissipation. Left on their own they can get hot enough to cook themselves, which is sort of a problem when you’re looking to replace as much of your home lighting with them like [Michael] is.

Heat was of particular concern as he was looking to retrofit a delicate shade with his beloved LED strips. Since he wanted a column of LEDs inside the unique shape of the shade, he reasoned that some kind of heat-conductive tubular structure could be used as both a mandrel to wrap the LEDs around and a way to dissipate heat. Like most of us, his first thought was copper pipe. But unfortunately the only copper pipe he had handy was of too small a diameter.

The tube of foil on the other hand was the perfect diameter, and while aluminum isn’t as good a conductor of heat as copper, it’s certainly no slouch either. Early tests weren’t that great when the tube was laying on the bench, but once it stood vertically convection got the air moving and cooled the LEDs down to where [Michael] was comfortable enough to put them inside the shade. Though he does have some lingering doubts about leaving the cardboard tube in such a toasty environment.

Going back through the archives, we’ve seen some absolutely fantastic projects utilizing LED strips in the past, some of which have come up with their own creative ways of beating the heat.

Resurrecting Dead LED Lightbulbs

If you’ve gone down the lighting isle of a store recently, you’ve no doubt noticed we are firmly in the age of the LED light bulb. Incandescent bulbs are kept in small stock for those who still have the odd-ball use case, there’s usually a handful of CFL bulbs for those who don’t mind filling their house with explosive vials of hot mercury, but mostly its all LED now. Which is as it should be: LED lighting is clearly the superior choice in terms of energy efficiency, lifetime, and environmental impact.

Unfortunately, a lot of the LED bulbs you’ll see on the rack are of pretty poor quality. In an effort to drive cost down corners get cut, and bulbs which should run for decades end up blowing after a couple of months. After yet another one failed on him, [Kerry Wong] decided to do a teardown to examine the failure in detail.

The failed LED driver.

He notes that most of the LEDs seem to fail in the same way, flickering after they are switched on until they just stop lighting up entirely. This hints at an overheating issue, and [Kerry] opines that aesthetic and cost considerations have pushed heat dissipation to the back burner in terms of design. It also doesn’t help that many of these bulbs are sitting in insulated recessed fixtures in the ceiling, making it even harder to keep them cool.

Once he separates the actual LEDs from the driver circuitry, he is able to determine that the emitters themselves still work fine. Rather than toss the whole thing in the trash, it’s possible to reuse the LEDs with a new power source, which is quickly demonstrated by showing off a shop light he built from “dead” LED light bulbs.

[Kerry Wong] isn’t the only one to put his LED bulbs under the knife. We’ve covered a number of teardowns which explore the cutting edge of home lighting; for better or for worse.

Continue reading “Resurrecting Dead LED Lightbulbs”