If you’ve played even just a few minutes of Minecraft, you know what a creeper is. For those not familiar with the wildly popular sandbox game, a creeper is a monster that creeps along silently until it’s close to a player, whereupon it self-destructs by exploding. Sometimes it kills the player outright, and other times the explosion blows them into lava or off a cliff, or off a cliff and then into lava. Creepers have no friends.
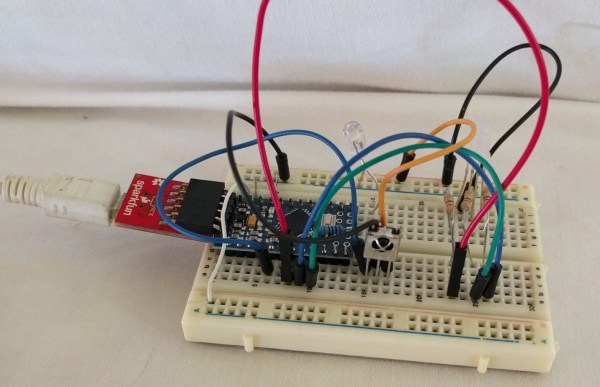
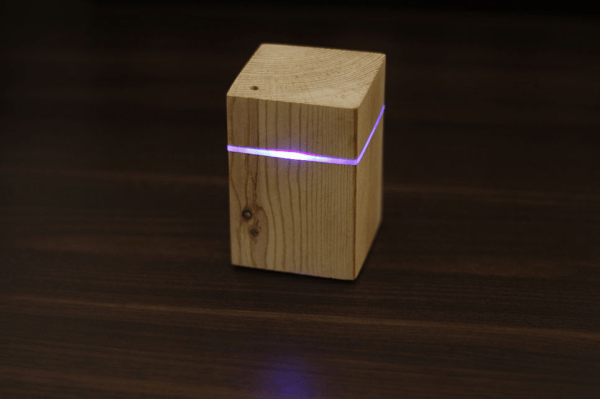
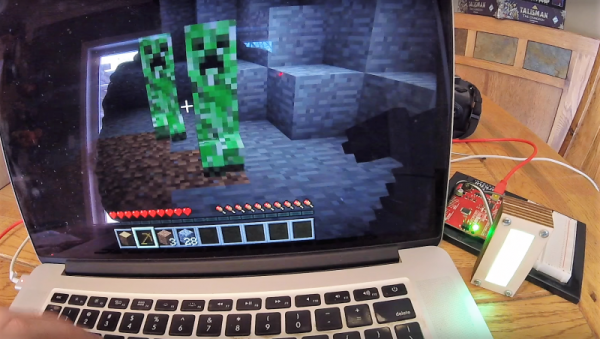
But now there’s a way to avoid creeper attacks, or at least get a little heads up that these green nasties are lurking about. With [John Allwine]’s creeper detector, Minecraft players can get a real-world indicator of the current in-game creeper threat. The hardware end is simple enough — it’s just a SparkFun RedBoard and a small strip of Neopixels in a laser-cut plywood case. The LEDs lie behind a piece of etched acrylic to diffuse their glow — extra points for the creeper pattern in the lens. The detector talks over USB to a Minecraft mod that [John] wrote to interface the game with the real world. The closer a creeper gets to the player, the brighter the light. — and when it flashes, watch out. See it in action in the video below, if you can stomach watching someone dig straight down. Never dig straight down.
If interfacing the Minecraft world and the real world sounds familiar, maybe it’s because we featured [John]’s SerialCraft mod a while back and admired the potential for using Minecraft as a gateway for getting kids into hardware hacking. We agree that this is a great project to work on with kids, but we may just order the parts to do it for our own Minecraft world. Creeper hate isn’t just for kids.
Continue reading “Threat Meter Gauges Risk Of Creeper-Assisted Suicide”