For the last few years, [Cristiano Monteiro] has marked March 14th by building a device to calculate Pi. This year, he’s combined an RP2040 development board and a beam-splitting prism to create an otherworldly numerical display inspired by the classic Pepper’s Ghost illusion.
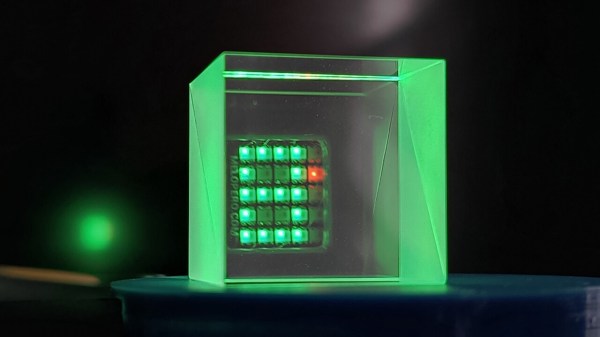
 The build is straightforward thanks to the Cookie board from Melopero Electronics, which pairs the RP2040 with a 5×5 matrix of addressable RGB LEDs. Since [Cristiano] only needed 4×5 LED “pixels” to display the digits 0 through 9, this left him with an unused vertical column on the right side of the array. Looking to add a visually interesting progress indicator for when the RP2040 is really wracking its silicon brain for the next digit of Pi, he used it to show a red Larson scanner in honor of Battlestar Galactica.
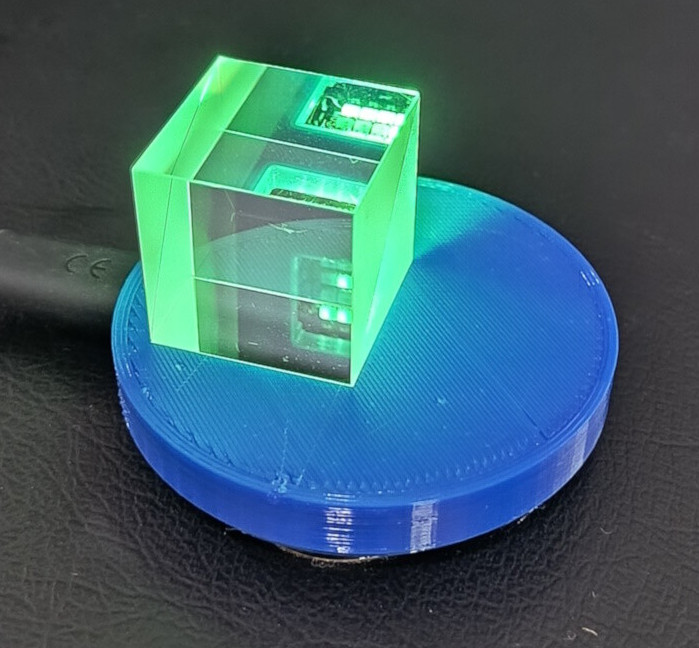
With the MicroPython code written to calculate Pi and display each digit on the array, all it took to complete the illusion was the addition of a glass prism, held directly over the LED array thanks to a 3D-printed mounting plate. When the observer looks through the prism, they’ll see the reflection of the display seemingly floating in mid-air, superimposed over whatever’s behind the glass. It’s a bit like how the Heads Up Display (HUD) works on a fighter jet (or sufficiently fancy car).
Compared to his 2023 entry, which used common seven-segment LED displays to show off its fresh-baked digits of Pi, we think this new build definitely pulls ahead in terms of visual flair. However, if we had to pick just one of [Cristiano]’s devices to grace our desk, it would still have to be his portable GPS time server.
Continue reading “Celebrating Pi Day With A Ghostly Calculator”