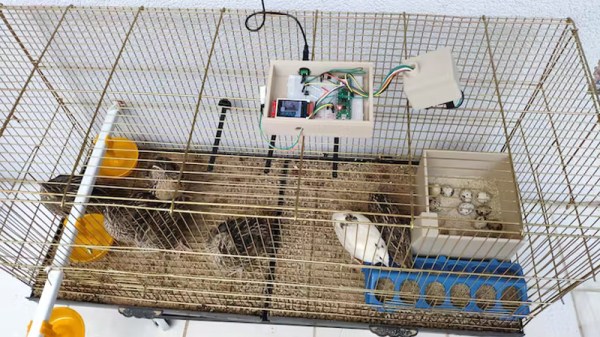
As anyone who has taken care of chickens or other poultry before will tell you, it can be backbreaking work. So why not build a robot to do all the hard work for us? That’s precisely what [Aktar Kutluhan] demonstrated with an AI-powered IoT system that automatically feeds chicks and monitors unhatched eggs.
Make no mistake, hens are adorable, feathered creatures, but they can be quite finicky. An egg’s weight, size, and frequency can determine the overall health of a hen, and they can stop laying eggs altogether if something as simple as their feeding schedule is too sporadic. This is precisely what inspired [Aktar] to create a system that can feed hens at a consistent time every day while keeping track of the eggs laid to ensure the coop is happy and healthy.
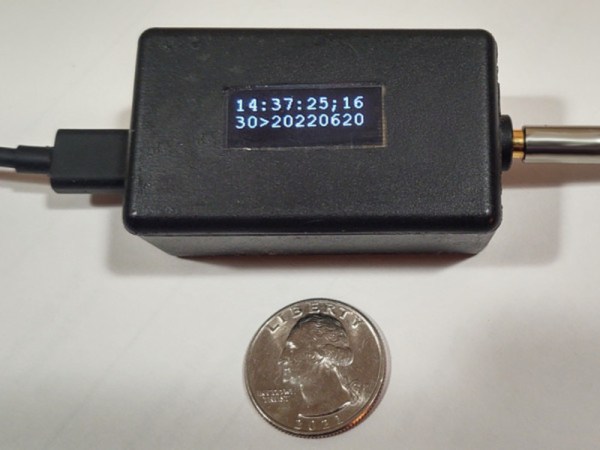
What’s so impressive about this build isn’t just the clever automation that scratches off a daily chore, it’s built completely with IoT devices, including the AI. The setup uses Edge Impulse as an object detection model on an OPenMV Cam H7 microcontroller to recognize eggs in the coop. From there, an WizFi360-EVB-Pico board was attached so data could be sent over WiFi, with a DHT22 thrown in to monitor and record the overall temperature of the coop.
This is already an amazing setup, but when it comes to IoT devices, the sky’s the limit. You could control heat lamps in larger coops, automatically refill a water bowl if the hens’ water is low, or even build a hands-off incubator. We’re only just beginning to see the clever ways with which AI can help monitor our pet’s health. Just look at how another hacker used AI to monitor cat poop to make sure their furry friend wasn’t eating plastic. Thanks to [Aktar Kutluhan] for showing us more ways we can use AI to help our pets!
 with simple 4-way I2C connectors. Temperature, humidity, and pressure are handled by a BME280 module, UV Index (SI1145), visible light (BH1750) even soil humidity and temperature with a cable-mounted SHT10 module.