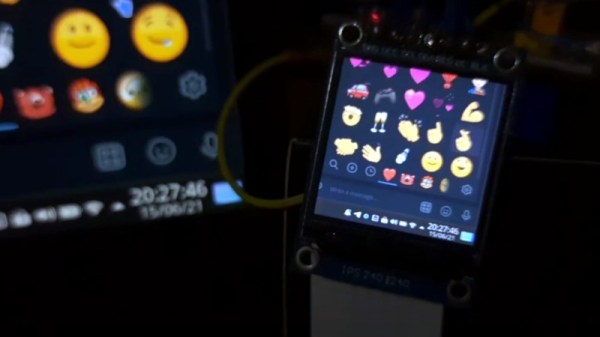
By now it’s likely that most Hackaday readers will be used to USB display adapters, in their most common form channeling DisplayPort over the ubiquitous serial interface. Connecting to projectors and other screens with a laptop becomes a breeze, and gone are the days of “Will my laptop work in the venue” stress for people delivering presentations. [Avra Mitra]’s STM32 tiny monitor may not ascend to these giddy heights, but it does at least live up to the promise of reproducing a desktop onto a small colour LCD hooked up through a USB port.
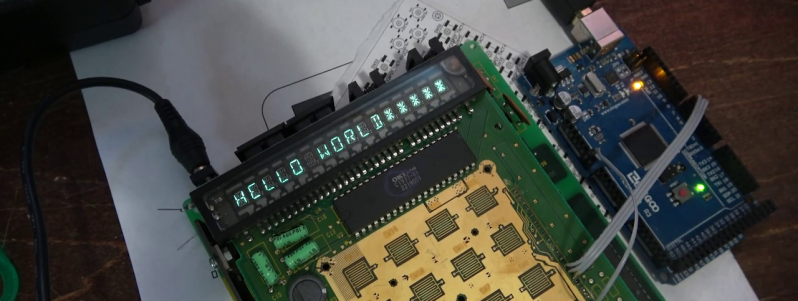
Not through any DisplayPort wizardry though, instead it relies on a Python script that takes successive screen grabs and streams them through USB to the microcontroller, which in tun puts them on the display. It’s claimed to achieve 6 to 7 frames per second as you can see in the video below, with an admission that there remains a huge scope for improvement.
Notwithstanding its limited utility at the moment, we can see that maybe this idea could have its uses in a very basic display after a few improvements. Meanwhile, more conventional monitors take the established route of pairing a dedicated controller board with an LCD panel.