Ah, the joys of domestic animals. Often adorable, occasionally useful, they’re universally unable to care for themselves in the slightest. That’s part of the bargain though; we take over responsibility for their upkeep and they repay us with whatever it is they do best. Unless the animal in question is a cat, of course – they have their own terms and conditions.
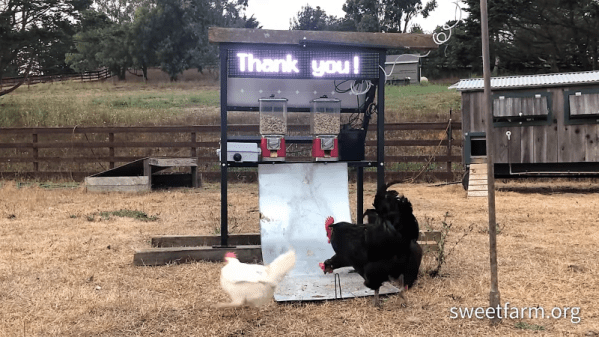
Chickens, though, are very useful indeed. Give them food and water and they give you delicious, nutritious, high-quality protein. Feeding them every day can be a chore, though, unless you automate the task. This Twitch-enabled robotic chicken feeder may be overkill for that simple use case, but as [Sean Hodgins] tell it, there’s a method to all the hardware he threw at this build. That would include a custom-welded steel frame holding a solar panel and batteries, a huge LED matrix display, a Raspberry Pi and camera, and of course, food dispensers. Those are of the kind once used to dispense candy or gum for a coin or two in the grocery; retooled with 3D-printed parts, the dispensers now eject a small scoop of feed whenever someone watching a Twitch stream decides to donate to the farm that’s hosting the system. You can see the build below in detail, or just pop over to Sweet Farm to check out the live feed and gawk at some chickens.
It’s an impressive bit of work on [Sean]’s part for sure, and we did notice how he used his HCC rapid prototyping module to speed up development. Still, we’re not convinced there will be many donations at $10 a pop. Then again, dropping donations to the micropayment level may lead to overfed chickens, and that’s not a good thing.