Track Satellites With A 2-axis Antenna Positioner

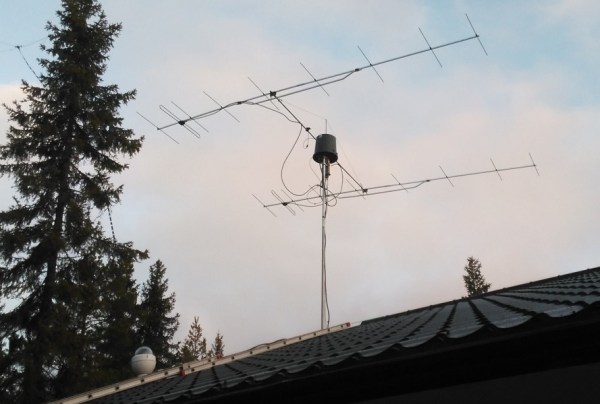
Ham radio operators are curious beasts. They’ll go to great lengths to make that critical contact, and making sure their directional antennas are pointing the right way can be a big part of punching through. Of course there are commercial antenna rotators out there, but hams also like to build their own gear, like this Raspberry Pi-controlled 2-axis rotator.

[wilho]’s main motivation for this build seems to have been the sad state of the art in commercial 2-axis rotators, which seems firmly mired in the 90s. Eschewing the analog pot sensors on DC brushed motors that seem to dominate the COTS market, [wilho] went with steppers and stout gearboxes for the moving gear. Feedback on the axes comes from 10-bit absolute encoders, and an MPU9250 9-axis IMU makes sure he knows exactly where the antenna is pointing with respect to both compass heading and elevation. A mast-mounted Rasp Pi controls everything and talks through a REST API to custom software that can return the antenna to custom set-points or track the moon, satellites, or the ISS. It’s a very impressive bit of kit that’s sure to drive your home-owners association bonkers.

For another 2-axis antenna positioner, check out 2015 Hackaday Prize finalist SATNOGS.

Continue reading “Track Satellites With A 2-axis Antenna Positioner”

Mouse Pen From Old Parts

No offense to [Douglas Engelbart] but the computer mouse has always seemed a bit of a hack to us (and not in the good sense of the word). Sure we’ve all gotten used to them, but unlike a computer keyboard, there is no pre-computer analog to a mouse. There are plenty of alternatives, of course, like touchpads and trackballs, but they never seem to catch on to the extent that the plain old mouse has.

One interesting variation is the pen mouse. These do rely on a pre-computer analog: a pen or pencil. You can buy them already made (and they are surprisingly inexpensive), but what fun is that? [MikB] wanted one and decided to build it instead of buying it.

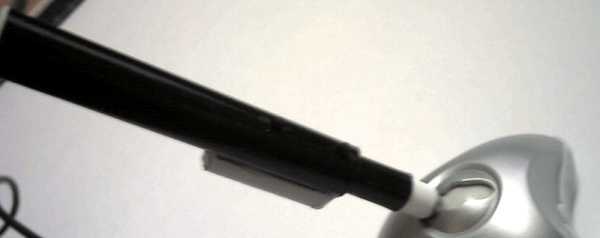
The main parts of the pen mouse include a cheap mouse with a failing scroll wheel, a bingo pen, and the base from an old web camera. There’s also a normal-sized pen to act as the handpiece. The project is mostly mechanical rather than electrical. [MikB] took the mouse apart and cut the PCB to fit inside the base. The rest of the build is a construction project.

The result appears to work well. [MikB] includes instructions for installing the mouse correctly in Linux. The net effect is like a tablet but doesn’t’ require much space on your desk. We’ve seen plenty of mouse projects in the past, of course. We’ve even seen hacks for a head mouse if that’s your thing.

Up Your Tiny House Game With Stone Age Hacks

Bare feet, bare hands, and bare chest – if it weren’t for the cargo shorts and the brief sound of a plane overhead, we’d swear the video below was footage that slipped through a time warp. No Arduinos, no CNC or 3D anything, but if you doubt that our Stone Age ancestors were hackers, watch what [PrimitiveTechnology] goes through while building a tile-roofed hut with no modern tools.

The first thing we’ll point out is that [PrimitiveTechnology] is not attempting to be (pre-)historically accurate. He borrows technology from different epochs in human history for his build – tiled roofs didn’t show up until about 5,000 years ago, by which time his stone celt axe would have been obsolete. But the point of the primitive technology hobby is to build something without using any modern technology. If you need a fire, you use a fire bow; if you need an axe, shape a rock. And his 102 day build log details every step of the way. It’s fascinating to watch logs, mud, saplings, rocks and clay come together into a surprisingly cozy structure. Especially awesome if a bit anachronistic is the underfloor central heating system, which could turn the hut into a lovely sauna.

Primitive technology looks like a fascinating hobby with a lot to teach us about how we got to now. But if you’re not into grubbing in the mud, you could always 3D print a clay hut. We’re not sure building an enormous delta-bot is any easier, though.
Continue reading “Up Your Tiny House Game With Stone Age Hacks”

Continuing Education Via Wheel Balancing

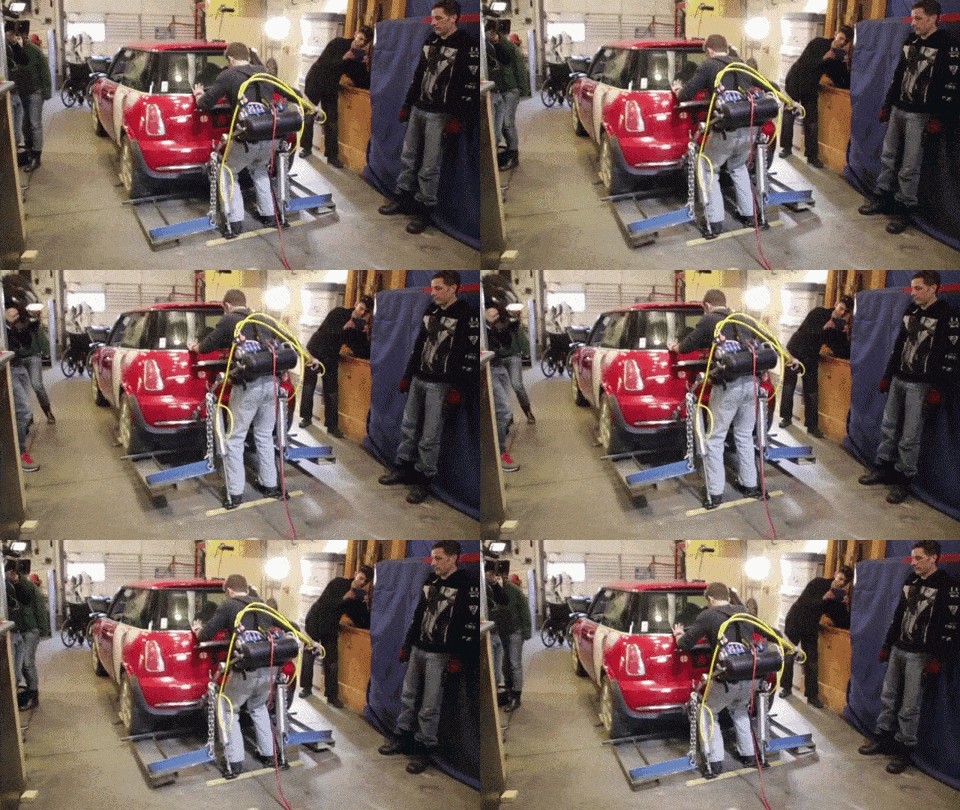
There’s an old saying that you should make things twice. Once to figure out how to build the thing, and again to build it the right way. [Pmbrunelle] must agree. His senior project in college was a machine to balance wheels. It was good enough for him to graduate, but he wanted it to be even better.

The original machine required observation of measurements on an oscilloscope and manual calculations. [Pmbrunelle] added an AVR micro, a better motor drive, and made a host of other improvements. As you can see in the video below, the machine works, but [Pmbrunelle] still wasn’t happy.

Continue reading “Continuing Education Via Wheel Balancing”

Software Controlled Hard Drive Solenoid Engine

[Fabien-Chouteau] submitted his interesting solenoid engine. In an internal combustion, steam, or pneumatic piston engine, the motive force is produced by expanding gas. In [Fabien]’s little engine it is produced by the arm of a hard drive. Solenoid engines are usually just for show, and come in all shapes and sizes. If you want to move something using electricity an axial motor is probably a better bet. But if you want a challenge and a learning experience, this is hard to beat.

[Fabien] had some problems to solve before his motor made its first revolution. Just like a piston engine the timing needed to be exact. The arm firing at the wrong time could cause all sorts of trouble, the equivalent of backfire in a combustion engine. A STM32f4 discovery board was coupled with a Hall-effect sensor and a MOSFET. When the board read that the arm has moved back to the most efficient position for firing it sent a pulse through the coil. Just like a regular engine, getting the timing right makes all the difference. Once [Fabien] got it tuned up his motor could spin around at a steady 3000 rpm.

Continue reading “Software Controlled Hard Drive Solenoid Engine”

Even Easier Toner Transfer PCBs

One of the most popular methods of homebrew PCB fabrication is the toner transfer process. Compared to UV-sensitive films and CNC mills, the toner transfer process is fantastically simple and only requires a laser printer. Being simple doesn’t mean it’s easy, though, and successful toner transfer depends on melting the toner to transfer it from a piece of paper to a copper clad board.

This is heatless toner transfer for PCB fabrication. Instead of using a clothes iron or laminator to transfer toner from a paper to board, [simpletronic] is doing it chemically using acetone and alcohol.

Acetone usually dissolves laser printer toner, and while this is useful for transferring a PCB from paper to board, it alone is insufficient. By using a mixture of eight parts alcohol to three parts acetone, [simpletronic] can make the toner on a piece of paper stick, but not enough to dissolve the toner or make it blur.

From there, it’s a simple matter of putting a piece of paper down on copper clad board. After waiting a few minutes, the paper peels off revealing perfectly transferred board art. All the usual etching techniques can be used to remove copper and fabricate a PCB.

This is an entirely novel method of PCB fabrication, but it’s not exactly original. A few days ago, we saw a very similar method of transferring laser printed graphics to cloth, wood, and metal. While these are probably independent discoveries, it is great evidence there are still new techniques and new ways of doing things left to be discovered.

Thanks [fridgefire] for the tip.

Learning And Failing At Digital Electronics

[spencerhamblin] is starting his explorations into digital electronics the hard way: reproducing a “simple” IC’s functionality by wiring up a board full of discrete transistors. In this case, the end product is a binary-to-seven-segment decoder built from scratch.

In engineering circles, this circuit is better known as a 7447 BCD to seven-segment decoder/driver, but just using a single chip has little pedagogical value. Building a simple circuit with 39 transistors, 31 resistors, and a handful of diodes is a good introduction to digital electronics, and after two attempts, [spencerhamblin] knocked it out of the park.

The build began with a piece of copper clad board, a bunch of cheap FETs from fleabay, and an incorrect schematic. While the first version of the project looked fantastic with Manhattan-style construction, and jumper wires everywhere, the schematic was fundamentally flawed and [spencer] got a little confused when converting the circuit to a common anode display.

Version two used a more standardized construction. This circuit was plotted in DipTrace, and the resulting PCB was sent off to OSHPark. The build was cleaner, but in capturing the schematic, [spencer] reversed the footprint of the seven segment display. That was easy enough to fix with a few short wires, and after a little bit of work [spencer] had a device that would convert binary to a seven segment display.