Not only does the GuitarBot project show off some great design, but the care given to the documentation and directions is wonderful to see. The GuitarBot is an initiative by three University of Delaware professors, [Dustyn Roberts], [Troy Richards], and [Ashley Pigford] to introduce their students to ‘Artgineering’, a beautiful portmanteau of ‘art’ and ‘engineering’.
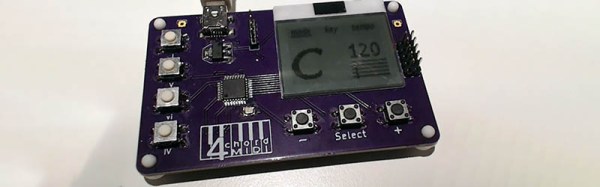
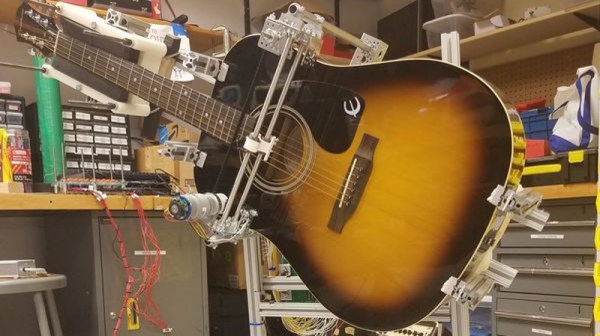
The GuitarBot It is designed and documented in a way that the three major elements are compartmentalized: the strummer, the brains, and the chord mechanism are all independent modules wrapped up in a single device. Anyone is, of course, free to build the whole thing, but a lot of work has been done to ease the collaboration of smaller, team-based groups that can work on and bring together individual elements.
Some aspects of the GuitarBot are still works in progress, such as the solenoid-activated chord assembly. But everything else is ready to go with Bills of Materials and build directions. An early video of a strumming test proof of concept used on a ukelele is embedded below.
Continue reading “GuitarBot Brings Together Art And Engineering”