
Vinyl remains a popular format, despite taking a huge hit in popularity for a couple decades while CDs ruled the roost. It has a charm that keeps it relevant, and likely will continue to do so until everyone who grew up with a record player dies out. In the meantime, [sp_cecamp] has come up with a great way to experience your collection, with the magic of modern technology. It goes by the name of Plynth.
Fundamentally, it’s a small record stand with an excellent party trick. The prototype consists of a 3D-printed body, which holds a record sleeve at an attractive angle for display. A camera built into the base then images the artwork. The first image taken is run through the Google Vision API, and further images are then run through OpenCV to identify the record. This data is then passed to the Spotify API to play the track. The whole process takes a couple of seconds, and the music is then pumped out of whatever streaming device is connected to the rig.
It’s a fun way to play your old records, and would be a welcome change to those tired of screaming at Siri to play Weezer (Blue Album), not Weezer (Green Album). For those interested, [sp_cecamp] has thrown up a site to gauge interest in the project, and may make a limited production run in future.
Of course, you could instead just go about building your own turntable. To each their own!
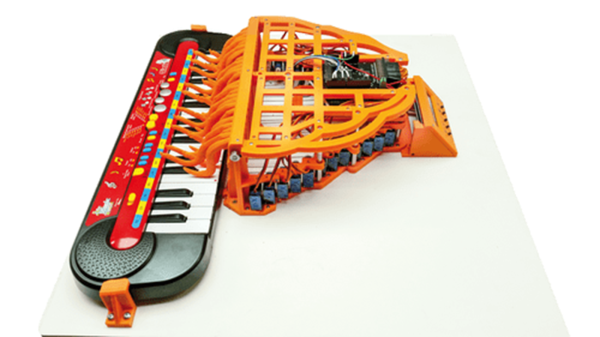


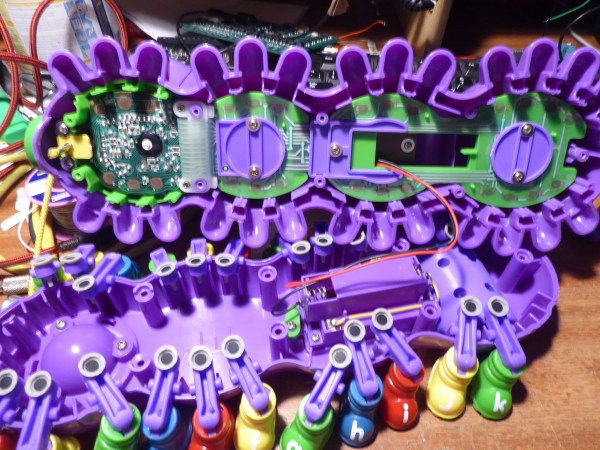
 The image above provides a great look inside the beastie. [Jason Hotchkiss] mentions he’s impressed by the build quality, and we have to agree. Plus, look at all of those inputs — this is begging to leave toyland and join the band. With an intuitive sense that can only be gained through lots of circuit-bending experience, he guessed that the single through-hole resistor on the PCB was used to dial in the clock speed. That made it easy to throw in a trimpot for pitch-bending and he moved on to figure out individual note control.